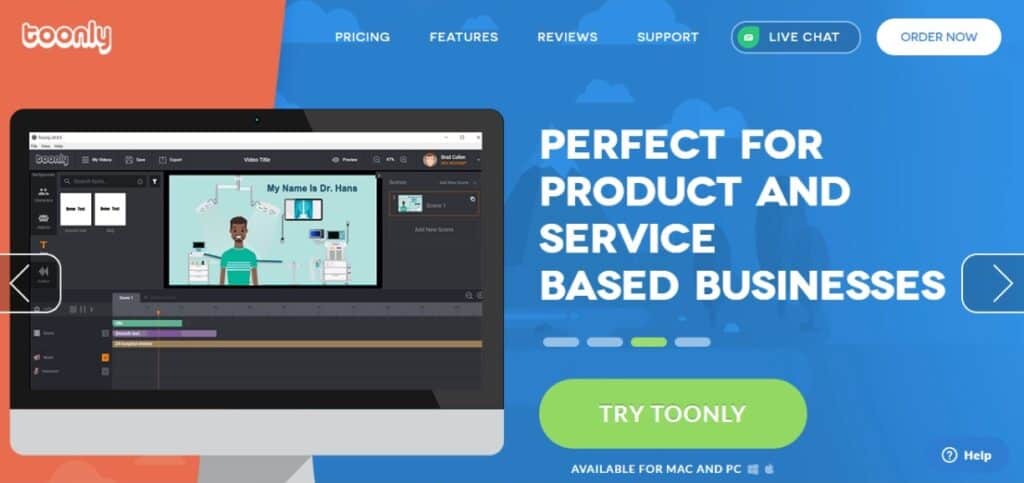
Toonly Tutorial: Make Explainer Video for a Worthy Cause!

Explainer videos are very popular due to its effectiveness for marketing, education, and many other business-related purposes. In the current generation, you don’t need prior design skills to create explainers. All you need is a superb video creator! Hence, in this article, we are going to show how anyone can create quality explainer videos using Toonly. Above all, with subtitles and voiceovers included!
If you need an introduction about Toonly, go ahead and read our review on Toonly HERE. The video we are going to make is one for the marine conservatists. Yes, explainers can be used for non-profit causes too! So, grab your coffee, and sit tight. Here we go!
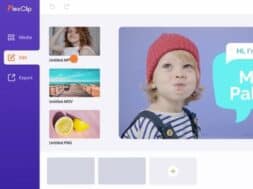
For other video making tutorials, do also check out our articles on AVS4YOU, FlexClip, and OFFEO!
The world wide web is huge, and yet you had stumbled on my site looking for something. I hope you find it as we had taken huge efforts to create them. Best of all, its FREE! Hence, some of our content may include affiliate links (i.e. whenever you click on the links and purchase, I earn a small commission at no extra costs to you!). No worries! Some of these links may look like phishing, but I assure you they are not! Lastly, the affiliation does not affect my reviews towards them. Enjoy!
1. Getting Started with Toonly
To get started, go to https://www.toonly.com and subscribe to a plan. Unfortunately, there isn’t a free plan, but there is 30-day moneyback. So, go ahead and buy one to try! That’s what we do too!
Once you brought it, you will be flashed the instructions to download the desktop client. As well, you will receive an email from Toonly on how to login, learning resources and much more! So, proceed to download the right Toonly client for your PC (Windows or Mac). Then, click on the Toonly icon to install it and a new desktop icon will be created. Thereafter, click the Toonly app icon and login your account with your username and password (found in the ‘Welcome’ email).
2. Dashboard & Editor
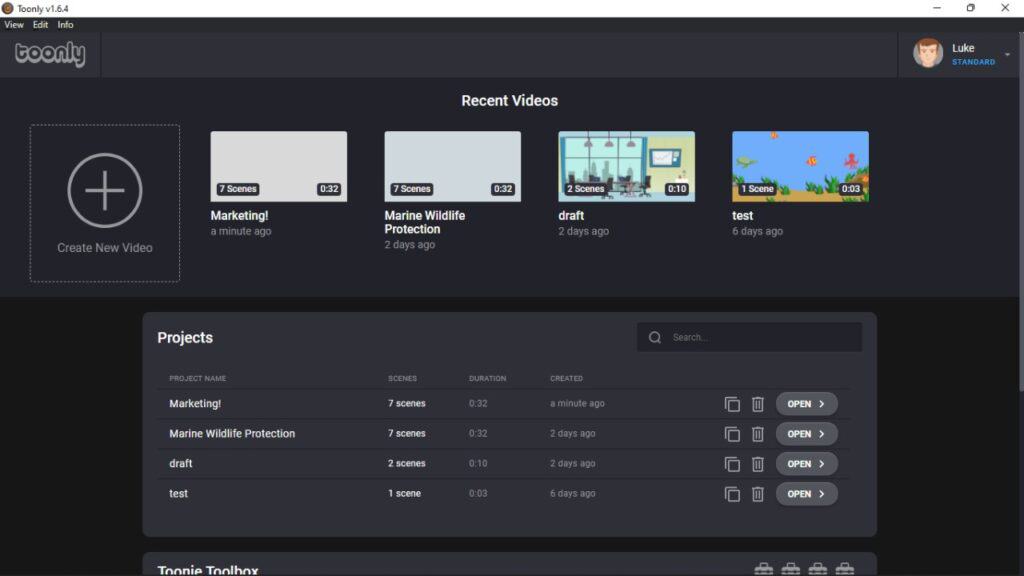
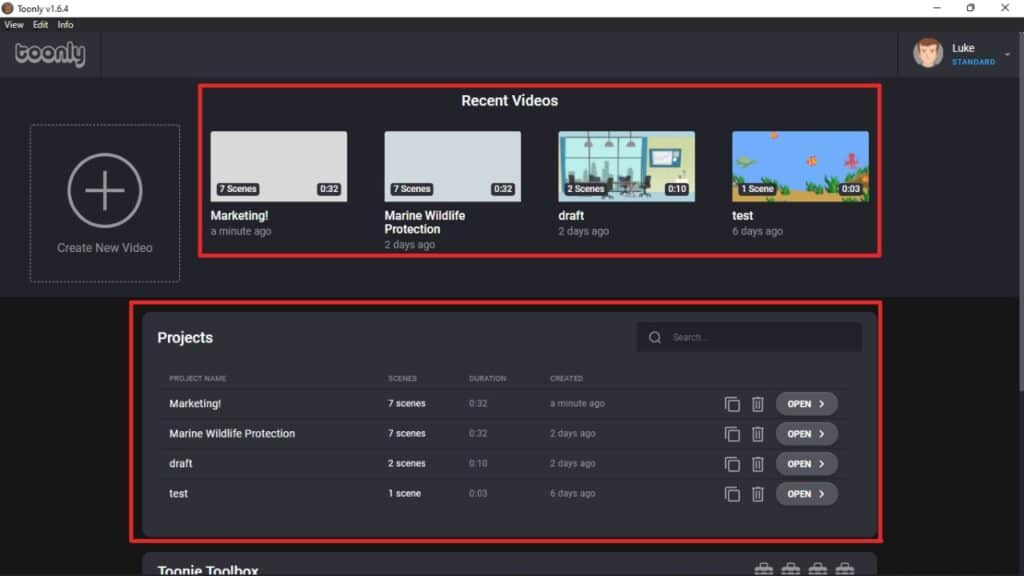
2.1 Toonly Dashboard
In the Toonly dashboard, you’ll find different sections and selections in a well-designed UI. It has a section that shows all your projects on Toonly (if there is) and helps you locate and view them. You can also duplicate or delete projects from the dashboard.
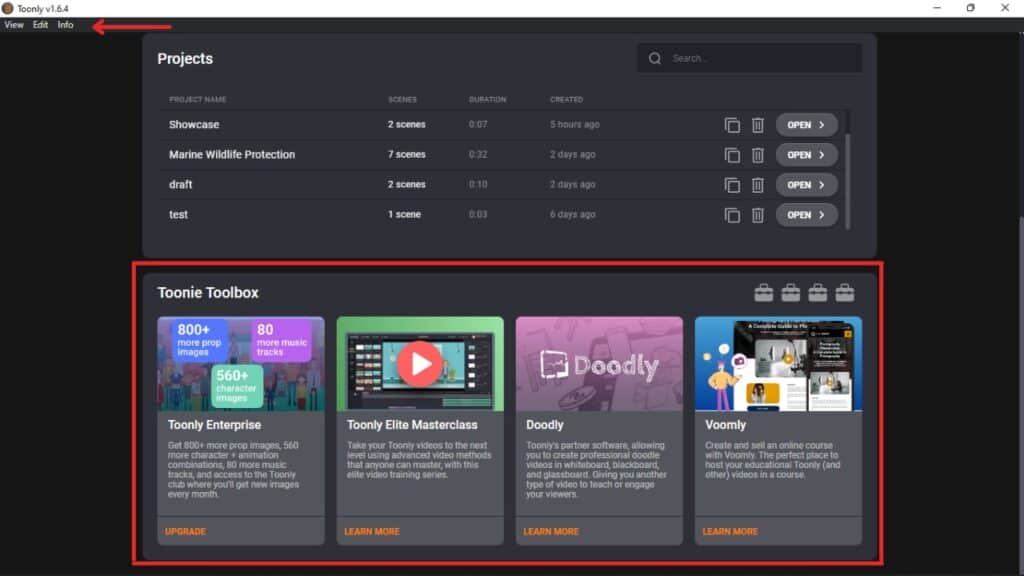
If you scroll down, you can find other apps from Voomly (creator of Toonly) and courses/articles on using Toonly. Likewise, you can view your account details and purchase history on the top-right corner, and other ‘quick-access options on the top-left.
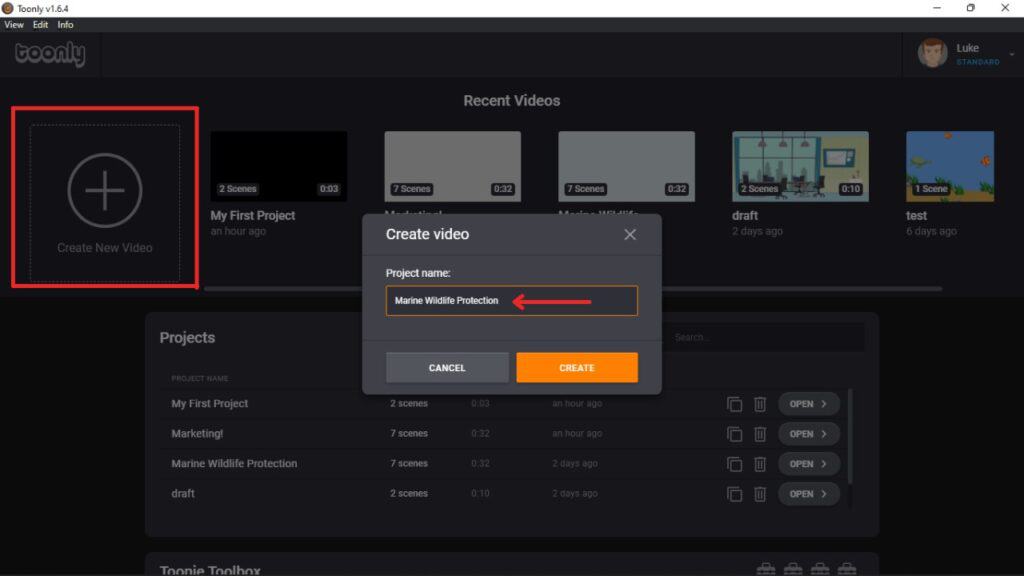
Toonly doesn’t have templates to work on, so you’ll have to create every design from scratch. Nonetheless, don’t worry too much about it because all you need is better planning and conceptualization before you start! Pretty much similar to any video work, we say. Besides, templates can ‘limit’ creativity at times.
So, to start creating designs, click on the huge ‘Create New Video’ button on the dashboard, ‘Name’ your project and you’ll enter the Toonly editor.
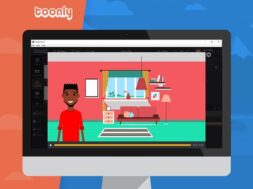
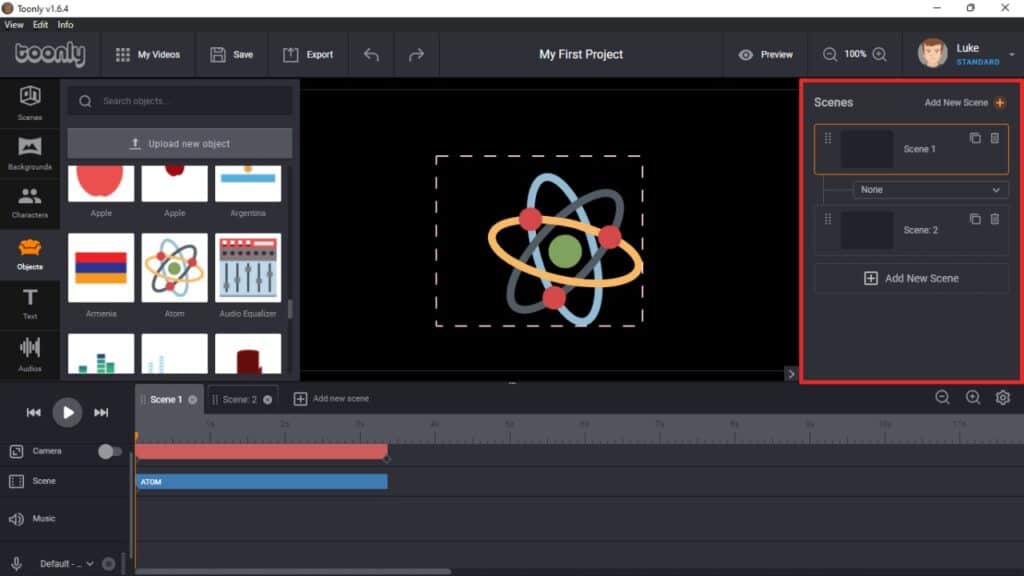
2.2 Toonly Editor
Toonly has a user-centric user interface. So, even if you are new to design, you’ll understand Toonly within minutes. To make things even easier to understand, we divide the Toonly editor into 5 main sections as described below:
- Top – Design & admin tools for the project
- Left – Collection of all creatives for use in the project
- Right – All scenes of the video
- Bottom – Timeline of the scenes and elements in the video
- Center – Work/Edit area as well as the preview area
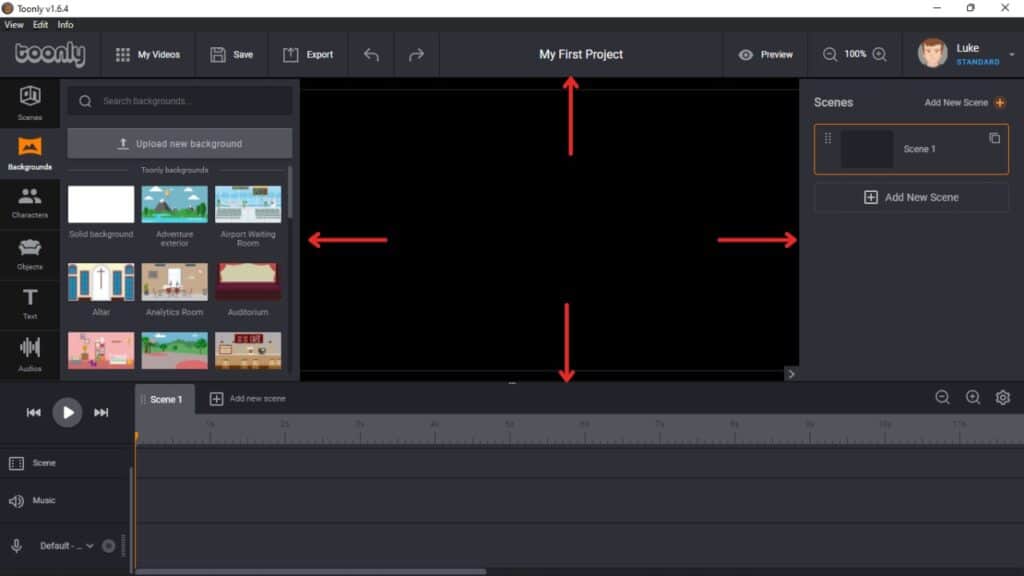
Here are alittle more details to each section:
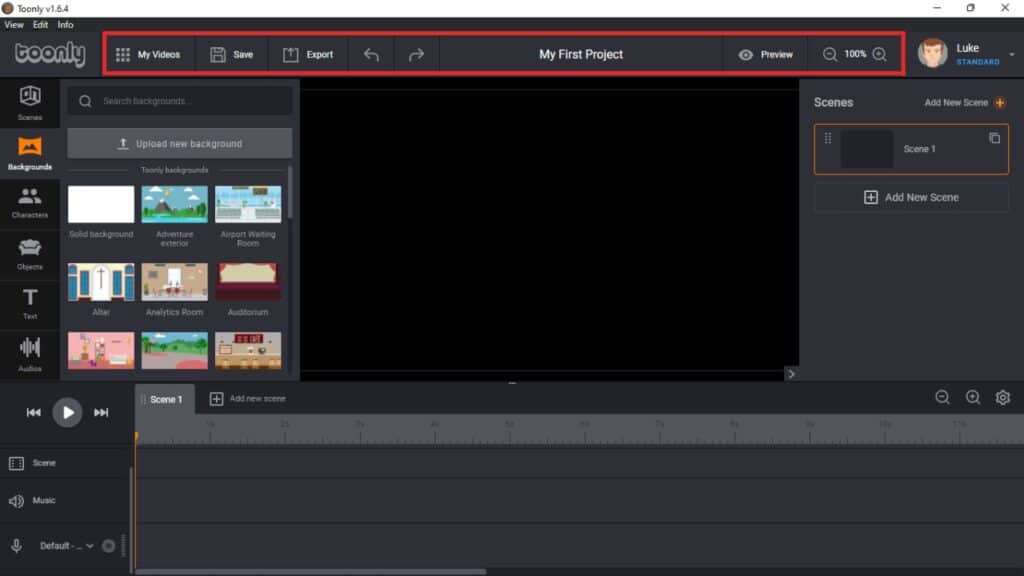
- Top Section
This section has undo/ redo buttons to alter changes and has options to save, preview and export the video. You can also edit the project name and alter the zoom level for the video. Not forgetting, the ‘My Videos’ option lets you return to the dashboard.
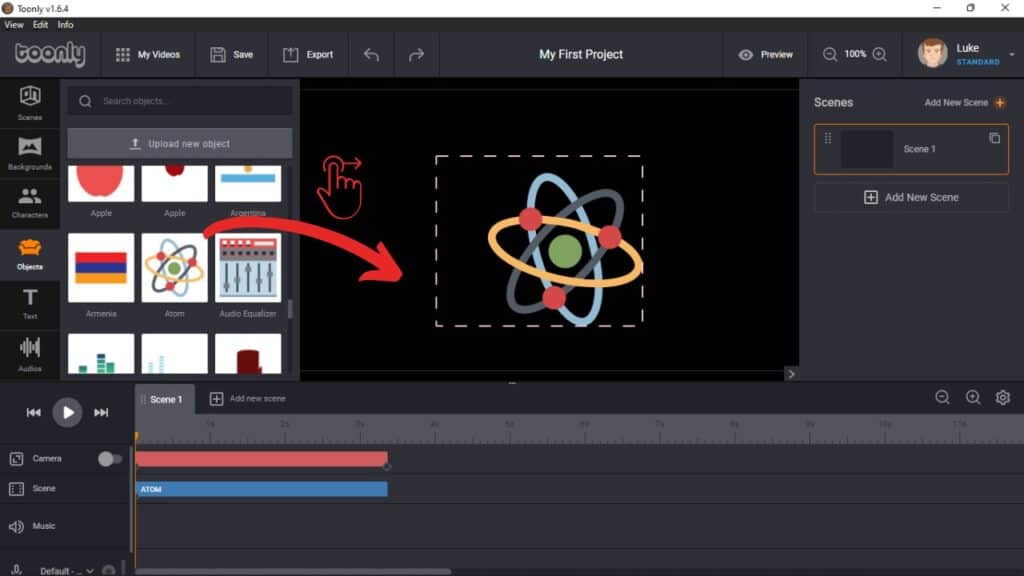
- Left Section
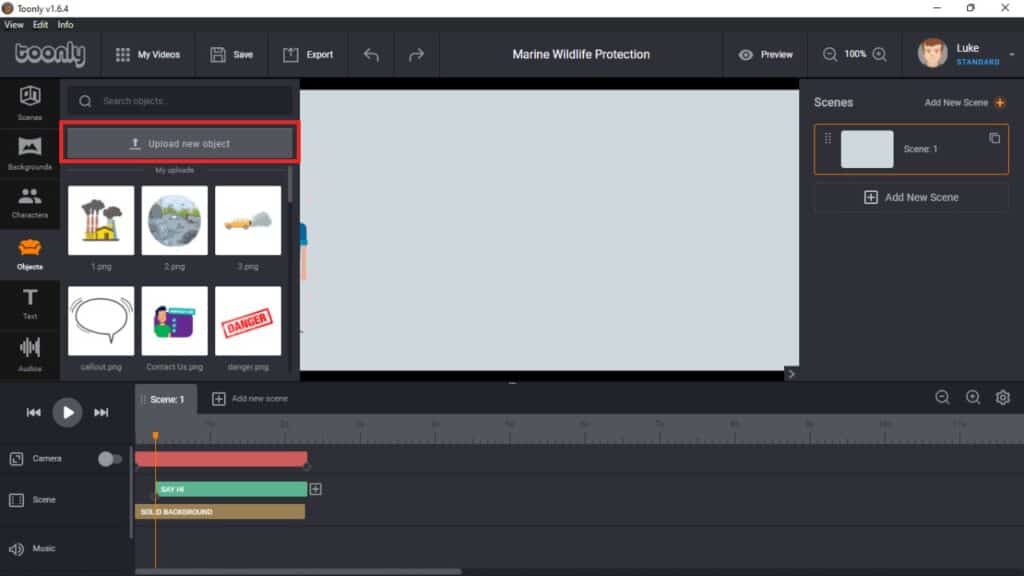
This section is full of creatives and media to use in your video. There are huge collections of Scenes, Backgrounds, Characters, Objects, Audio, etc. which are all free-to-use and royalty-free. That is, you own all rights to your work created in Toonly and of this software that you purchased in accordance to user agreement. To use them, just ‘Drag-and-Drop’ to the working area or the timeline.
- Right Section
This section shows all the scenes created in the video. It allows you to duplicate or delete scenes and rearrange their order in the video. You can also rename each scene separately if you wish.
- Bottom Section
Called the timeline which includes all the elements (Background, Objects, Text, Audio, etc.) used in the video. Using the timeline, you can edit elements separately, adjust their timing, duration, order, etc. You can also adjust the timeline of different scenes. All in all, this is an important section and we recommend that you play around with it a little to understand it better.
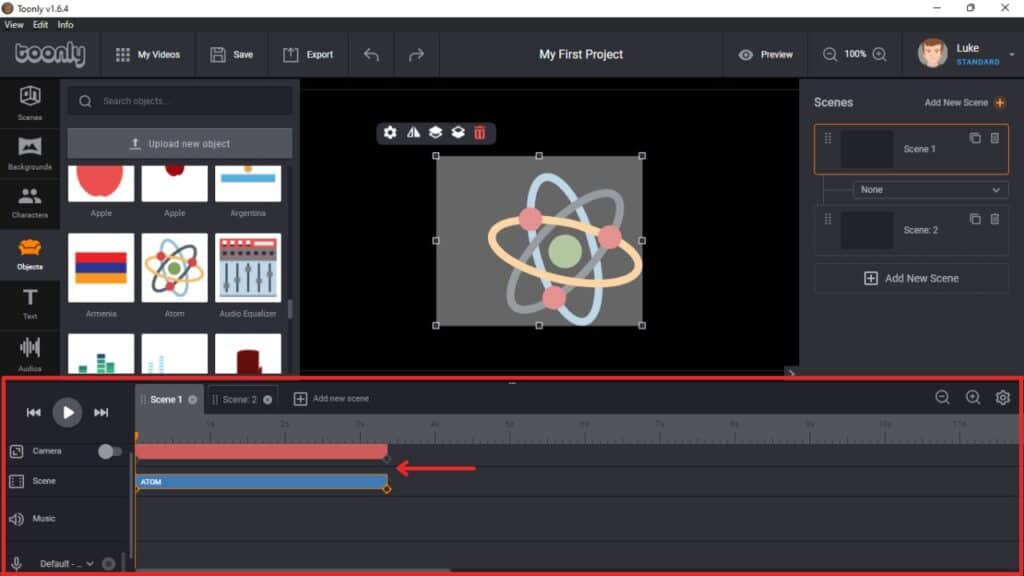
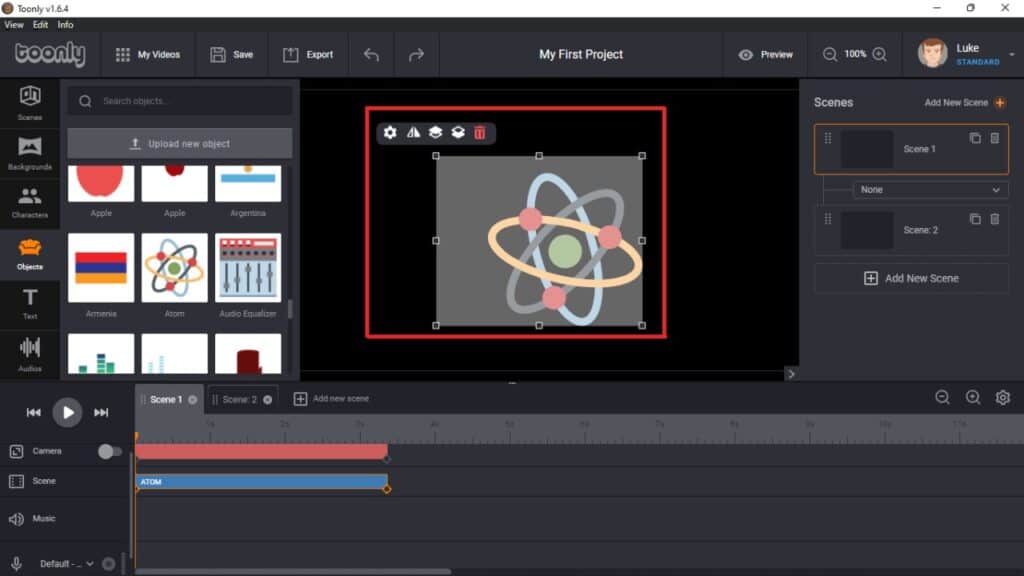
- Center Section
The work area and for preview of your work. Clicking on an element in this section will open up specific design and edit options.
Now that you know the Toonly editor, let’s move to the actual process of creating videos with Toonly.
3. Design & Edit
Once again, we’ll be creating an explainer video on ‘Marine Wildlife Protection’. In which, the objective is create awareness and hopefully, generate thoughtful response such as to volunteer or donate.
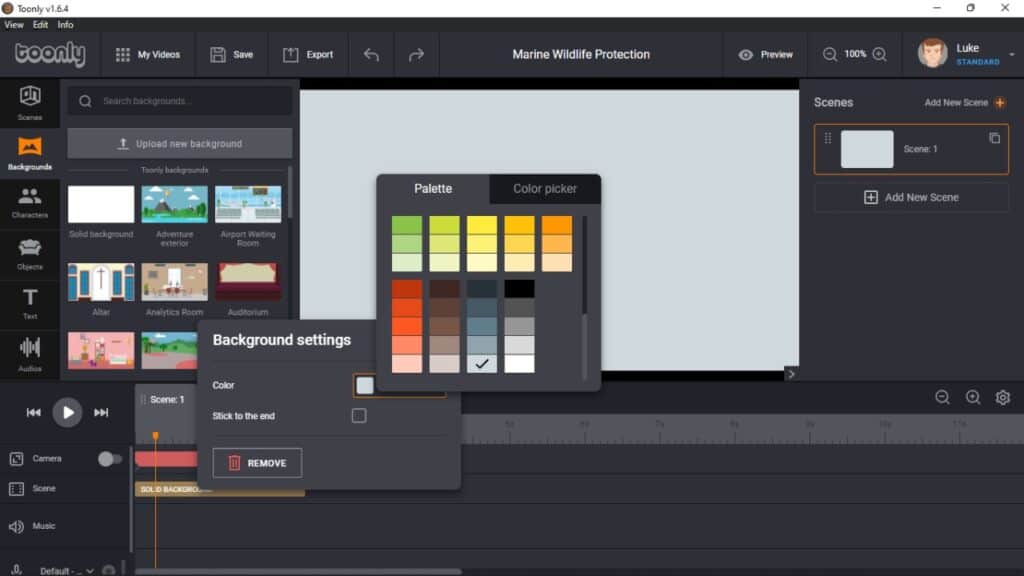
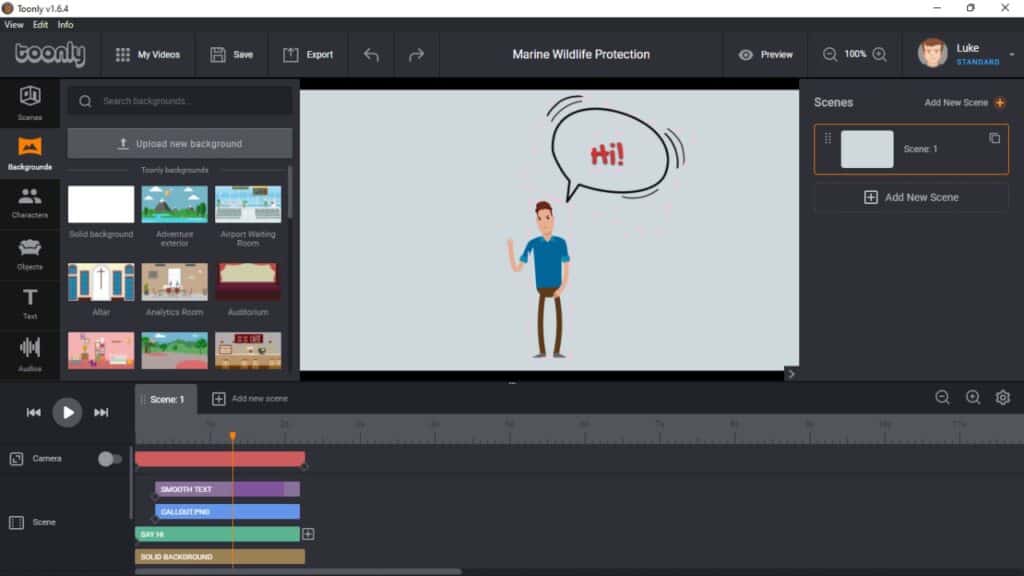
So, for the first step if you haven’t done so; Create a new project and add a project name. In our first scene, we’ll add a simple introduction or call out to our audience with ‘Hi!’. For that, drag-and-drop a background from the left section to the center. We’ll be using a solid background as we want to keep it simple.
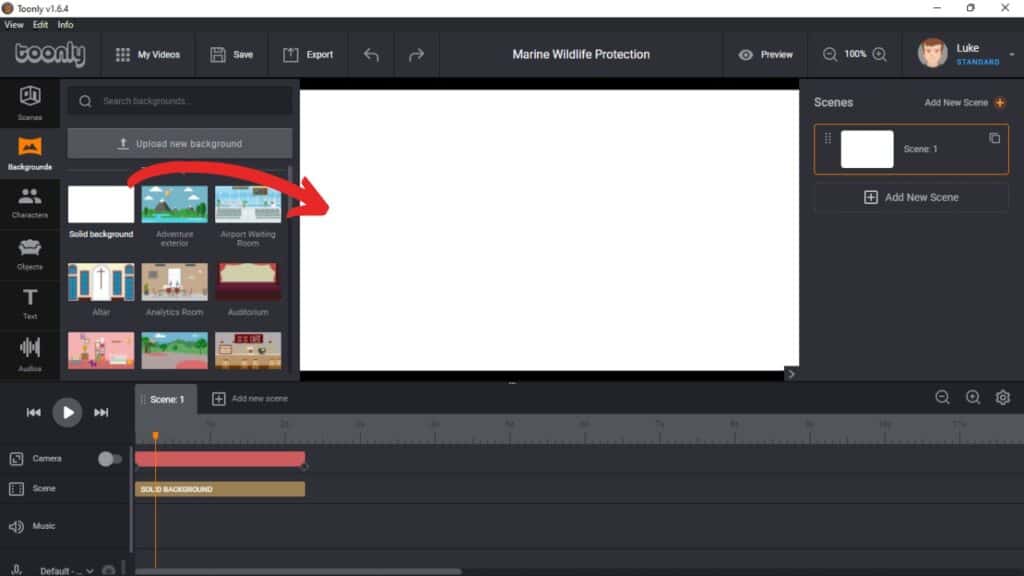
To edit the background, right-click on it in the timeline and change the color as you prefer. Note: Editing any element is the same as this. Just right-click on any element and edit its settings
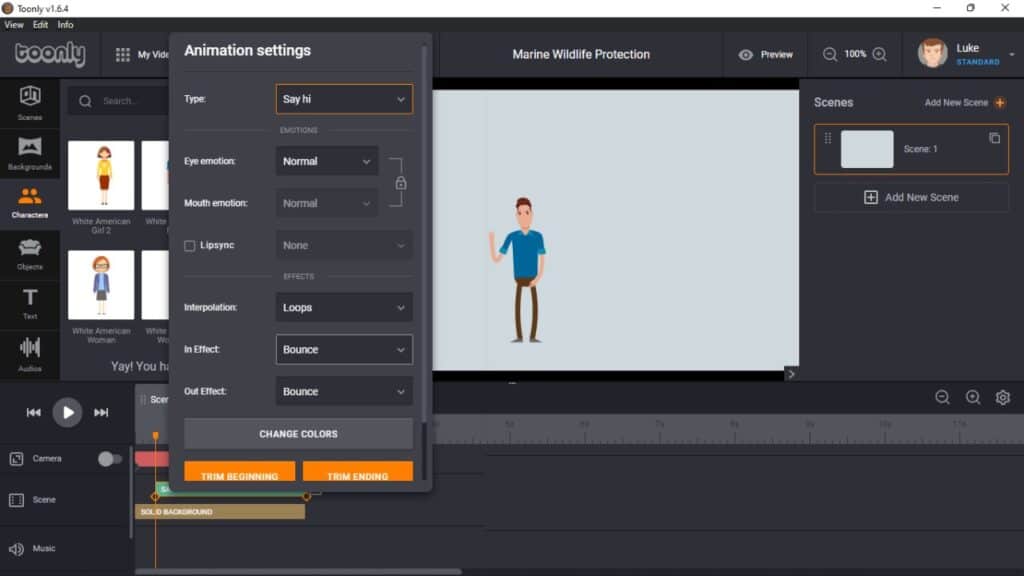
Similarly, drag-and-drop the character you like to the workspace. Adjust its size by dragging the sides as you would in Microsoft Powerpoint or Word. Then, right-click on the character to edit its animation and change its color, in and out effect, etc.
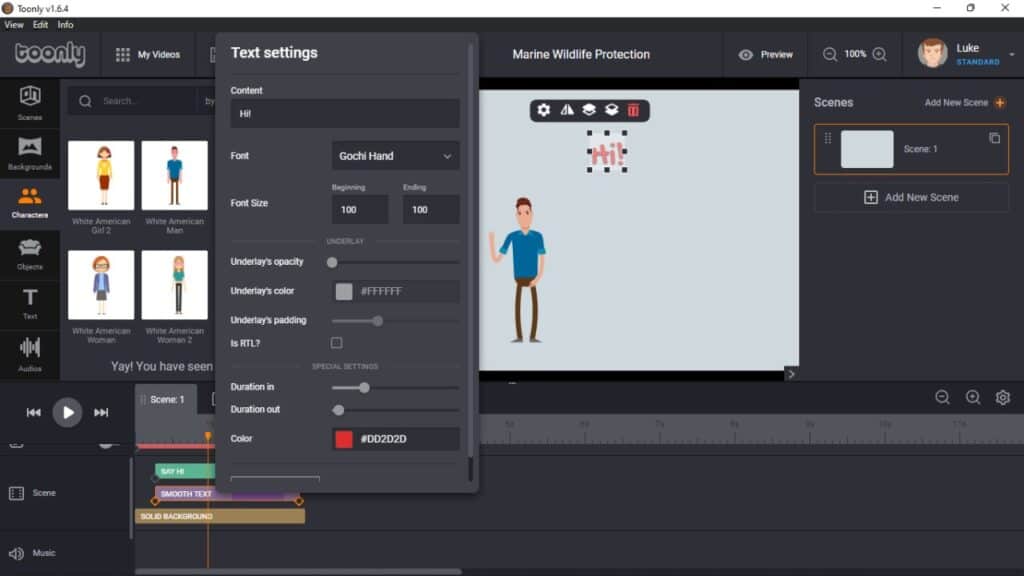
To add a text to your video, drag and drop your preferred text style into the working area. Then, right-click on it to edit its content and animation style just like what we have done for our character and background.
Note: As usual, you will find all sorts of other options. But don’t be overwhelmed by it! Work on what you want step-by-step. Then, go back and try it once you have the time. In fact, we suggest you to take the time to try out for those new to Toonly.
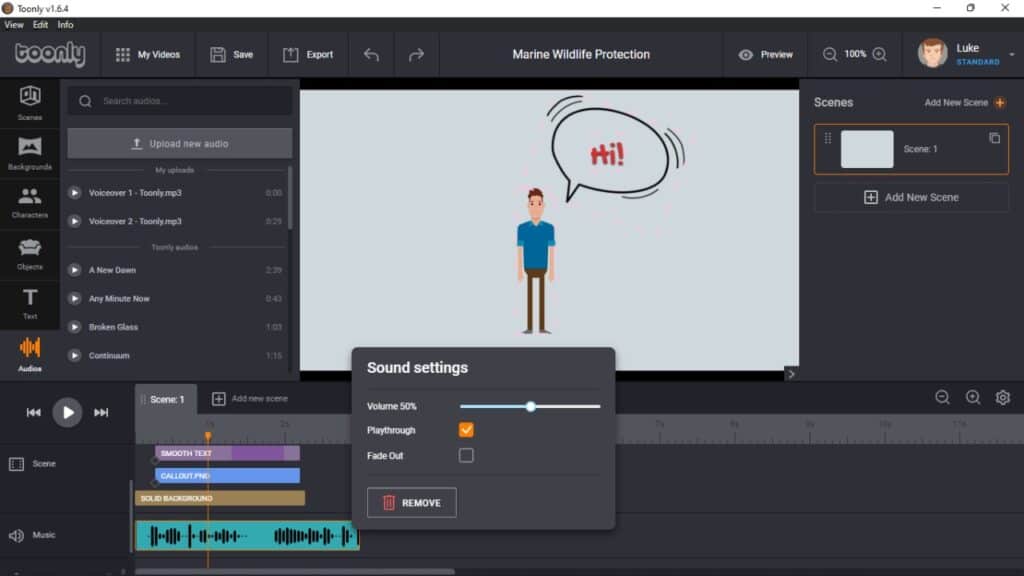
Adding music is just the same as adding any other elements. Just drag-and-drop, then adjust from its available settings by right-click. Also, you can directly record a voiceover for the video from within the program without having to use any external sources.
Advice: If you are using the same audio for multiple scenes, all you need is tick the ‘Playthrough’ option which will let the audio continue to different scenes. Rather than add in multiple instances of music and then trimming them separately.
You can use background, objects, music, etc. from the built-in library of Toonly. Yet, if you wish to upload your own media, you can still do so by using the ‘Upload new object’ button in each media section.
In a nutshell, this is how design work is done in Toonly. The challenge is really in conceptualizing your video while the difficulty is knowing the available options in each tool in Toonly that will help you do to. With time and experience, using Toonly to create all sorts of animated explainers is a real possibility and at no sweat! With this, our first scene is ready!
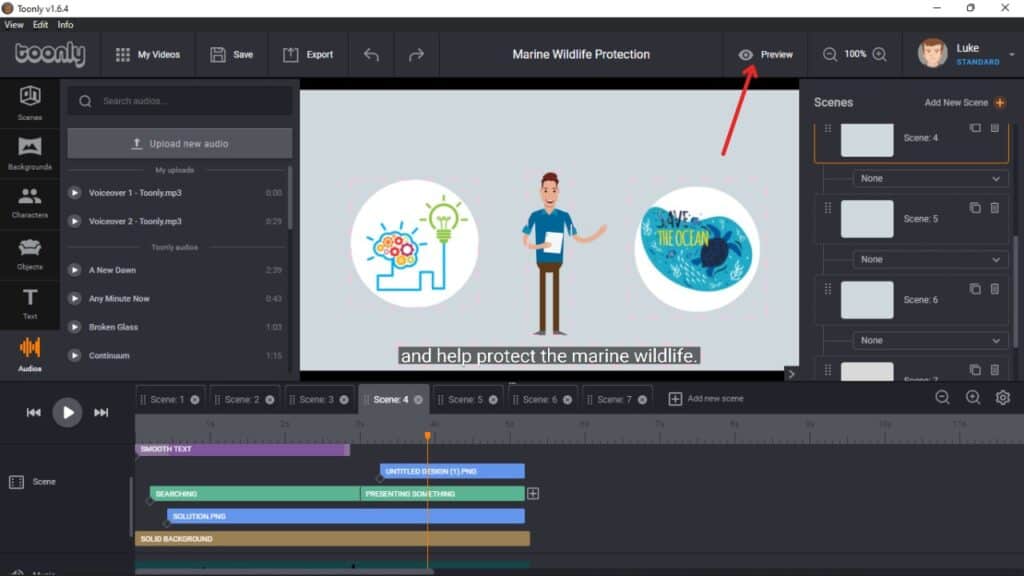
Note: Don’t miss the ‘Play’ button at the bottom-left to preview each scene every now and then, or use the ‘Preview’ button at the Top to preview the full video made with all the scenes.
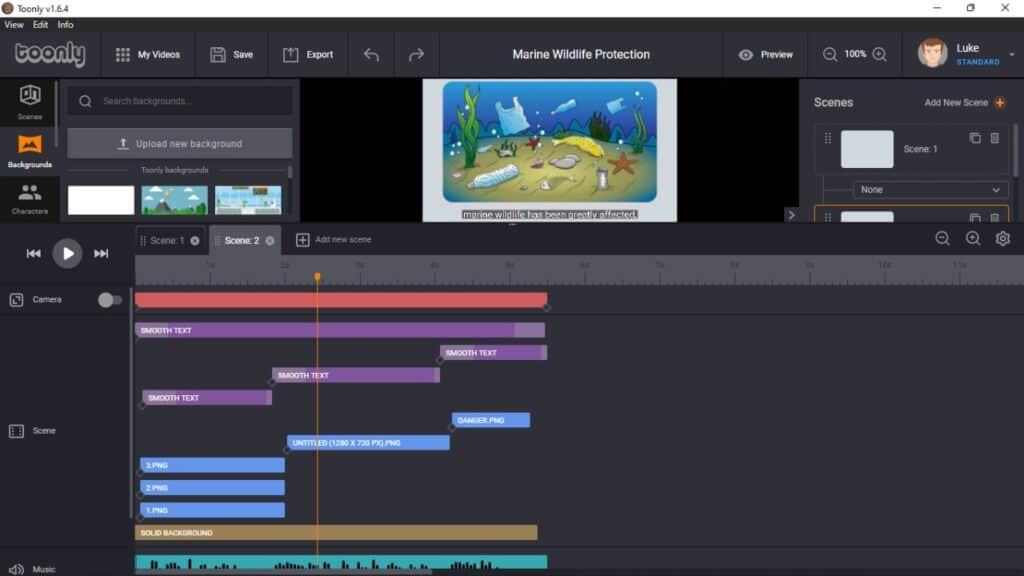
Moving on, we used the same methods for all our other scenes. Of course, we conceptualise everything before-hand. So, in the second scene, we added a couple of suitable images, the same background as the first scene, and the subtitle for the voiceover. Then, we adjusted the settings and animations for all elements accordingly. Nothing special here! If you need a reference, look towards the timeline to see how all the elements are arranged in order in the screenshot below.
Note: Yes, don’t forget to plan out your voiceover and accompanying subtitles too!
BONUS: We used Animaker Voice, an online FREE Text-to-Speech app, to easily create our voiceover. Click this LINK to head over to Animaker Voice and use it too!
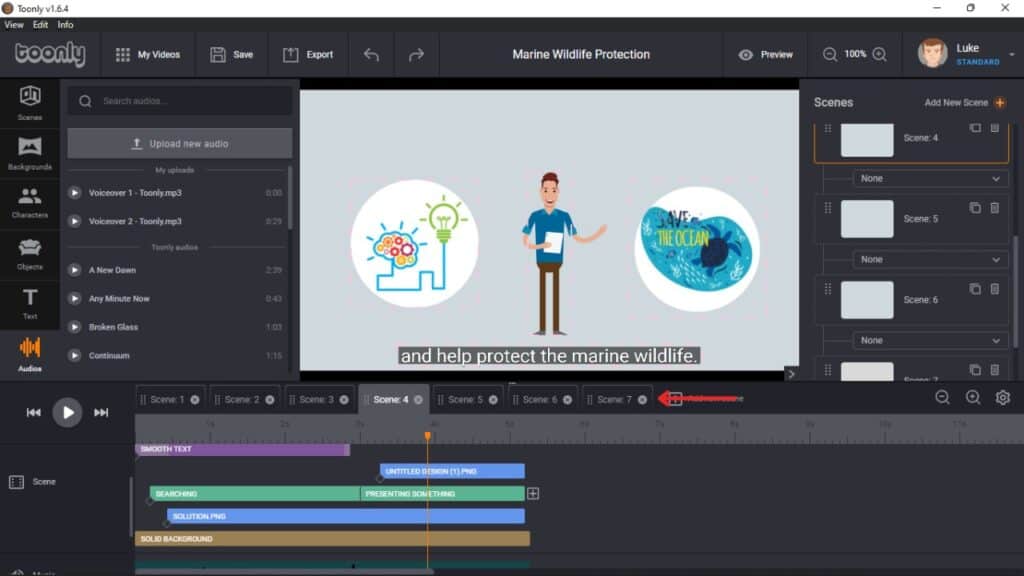
At this stage, we have created 2 scenes for our video using similar steps. Thereafter, the process of adding and editing other scenes is no different! For our ‘Marine Wildlife Protection’ video, we have created altogether 7 scenes as shown below:
Now that we are done with the design and edits for our video, it’s time to finalize in the next section.
4. Finalise Video
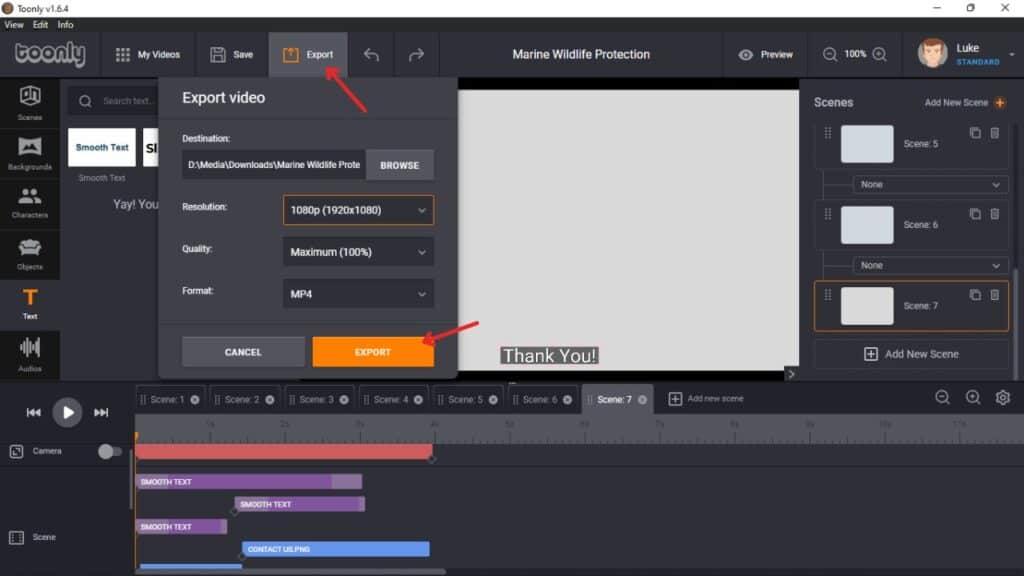
Before exporting your video, always perform one more final preview. Or even better, preview your video to another guy for his opinion. This can be done with the help of the ‘Preview’ button at the Top section. Not happy? Exit the preview and back to edit.
If not, click on ‘Export’ at the Top section and export with your preferred resolution, quality and format.
Advice: Format and resolution is actually important here. So, don’t just publish the best resolution and most popular format! Know which platform your video will be published at, and what resolution and format are accepted before proceeding.
Thereafter, your video will be stored on your PC after export is complete. Want to know how our video turns out? Move on to the next section!
5. Our Final Video
Final Comments
See, video making isn’t so hard! It just needs a will, and some hard work! Like any other new ventures. Nonetheless, with 30-day moneyback guarantee, you have all the time you need to master Toonly and set yourself onwards to a journey of video marketing! Good luck!
If you like Toonly, be sure to check out Voomly’s whiteboard video maker, Doodly, too!

Activities
Having seen what Toonly can do, what explainer videos would you be looking to create? Tell us with a COMMENT below.
LIKE & SHARE this article with the world in love for videos, explainers or not!
HASHTAG #DonutAtwork
Similar Tags you may be keen in: Creative Development | Digital Advertising | Social Media Management