Create All Kinds of Workplace Videos With This VideoScribe Tutorial!


Videos are now commonly made for the purpose of social media and digital advertising. Yet videos are entertaining and effective medium with viewers retaining as much as 95% of the video message! So, in the workplace, can you have a video communication strategy too? Definitely!
In this tutorial article, we are going to make a ‘workplace tips’ video using VideoScribe, a popular whiteboard animation maker. The UK-based software is used by over 2 million users worldwide and has over 8,000s images in their library! So, how easy is it to use VideoScribe? What videos can we make with VideoScribe? What templates are available in VideoScribe? Let’s read on and find out in this exclusive VideoScribe tutorial!
The world wide web is huge, and yet you had stumbled on my site looking for something. I hope you find it as we had taken huge efforts to create them. Best of all, its FREE! Hence, some of our content may include affiliate links (i.e. whenever you click on the links and purchase, I earn a small commission at no extra costs to you!). No worries! Some of these links may look like phishing, but I assure you they are not! Lastly, the affiliation does not affect my reviews towards them. Enjoy!
- Getting Started With VideoScribe
- Select a Template
- Customise
- Finalise Video
- Our Workplace Video
- What Else Can You Make With VideoScribe?
1. Getting Started With VideoScribe
VideoScribe enable users to create amazing eye-catching videos easily and fast with almost zero knowledge of editing and design. Whether it be an explainer video, animation, or infographic, VideoScribe is one of the “must-try” whiteboard video maker! To start, head over to the official VideoScribe website at www.videoscribe.co and create an account.
VideoScribe offers a free trial of 7 days, so you can try first before purchasing a subscription. By the way, pricing starts from only US$ 14 per month! After creating the account, download the VideoScribe application according to your PC’s Operating System (Mac or Windows). Unfortunately, VideoScribe isn’t a web-based software, so installation of its application to your PC is necessary.
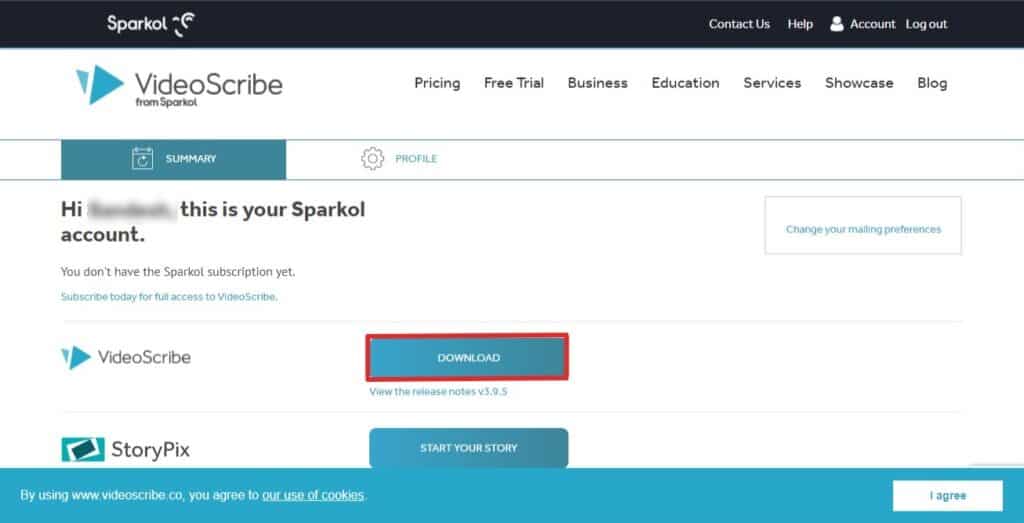
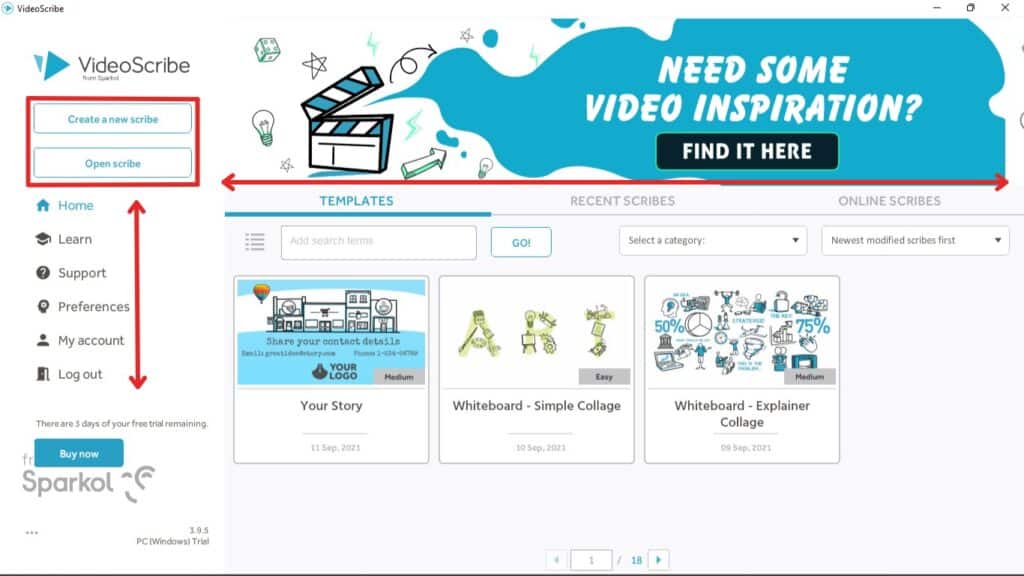
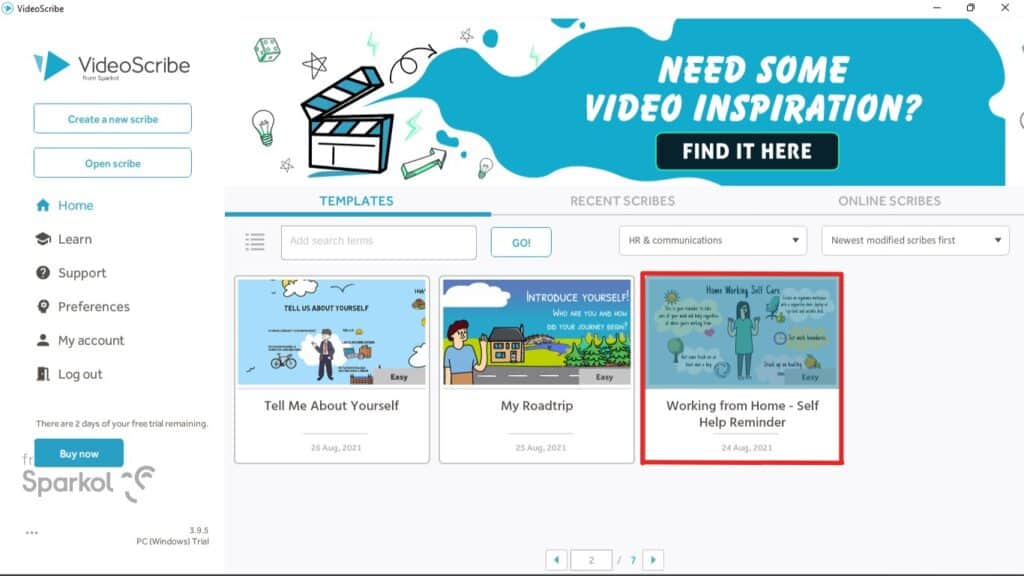
So, go ahead and install VideoScribe. Then, open the application and log in using the same account details you created earlier. Here, you will see the neat and feature-packed VideoScribe dashboard. On the dashboard, you can see all pre-made templates, your recent scribes (aka projects), and online scribes. Also, you can create a design from scratch using the ‘Create New Scribe’ button or open saved scribes locally from your computer.
What more? Any time you feel that you are stuck somewhere, or need an inspiration, click ‘Learn’ to be directed to VideoScribe’s official blog or ‘Support’ to access the online knowledgebase. Lastly, you can manage preferences and account settings all from the left-hand toolbar.
2. Select a Template
The first step to creating any design is knowing what you want, including having the details you want in the video. So, we are going to create an ‘Employee Mental Health Care Tips’ video.
As previously mentioned, you can create your designs in VideoScribe either from a blank canvas (scratch) or from a ready-made template. If you are a beginner or want to create outstanding videos quickly in less time, we recommend going with templates. Good for the Social Media Manager, you say?
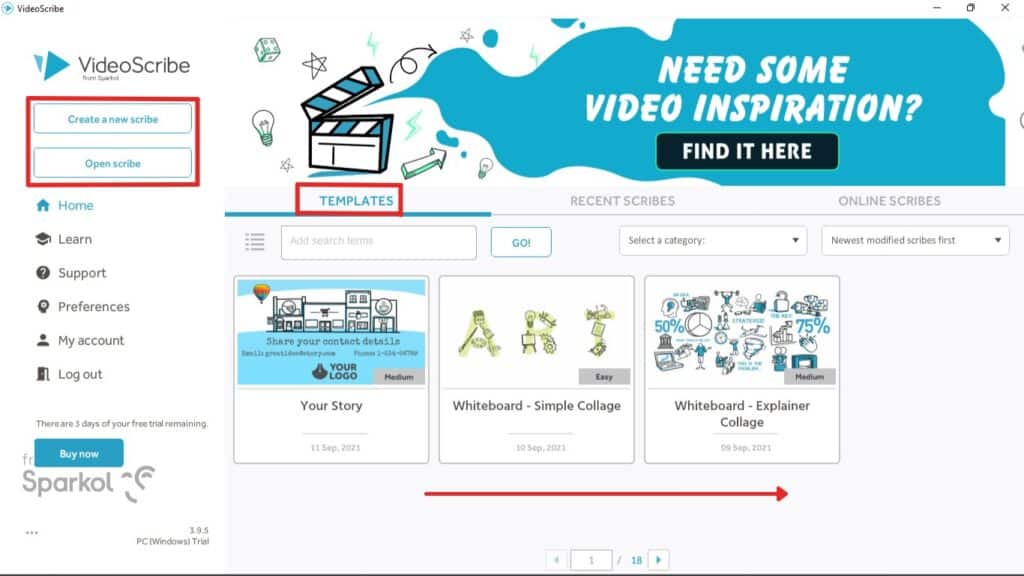
At the VideoScribe dashboard, you can already see some templates. Here, you can use the search bar to quickly find what you want. Alternatively, you can ‘Select a category’ to browse what is available.
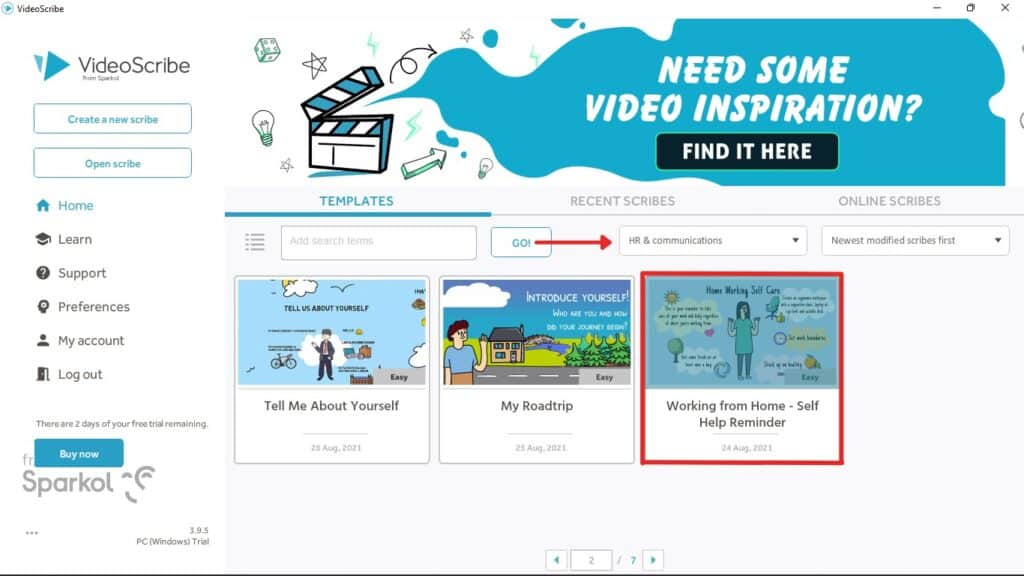
Once you find your desired, click on it to be taken to the editor interface. By the way, we are going to click on the template, ‘Working from Home – Self Help Reminder’, to work on in this VideoScribe tutorial.
(Comments) We chose this template for its viability for corporate communications and distribution via the company’s intranet. Such videos are a good way to send across messages that can be read in a light and easy manner!
3. Customise
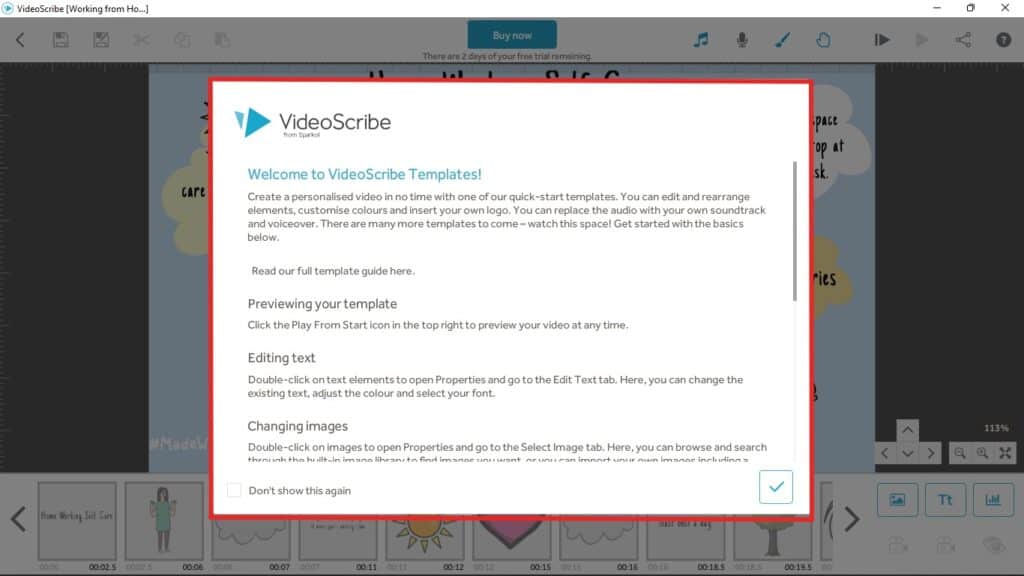
Here, you’ll be shown a popup of the template guide. The information is exceptionally useful especially for first-time users. So, read that, then click the ‘Tick’ at the bottom right corner.
3.1 VideoScribe Interface
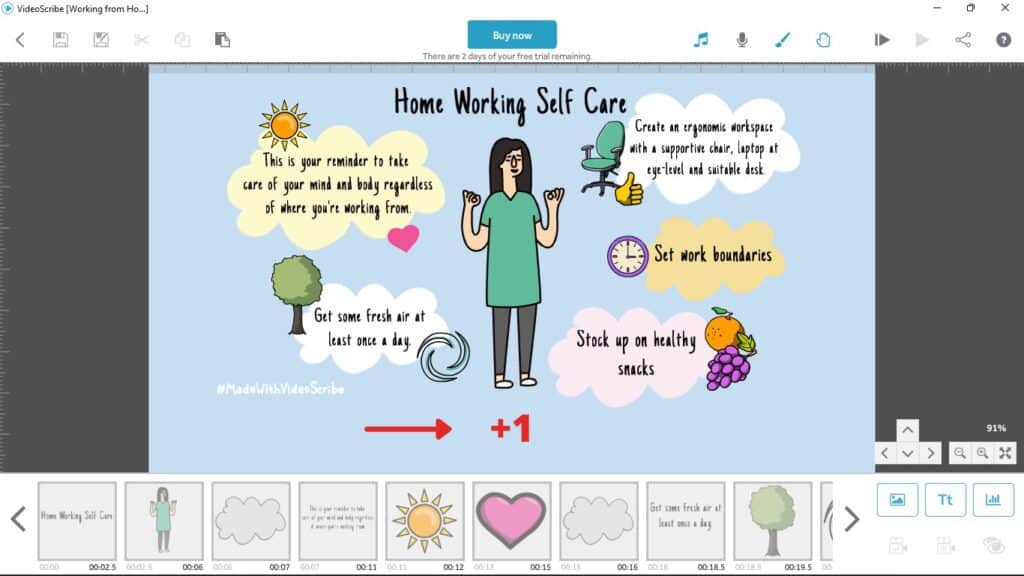
Finally! We are now in the neat and clean interface of VideoScribe editor with all the elements and functionalities. On the center of the screen, you will see a large working space consisting of all the elements used in the video.
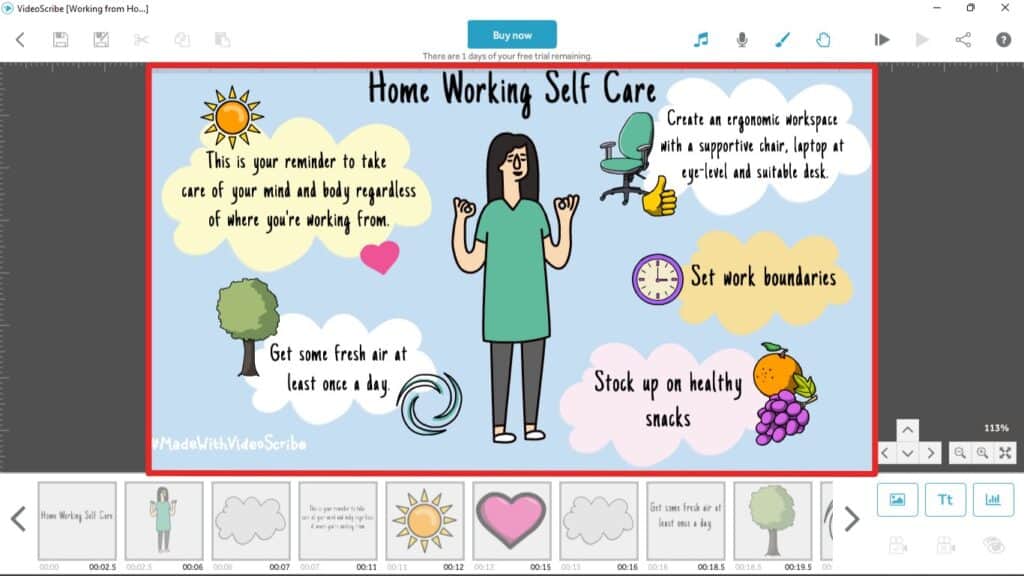
At the bottom of the interface, is the timeline with all the scenes arranged in order according to the playback of the video. Each scene can be edited separately as well as the arrangement of their individual position on the timeline. Double-clicking on one scene will open up more editing options.
Looking towards the bottom right corner, we can see 3 square buttons. These buttons allow adding stock images and text from the VideoScribe library, or we can upload our own. Here, you can also see a ‘Chart’ button, which is used to add charts or graphs to your video. Useful for making data visualiations! Below the 3 square buttons, you can see buttons to change the camera position and hide/unhide any particular element.
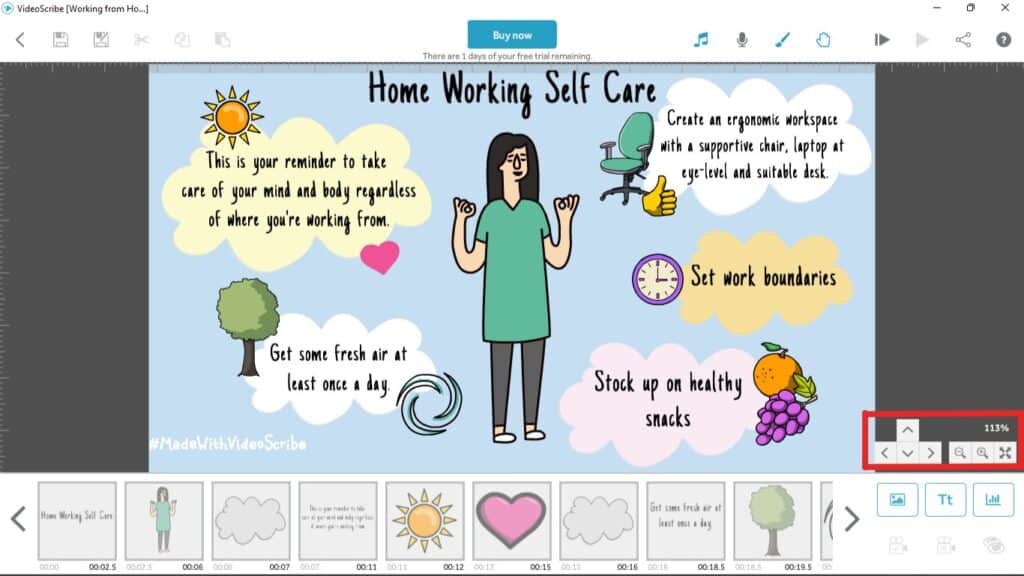
In the same area, above the 3 square buttons, you can find several viewing tools such as the arrows (to pan), magnify, and the ‘fit to screen’ button. These tools enable precise editing and modification. So, are commonly used and very essential!
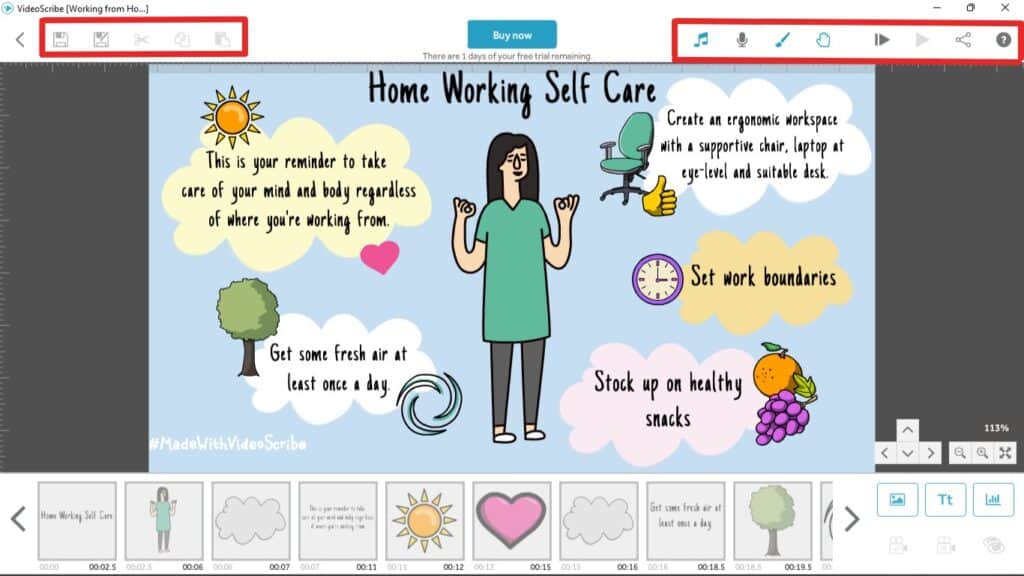
Moving on to the top bars, on the left, you will find buttons for saving, cutting and copying elements. On the right, there are buttons to add music, voiceovers, along with preview and share.
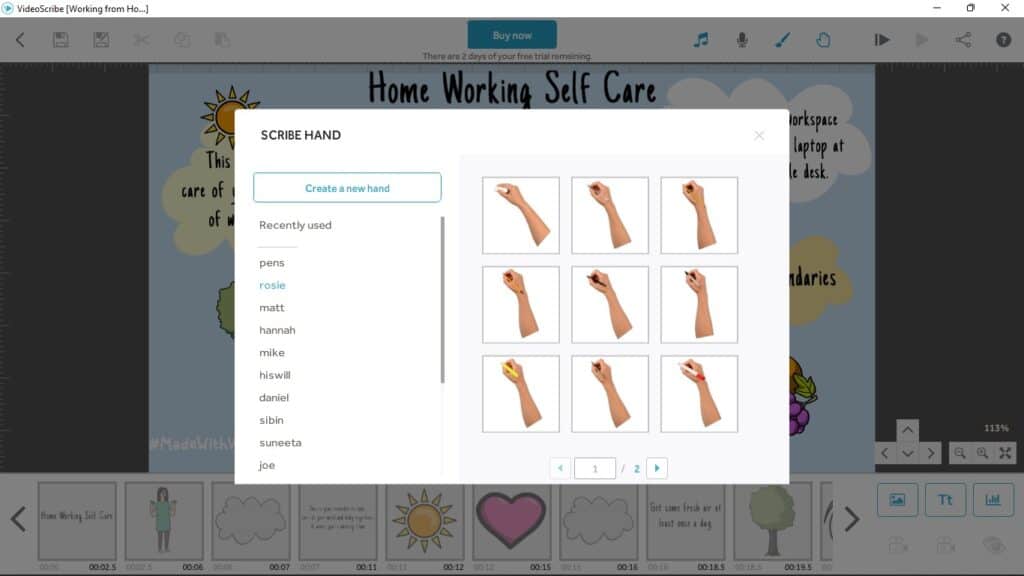
In any whiteboard video maker, the ‘drawing hand animation’ are essential elements. Of course, in VideoScribe, you can change the hands and pens used too! Last but not least, VideoScribe offers a nice library of stock music to add to your video templates. Browse through them accordingly via the ‘genre filter’.
This concludes our brief to the functions available in the VideoScribe editor. As you may realise, they aren’t so complicated and made for ‘Steven Spielberg’! As we go along this VideoScribe tutorial, we are sure you will get more confident and comfortable. So, let’s start customizing the template!
3.2 Customisation Steps
We had already clicked on our template previously and now at the editor. If you are not, then choose your template and click on it.
Here, we know clearly what we want, and what we want included in our video. So, it is easy to pinpoint that the first step for us is to place all the elements we need. Then, we will edit the information all at once later. Currently, the template has 4 for text bubbles, but we needed 5.
(Tips) Having a plan prior to starting video creation is essential. Get this in your mind for all future video works and you will surely go a long way!
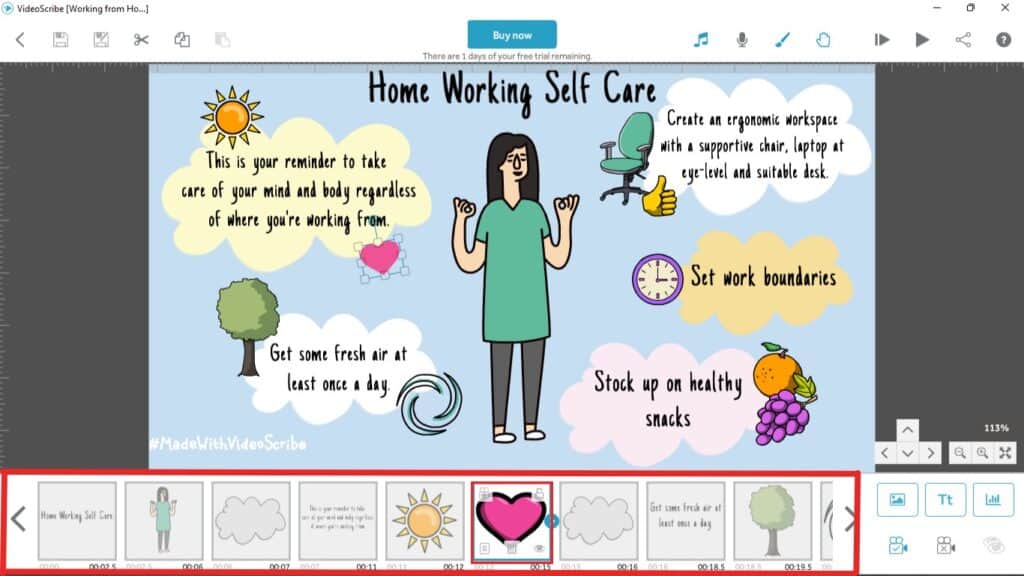
Normally, we can just add similar images of text bubbles, small images, and text, but that would take time and may not create design consistency. So, perhaps the best thing to do here is to copy an existing similar element and paste them into the desired position.
To do this, click the existing element you want to copy, then right-click and copy. Then right-click on any empty space again on the screen and paste it.
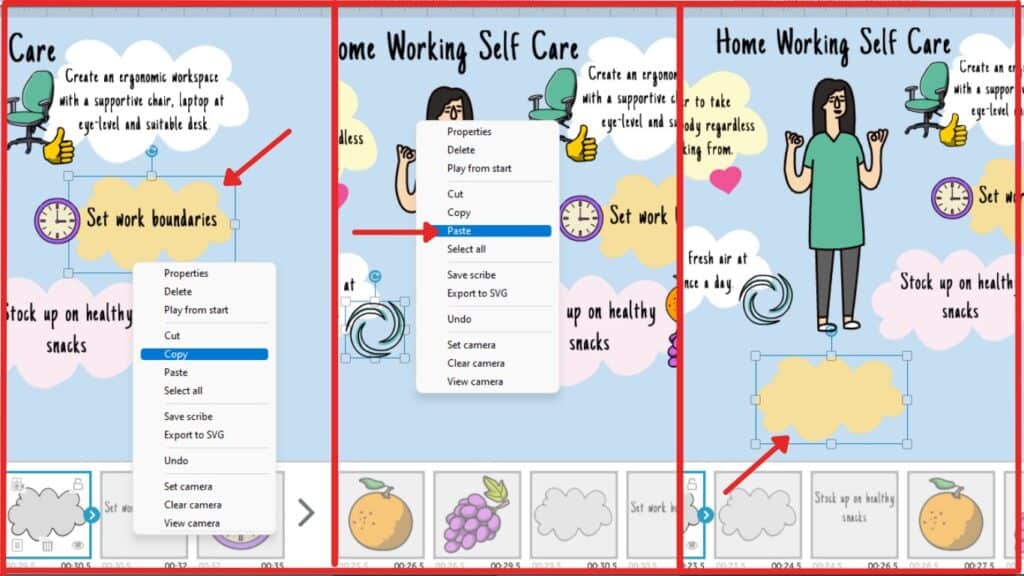
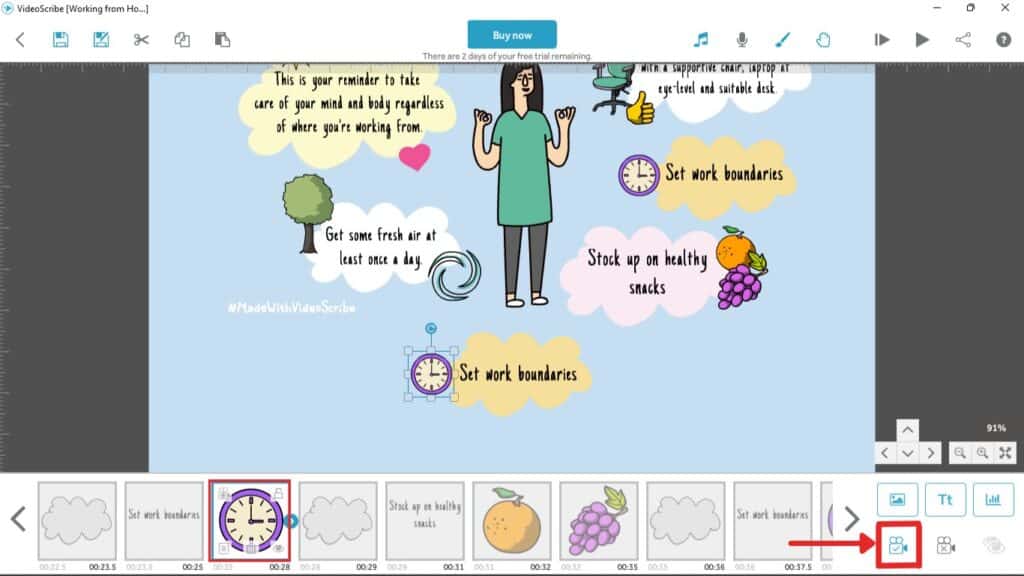
However, doing that won’t be enough. We need to arrange its order in the animation by dragging it in place in the timeline. Similarly, repeat the copy-paste and timeline placement steps for the text and image (i.e. clock) for that text bubble.
(Comments) Although, we ultimately change the clock image, having it in place helps us to visualise the full look of the video better.
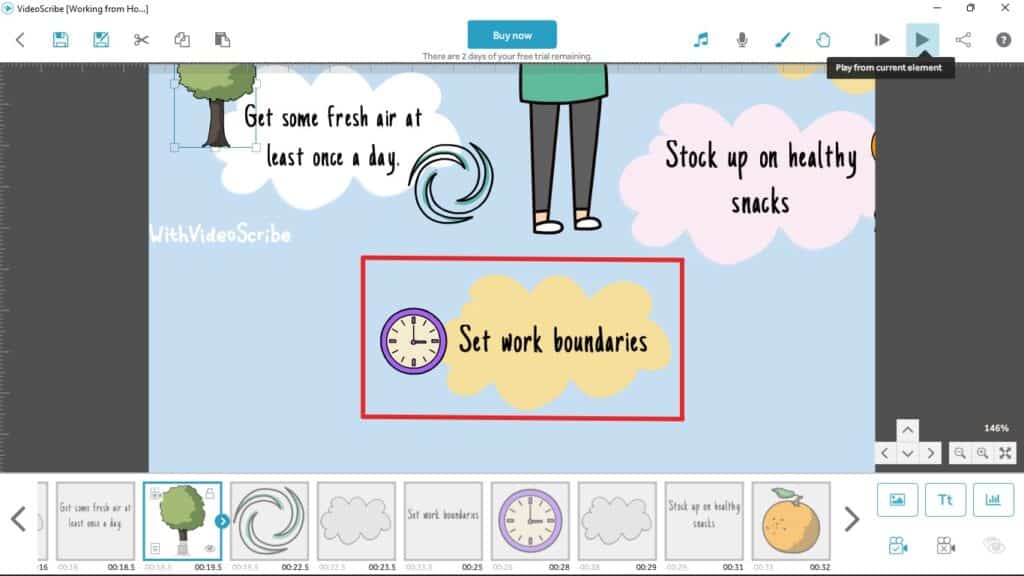
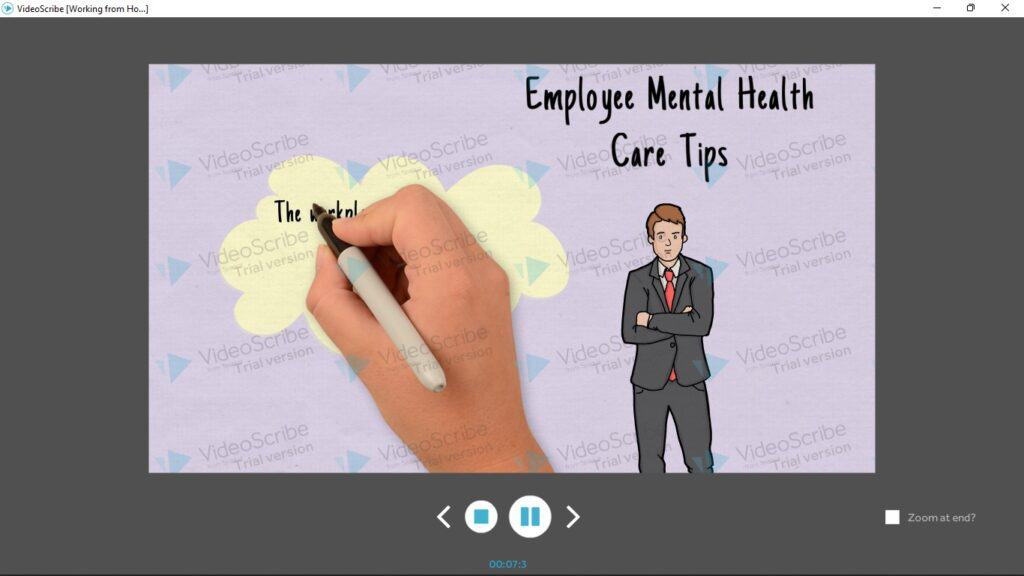
Now, all the design elements of our video are in place! If you haven’t previewed your video, click the ‘Play’ button at the top right-corner.
(Tips) In VideoScribe, you should always preview your video after every change to ensure the animation sequence and flow retains. As you preview, you’ll notice that newly copied elements are out of place. That is because we haven’t adjusted the camera position of copied elements yet. You can also check this with the ‘View current camera position’ button on any element.

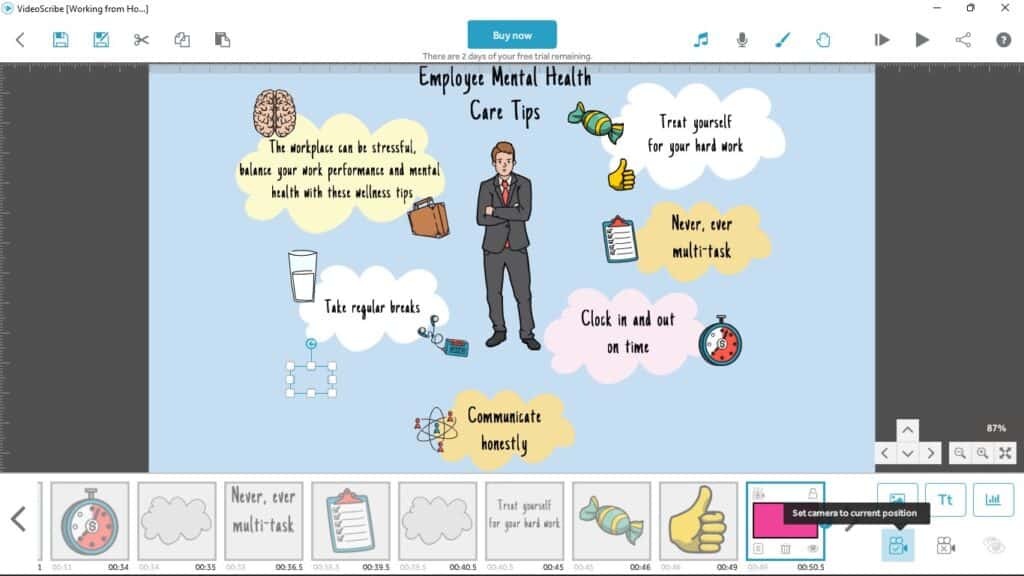
To set proper camera position, first click on any copied element. Next, drag and move the viewing screen with your mouse until that element is properly zoomed and shown on the screen. Then with the element selected, click the ‘Set camera to current position’ button on the lower right. Repeat the same for all new and copy-pasted elements.
Once done, we just need to edit the content next! So, let’s start with the text. Select any text you want to edit, then double-click it. This will open advanced editing settings for text. Here, just change the text and other settings according to preferences.
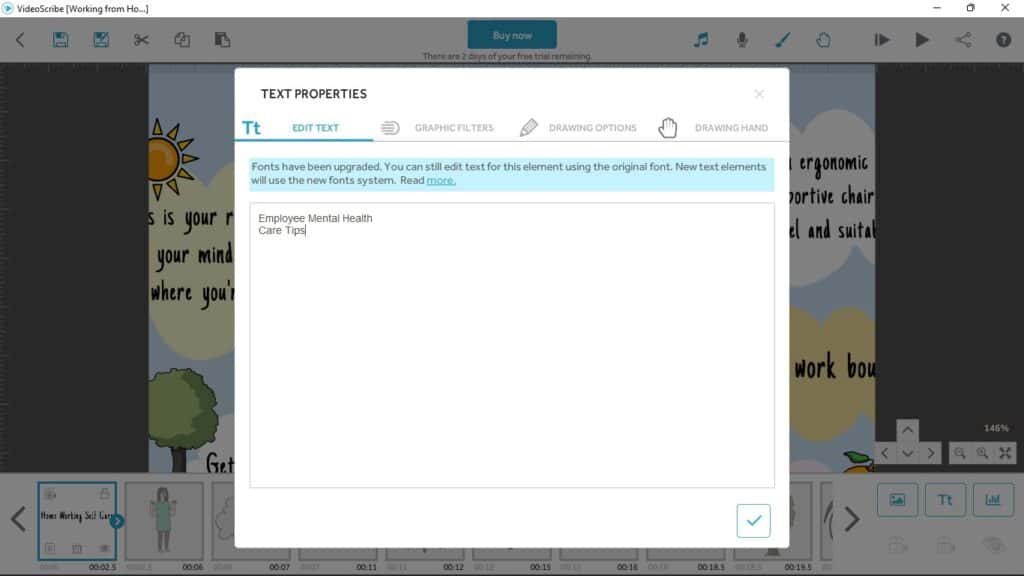
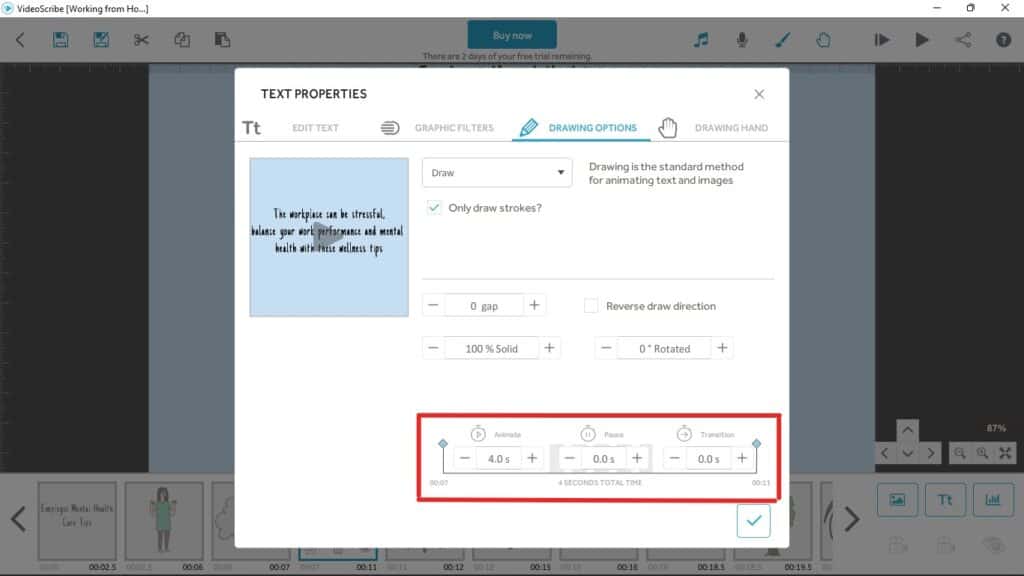
Similarly, you can edit all the text in the video and match it to your content. If you don’t have much knowledge about design, you can leave the animation timing in ‘Drawing Options’ tab to default. Basically, the option controls how long your element should be animated and shown.
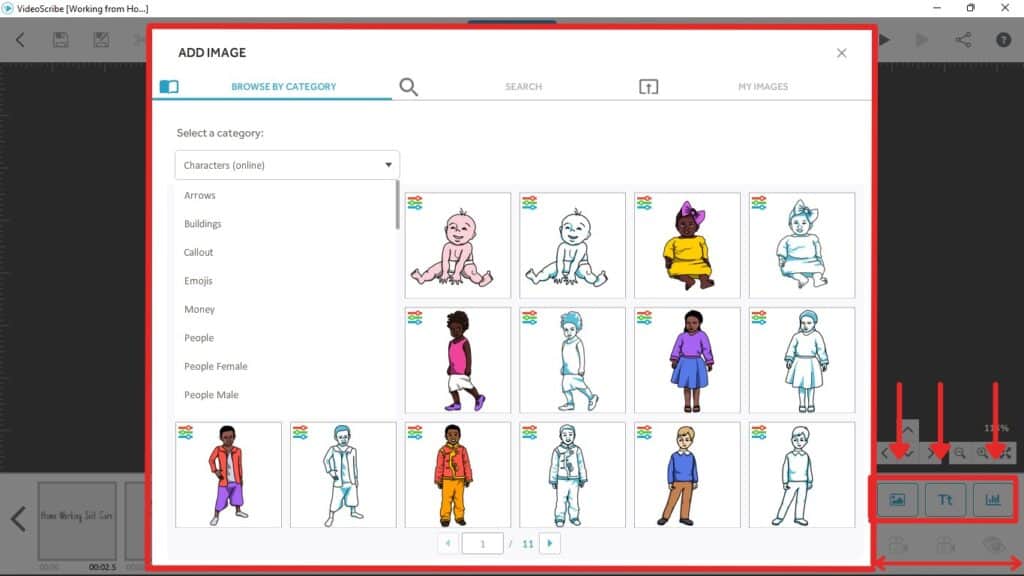
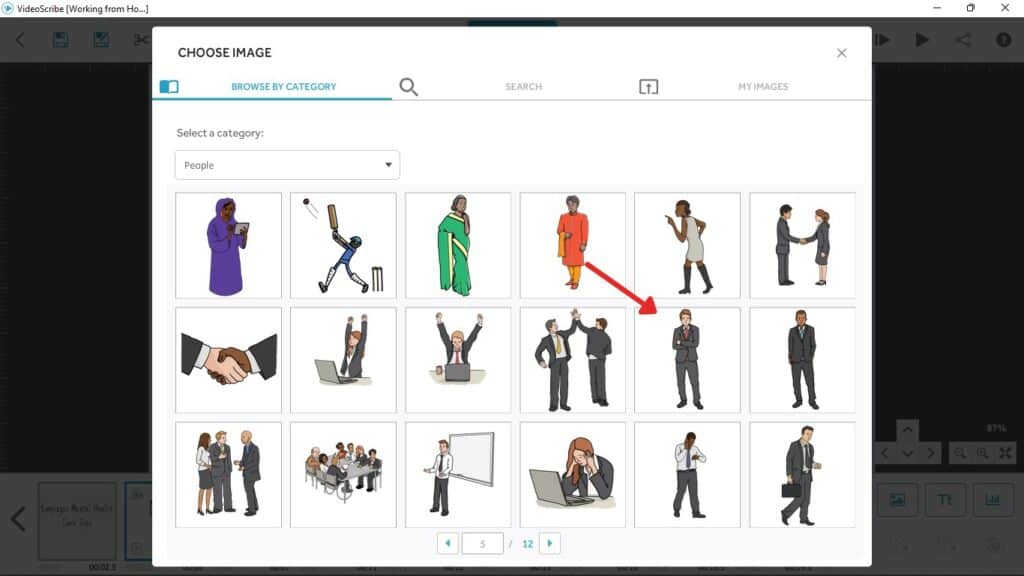
After all the text has been edited and arranged, it’s time to edit/replace the images. So, let’s start with the main character at the center. Double-click the character, and click on ‘Update image’. This option allows you to replace existing images with new ones. Likewise, you can delete and add new images manually, but that’ll require time to set all the other image settings.
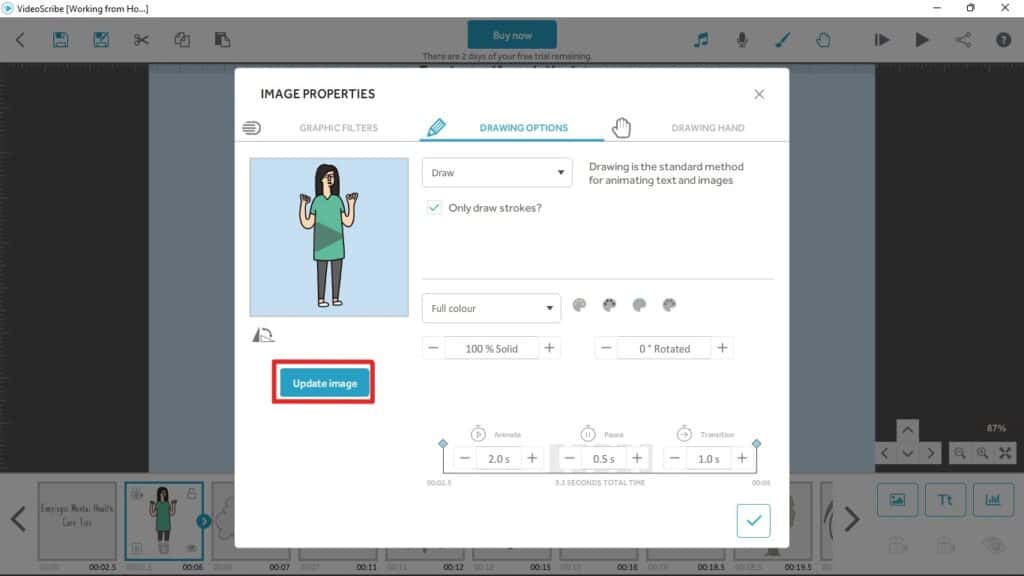
So, click on ‘Update image’, and browse from VideoScribe’s library. Then, click to select it. Also, you may adjust the character’s size and position as you see fit. The next step now is to repeat the same for all other image elements.
Now that you are more familiar, you may wish to try out other image settings that we didn’t mention to see how they work. After all, the result can be amazing! Don’t forget, that you can also delete elements via the right-click menu or the timeline.
Hence, with the above steps, we have easily edited the texts and replaced images in our video to look like this:
(Comments) At this stage, most of the work is done. Not too much sweat, eh? So, we just need to add some finishing touches with background color and music before finalizing our video.
To add/replace music, click the ‘Music’ button on the top right. A window will pop out. Use the various available filters such as speed, genre, duration, etc. to browse. Click the ‘Play’ button beside the music track name to preview the music. Once you got your desired, left-click to select and click the ‘tick’ icon on the bottom right.

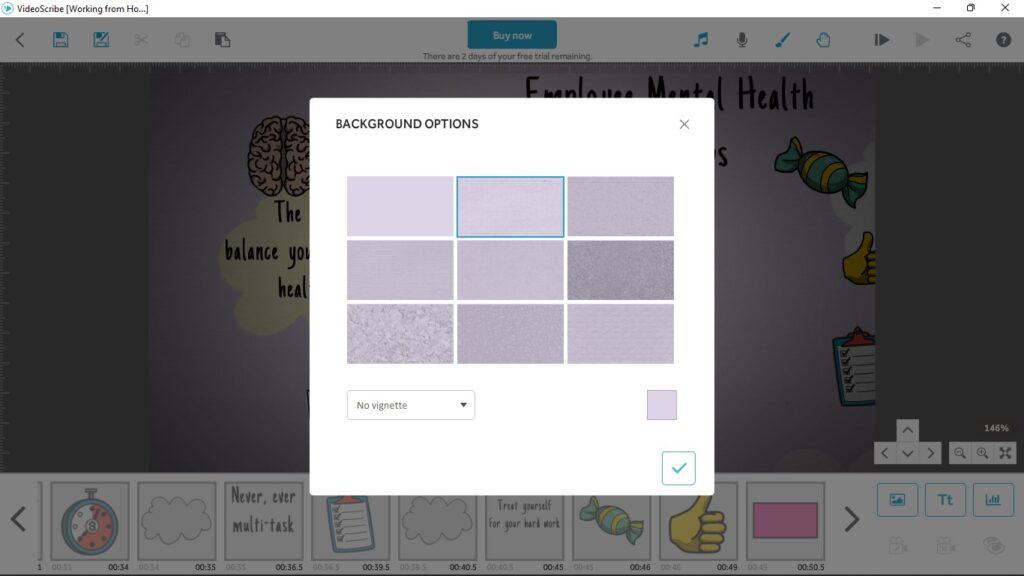
With this, we had changed our background music! Now, let’s change the background color by clicking the ‘paintbrush’ button beside the ‘microphone’ button. Select the color you like and then choose the pattern of the background. Additionally, you can add a vignette to the background too. Useful to create a vintage feel!
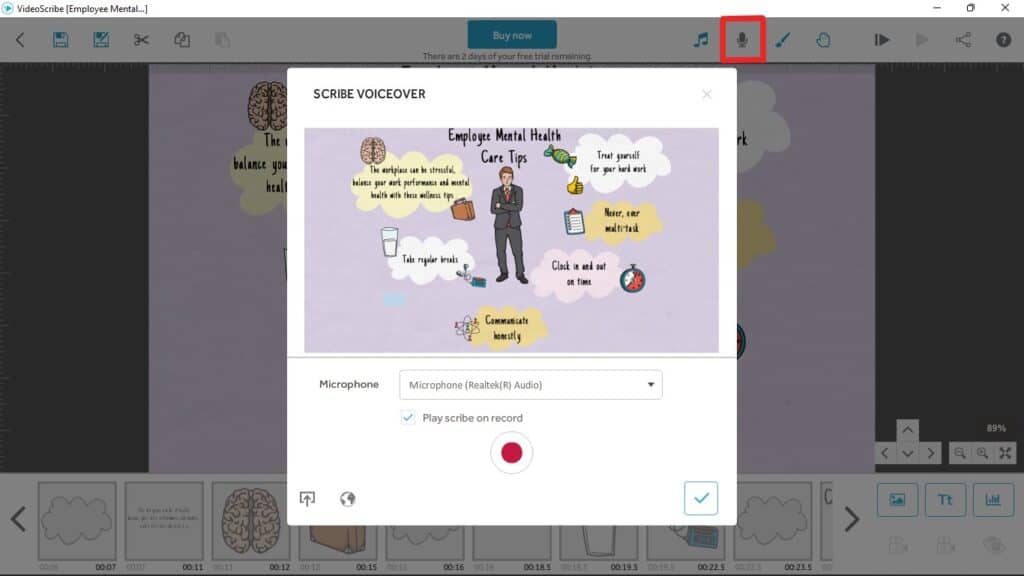
Would you want voiceover in your video? We are pleased to inform that you can do so easily in VideoScribe itself! Just record directly using your PC’s microphone after clicking the red ‘Record’ button, or you can upload a pre-recorded one from your PC.
With this, we are ready to move on to the finalization steps for our ‘Employee Mental Health Care Tips’ video! Nearly end of this VideoScribe tutorial now, so hang on there!
4. Finalise Video
With our video customised, it’s time for a final preview. There are two buttons for playing your video on the top-right. One allows to preview video from the start while the other allows preview from a certain scene in the video.
(Comments) Its always good to do a full final video preview before exporting even though you may have done it after performing some customization. Less overlooking some minor details which would need to be corrected and time consuming.
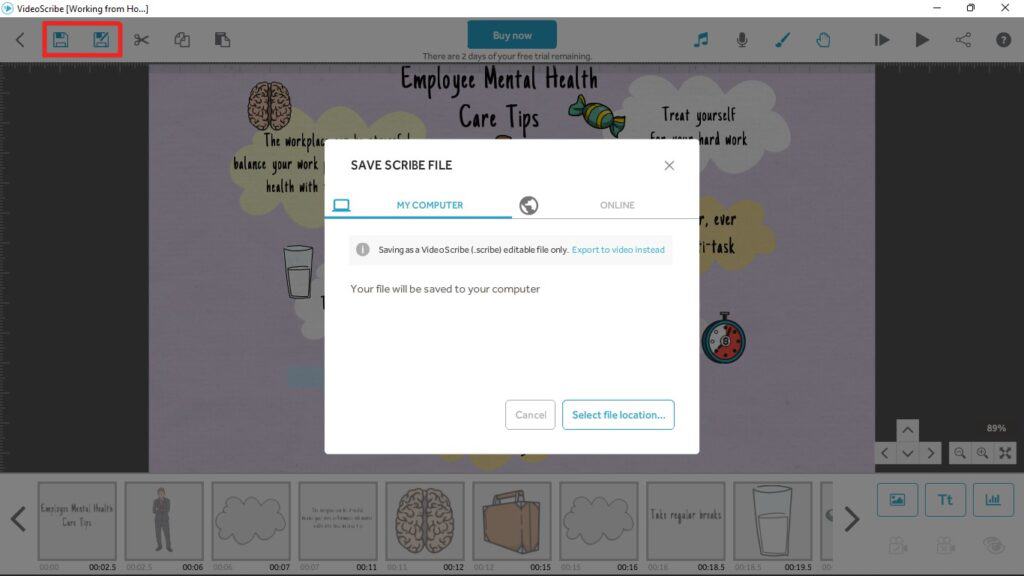
So, go back if you need to make more changes. Otherwise, it’s time to save the video. Now, VideoScribe has a couple of options to save the scribe. You can store your scribe file (not an actual video file, just the project file) locally on your PC or you can save it online.
(Comments) Its good to always save a project copy locally to your PC for safekeeping and for edits in the future.
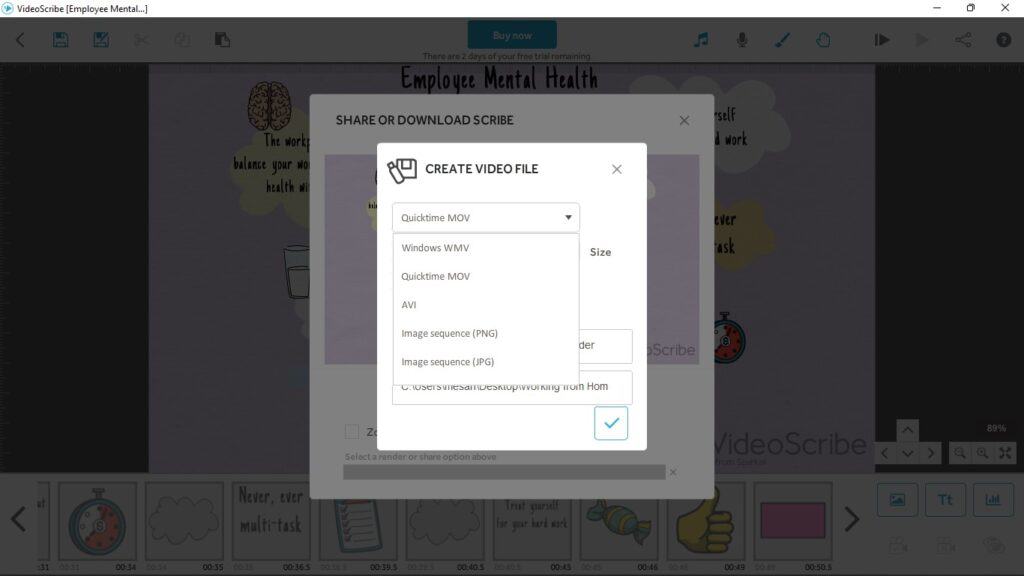
With the VideoScribe project saved, we can choose to download or share the playable video directly with others. To share, click on the ‘Share’ icon on the top right. A window will pop out with 3 export options: download video locally on PC, share with a link, and download as PPT. Choose the one you prefer.

For us, we always like a copy saved locally. So, we choose ‘Download’ and the options to choose video formats appeared. Unfortunately, our free trial doesn’t give us the popular MP4 format, so we will go with WMV. Click the ‘Tick’ at the corner and the export will now process. Subject to the video size, the processing duration will differ.
(Comments) In the free version, you can save to WMV, AVI, MOV, PNG, and even JPG.
The next section will show the result of our video design. Ready yet?
5. Our Workplace Video
Original template below:
6. What Else Can You Make With VideoScribe?
See how easy you can make workplace videos with VideoScribe? VideoScribe has much more workplace templates just like the ones we used in this VideoScribe tutorial. Besides, you will be glad to know that all templates come professionally-designed. Choose from categories like Business, Education, HR, Marketing, Explainer, Seasonal and more!
Here are some templates that we really like:
- Business Case Study
2. Meeting Tips
Final Comments
With this VideoScribe tutorial, we hope we had shown that not having experience isn’t an issue. In fact, not having a learning mindset is! We certainly hope that this VideoScribe tutorial goes a long way to your workplace communications with videos. With proper video planning and templates, anyone can create all sorts of videos fit for their needs! So, start now with a VideoScribe trial!

Activities
What workplace videos are you keen to make? Tell us with a COMMENT below.
LIKE & SHARE this VideoScribe Tutorial across because all workplaces can benefit from using video for communications!
HASHTAG #DonutAtwork
More content making? Try these Tags: Creative Development | Personal Productivity | Social Media Management