Sell Your Courses with Whiteboard Videos. Make One with Doodly Here!


Educators and Subject Matter Experts, heads up! Are you looking to sell courses or conduct one FOC? How about promoting your courses and webinars with whiteboard videos? For the early childhood educators, why not try whiteboard explainer videos to bring complicated concept across in a simple yet effective way?
The world wide web is huge, and yet you had stumbled on my site looking for something. I hope you find it as we had taken huge efforts to create them. Best of all, its FREE! Hence, some of our content may include affiliate links (i.e. whenever you click on the links and purchase, I earn a small commission at no extra costs to you!). No worries! Some of these links may look like phishing, but I assure you they are not! Lastly, the affiliation does not affect my reviews towards them. Enjoy!
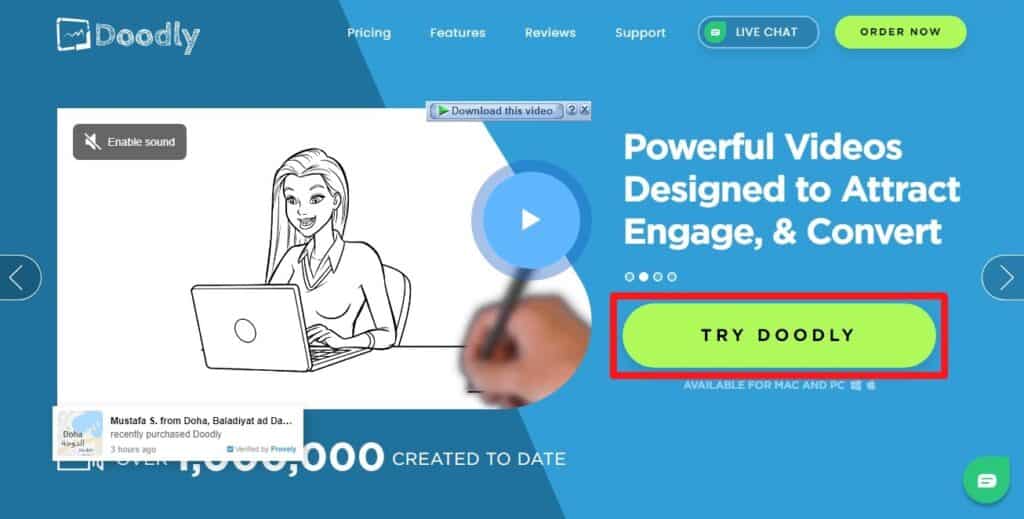
Introducing Doodly
Here is Doodly, the specialised video maker for whiteboard animated videos. Much like other video makers, Doodly contains a number of free templates for users to work with. All you need is a paid subscription, whether paid monthly or annually, to access the software. For best value, of course, take a yearly subscription which starts only from US$ 20 per month! With Doodly, anyone can create professional and engaging animated videos in minutes! Yes, anyone regardless of design skill levels!
Don’t’ forget! That you can always post these videos in your social media channels, or use them for your digital advertising with say, Facebook, and Instagram. So, the potential ROI is much more greater than you think!
Above all, creating videos with Doodly is fun, hassle-free and enriching. Don’t believe? You just got to try it! Purchasing Doodly comes with 30-day moneyback! So, grab the chance to try before you buy! Here we go!
For other video making tutorials, do also check out our articles on AVS4YOU, FlexClip, and OFFEO!
- Getting Started with Doodly
- Select a Template
- Quick Tour of Doodly
- Customise
- Finalizing Our Course Invitation Video
- Our Course Invitation Video
1. Getting Started with Doodly
First of all, visit www.doodly.com to purchase a Doodly subscription if you haven’t already. After signing up, you’ll get an email with your given password and the download links to the respective installation clients.
Since Doodly is not a web-based online video maker, you’ll have to install and run Doodly on your PC. However, no problem with that, since Doodly is available for Windows (both 32-bit and 64-bit) as well as Mac. So, click to download the Doodly version according to your PC Operating System from the links in the received email. Alternatively, you could always find the respective software clients in the member’s area in Doodly’s website for installation.
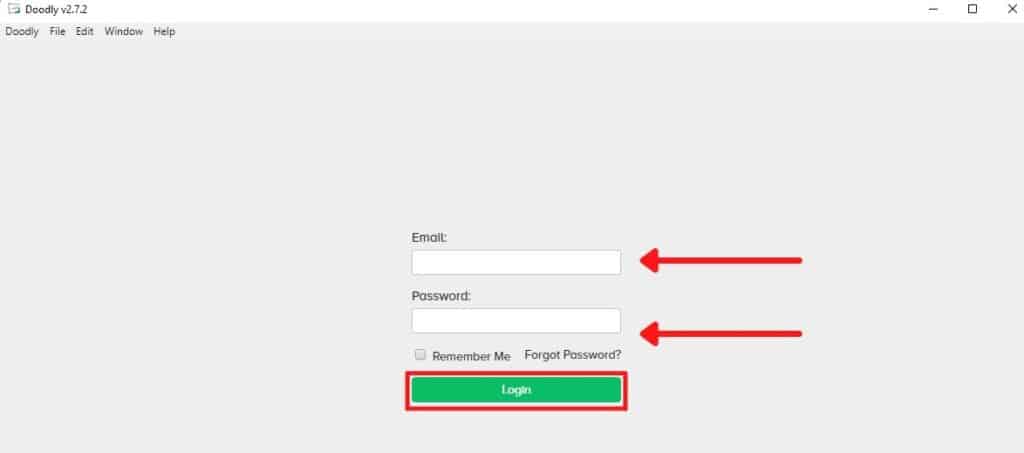
Then, locate the Doodly program icon in your PC and double click on it to begin the installation process. Depending on your PC specifications, it might take longer or shorter. After Doodly loads, input your email and password from the email sent from Doodly previously and log in. If you do not want to log in, again and again, every time you open Doodly, check the ‘Remember Me’ box.
Upon successful login, the Doodly dashboard will open. Time to create our course invitation video!
2. Select a Template
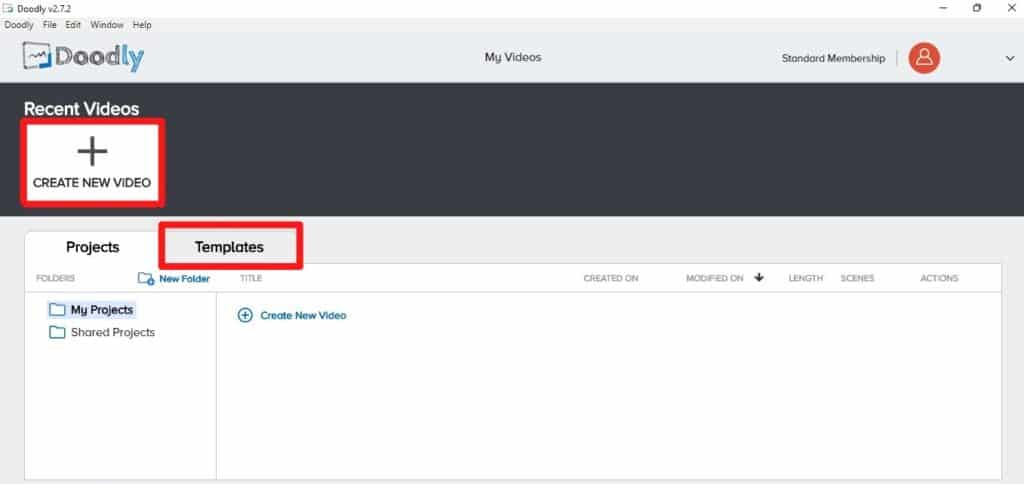
On the Doodly dashboard, you can find all your projects and recent videos (if any) along with other utilities by Doodly. To start creating designs, you’ll have two options: ‘Create New Video’ and ‘Templates’. The ‘Create New Video’ option allows users to design the video from scratch. This option is recommended if you had already clocked up a good amount of experience with Doodly or are already an expert with video maker software. Hence for now, we’ll go with ready-made templates provided by Doodly which are equally awesome, professional and fun!
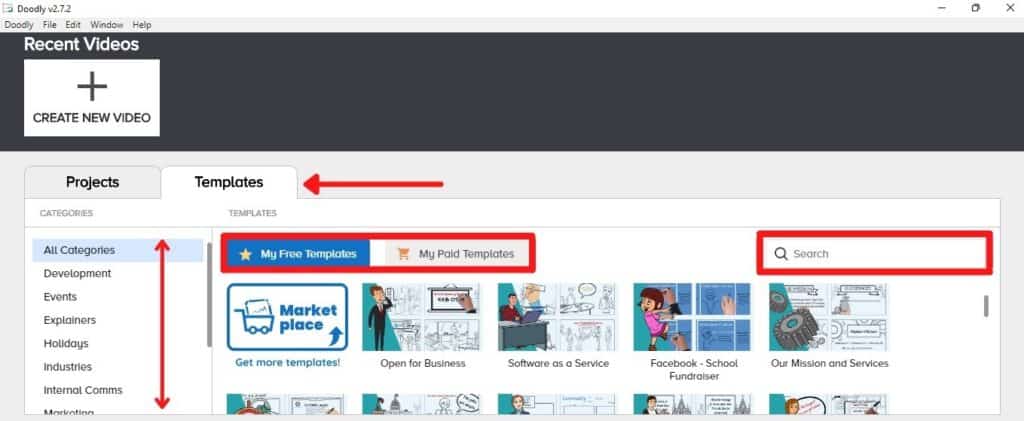
Once you click on Templates, you’ll be provided with a large number of beautiful templates to choose from. For greater convenience, you can search for your desired ones by categories or just search via the Search box. ‘My Free Templates’ contains templates from your normal Doodly subscription and ‘My Paid Templates’ contains those you separately purchase for. Well, yes. You can purchase more templates albeit at a small fee.
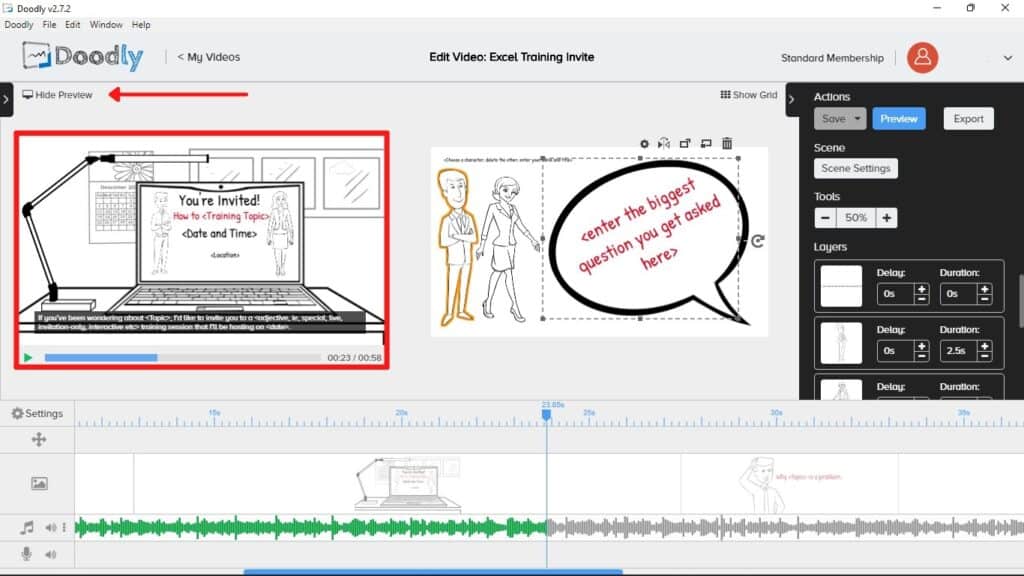
Since we are making a Course Invitation Video in this article, we’ll go to the ‘Training’ category and select the ‘Training Invite’ template.
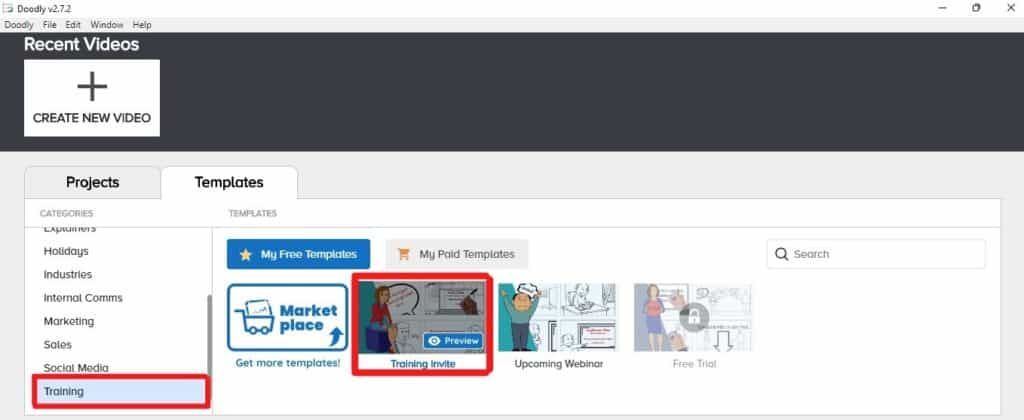
To preview the template before editing it, just hover your mouse over to the template and click on the Preview button.
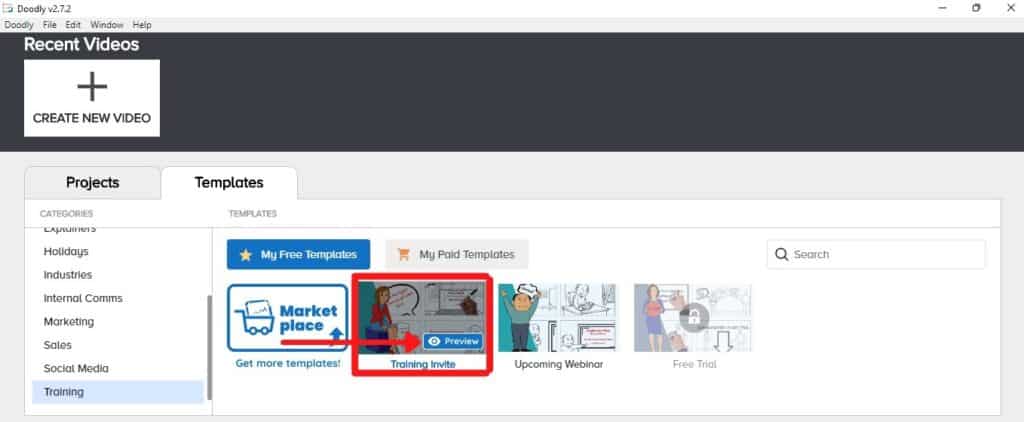
Found your ideal on yet? Just exit the preview by clicking outside the video. Then, click on the template. The editing window of the template will open up. Here, we‘ll finally be able to edit and customize the template to get the video result we want.
3. Quick Tour of Doodly
First of all, one thing we would like to tell you about working with Doodly is that Doodly is easier than it looks. Basically, Doodly’s interface is slightly different compared to other online video makers. Nonetheless, this article is here to help you so you got no worries.
Let’s start off with a simple tour of the major functions and features of Doodly that we’ll be using to create our Course Invitation Video.
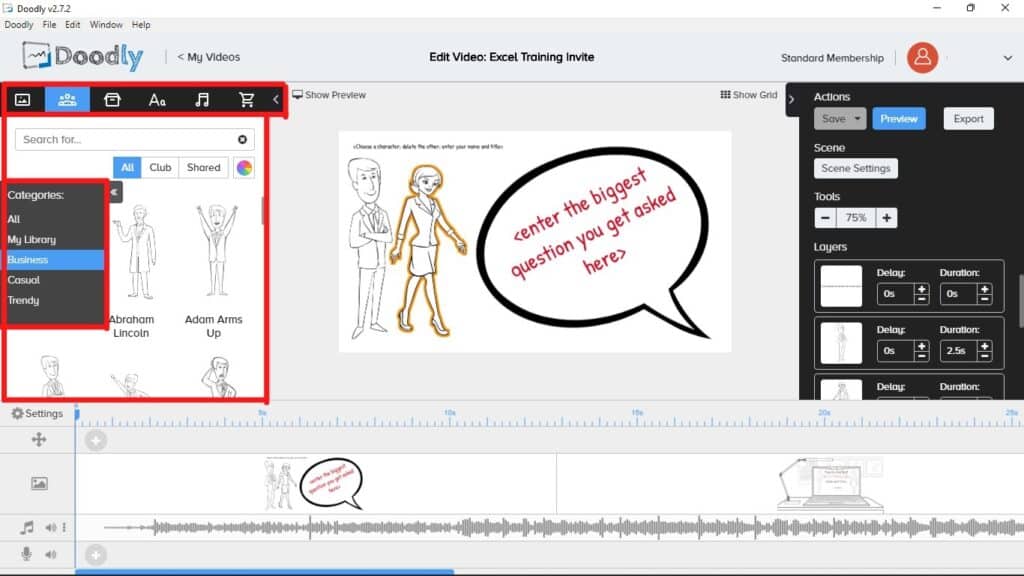
Here, the left part of the window has an Assets section where you’ll have access to all the materials required for video making such as Scenes, Characters, Props, Texts, Sound, and Marketplace. Yes, use the Marketplace to purchase extra video making stuffs right from Doodly! That said, all the stocks and templates available here are royalty-free, just for your information.
You can also browse the assets by category to help you find exactly what you want faster.
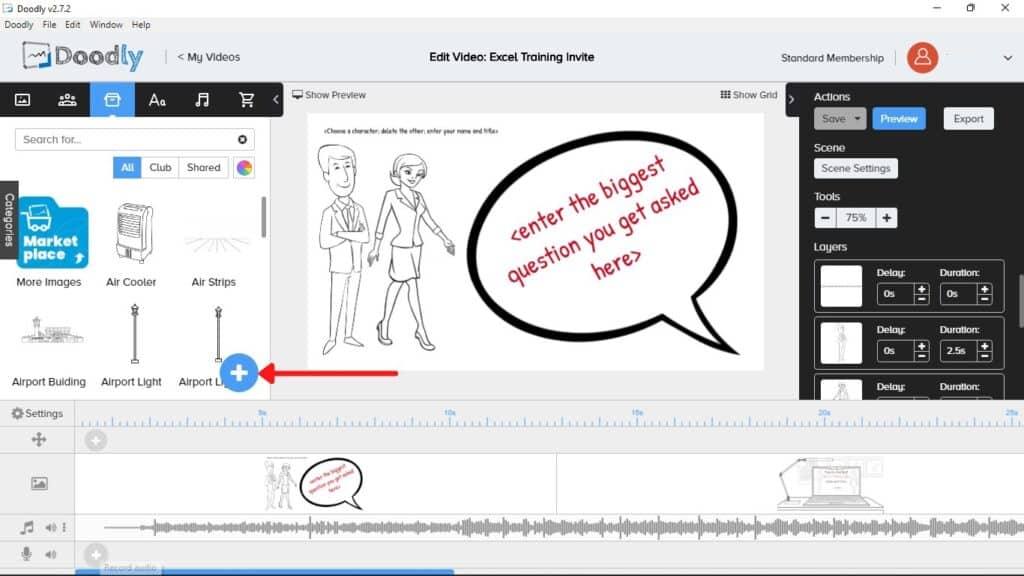
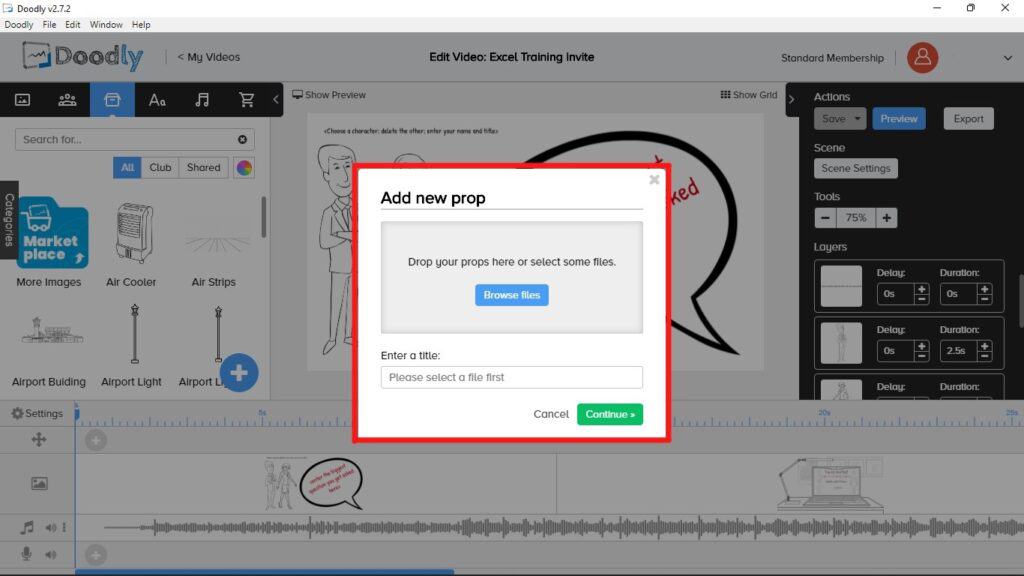
If you want to add your own stuff like logo, music, images, etc., then you can add them using the ‘+’ button. Henceforth, this particular button takes care of all the materials you’ll need for your video.
Down at the bottom of the screen, we have the Scene section or the Timeline. This tool helps us to customise our whole video better by separating them into different scenes for editing individually. Moreover, there are separate layers for voiceover, music, scenes, and effects too! So, videos made with Doodly can be very advanced and professional. Don’t underestimate it!
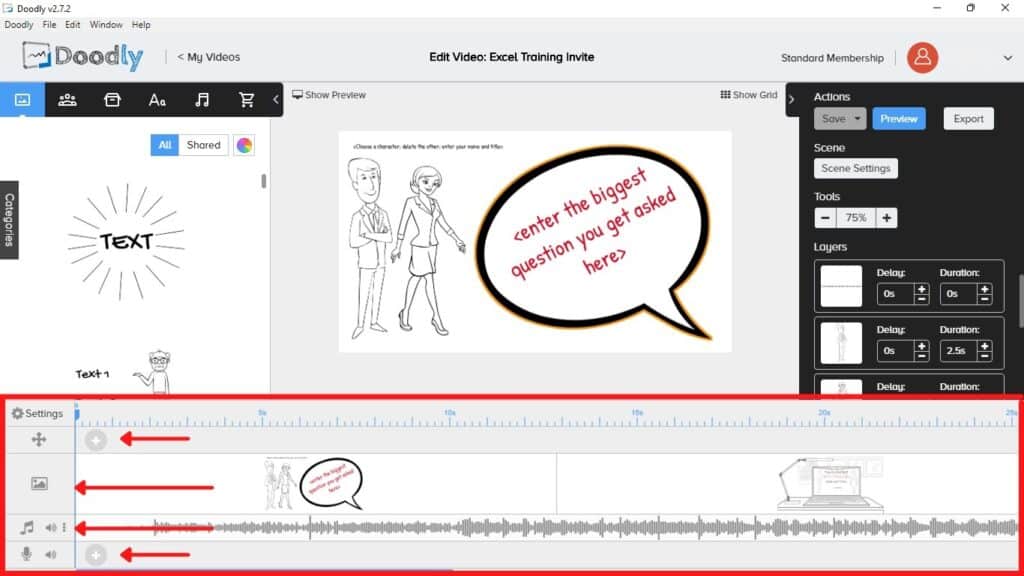
Likewise, you can add extra scenes, music, voiceover, and effects by clicking on the greyed-out ‘+’ icon. Perhaps, one of the best feature worth mentioning here is that you can record voiceover directly inside Doodly without having to record somewhere else then import it in. A huge time and energy saver!
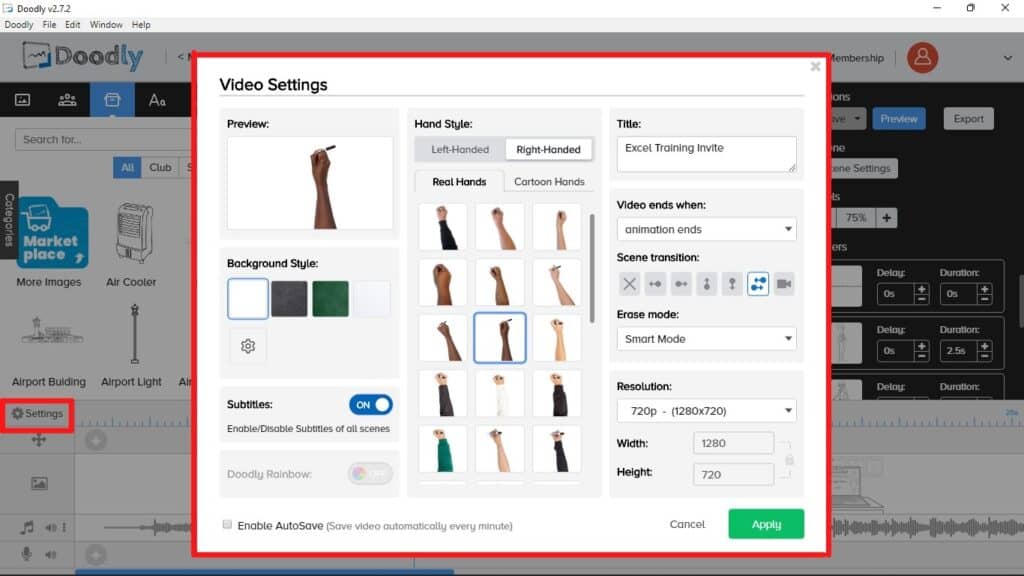
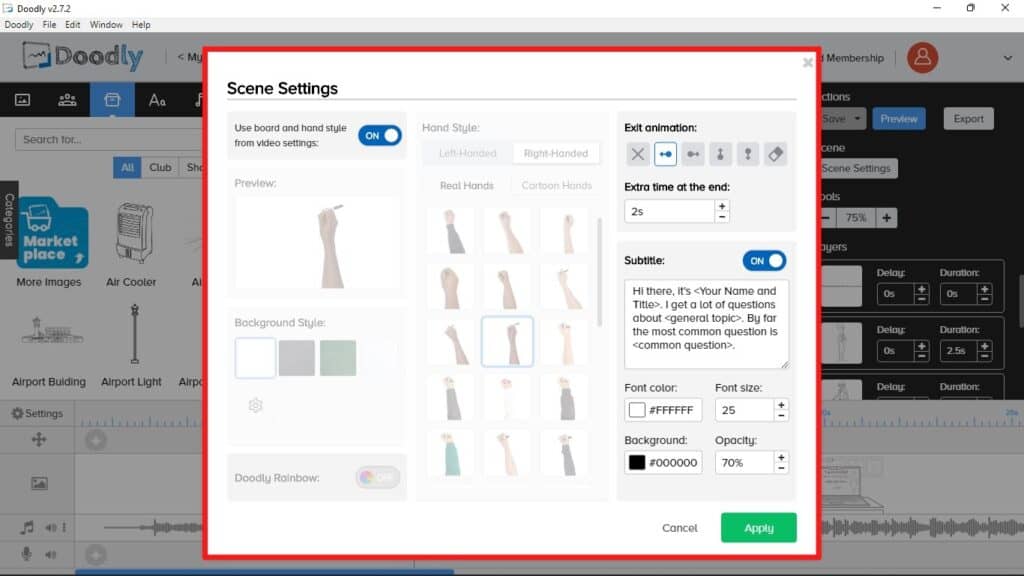
When you click on the settings button in the Timeline, a window with many options will pop up where you can change the hand style, background style, animation, resolution, and overall settings of the video. You can also enable/ disable subtitles for the video.
Then on the right side, there are some extra settings where you can adjust the timing of all the layers. Moreover, you can change settings for each scene individually. Just select a scene in the timeline and click on Scene settings on the right side. Here, you can also edit subtitles for the specific scene.
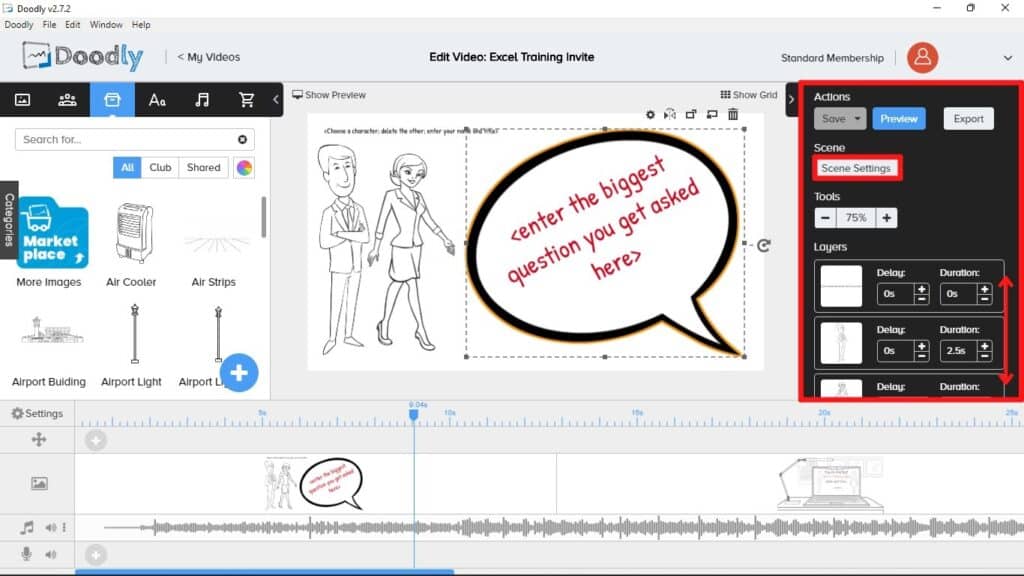
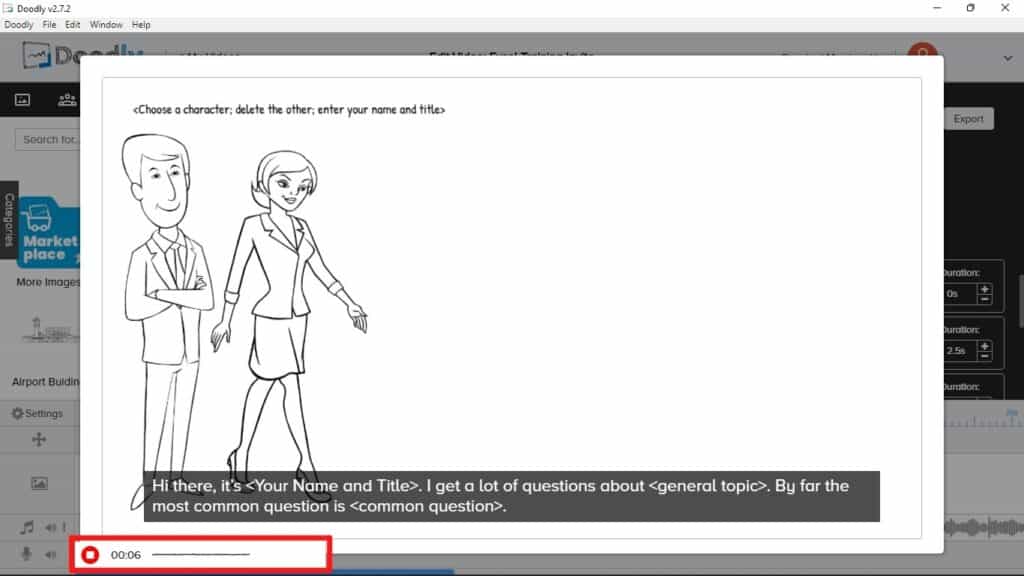
And then, we have the central part where the scenes and assets of the video are displayed. You can preview different parts of your scenes and directly select to edit the placed assets.
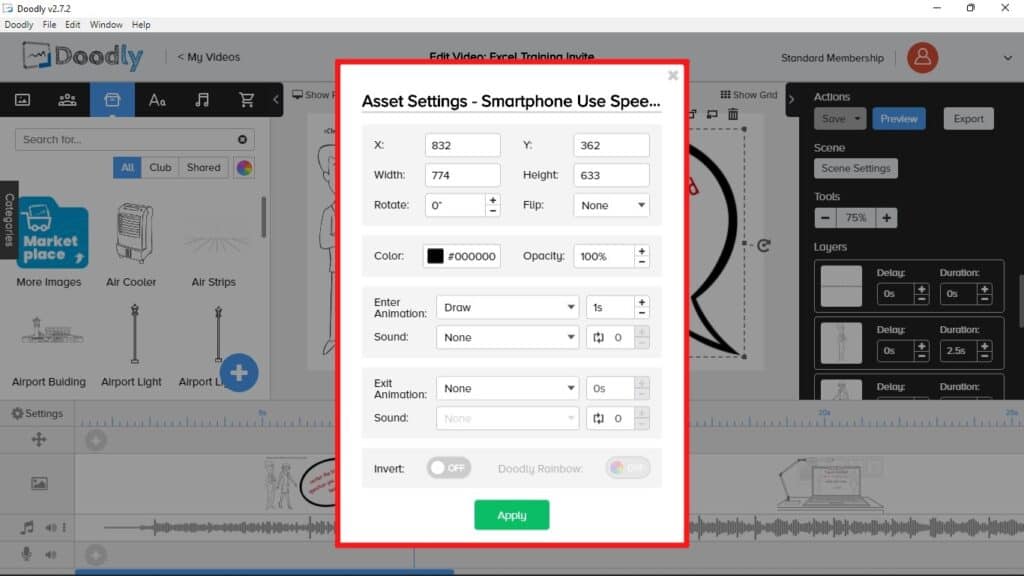
As you select any character or other placed assets, you’ll have more options to edit them with detailed individual settings. You can add animation, change color and opacity, rotate, etc. for each of the materials.
Likewise, you can use the Show Preview button to preview and play the video in real-time while editing.
With this simple tour, we now have a better idea of working with Doodly. Take note that we did not cover the full features of Doodly, as this would take many more pages and dull this tutorial. Besides, Doodly itself has so much more tutorials and learning resources. Check back their Members Area, or you can join their YouTube and Facebook Group.
Using the above features, we will customise this template to create our Course Invitation Video! We will show you how you can create your own unique ‘top converting’ video just by using templates!
4. Customise
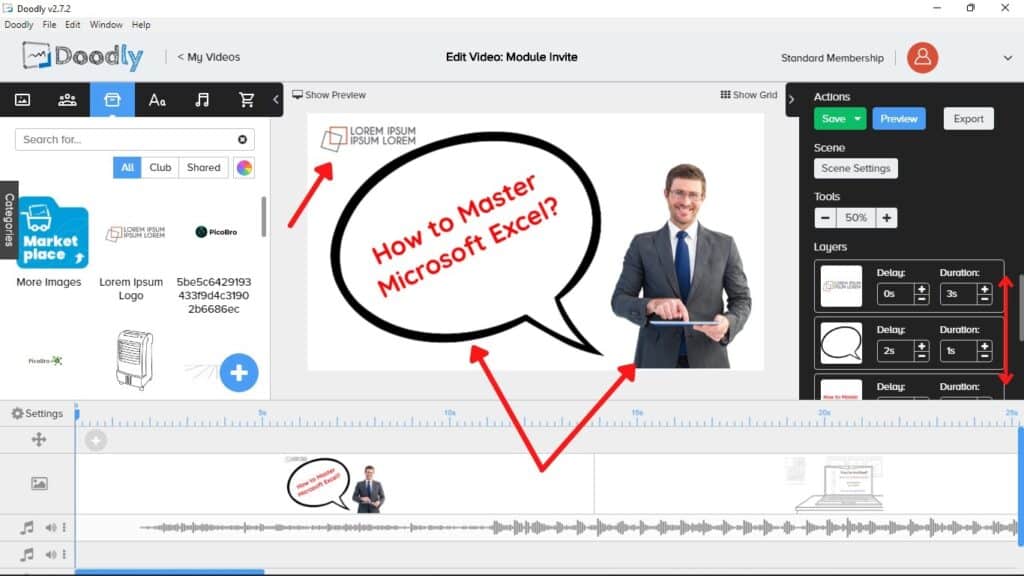
For the first scene, we added a brand logo at the start of the video. Furthermore, we also replaced characters with non-cartoon ones to show better personalisation. (TIPS: After all, we are trying to communicate with videos, right? So, the video should make your viewers feel like you are talking to them. Yet, the video is still pleasurable to watch due to the animations. See! Here is where Doodly stands out!)
Then, we modified the text and changed the font and color of the text. (Note: You can change the displaying order for items by dragging the layers up and down on the right side)
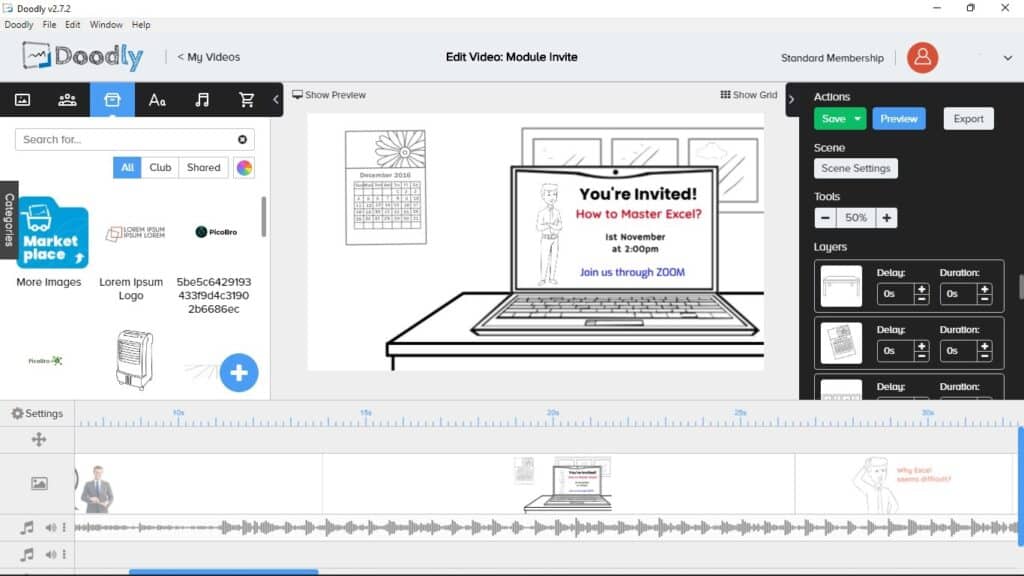
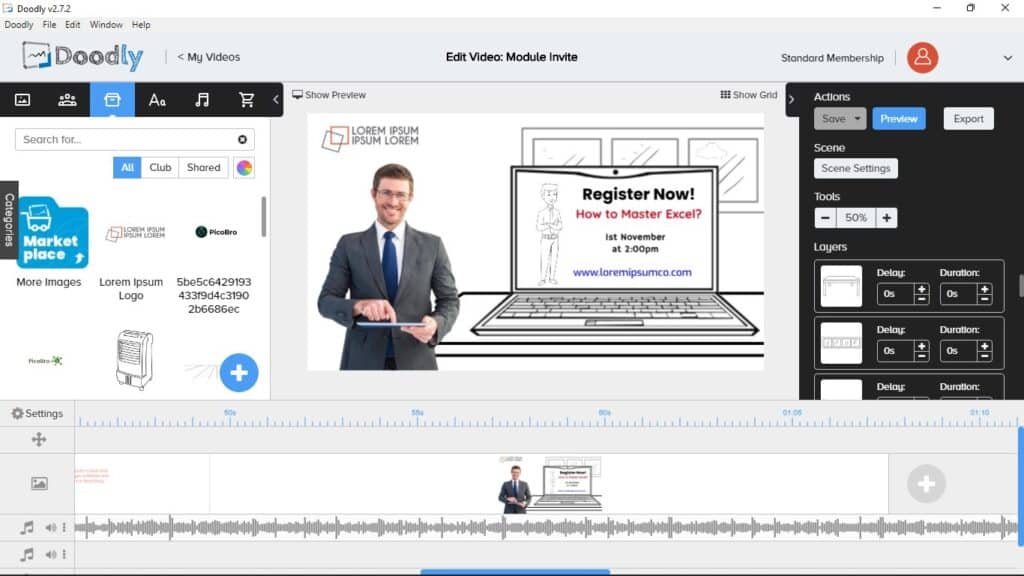
In the second scene, we moved the table a bit to the right, removed unwanted items, and made the invitation details a little bigger and clearer with some adjustments in color and font.
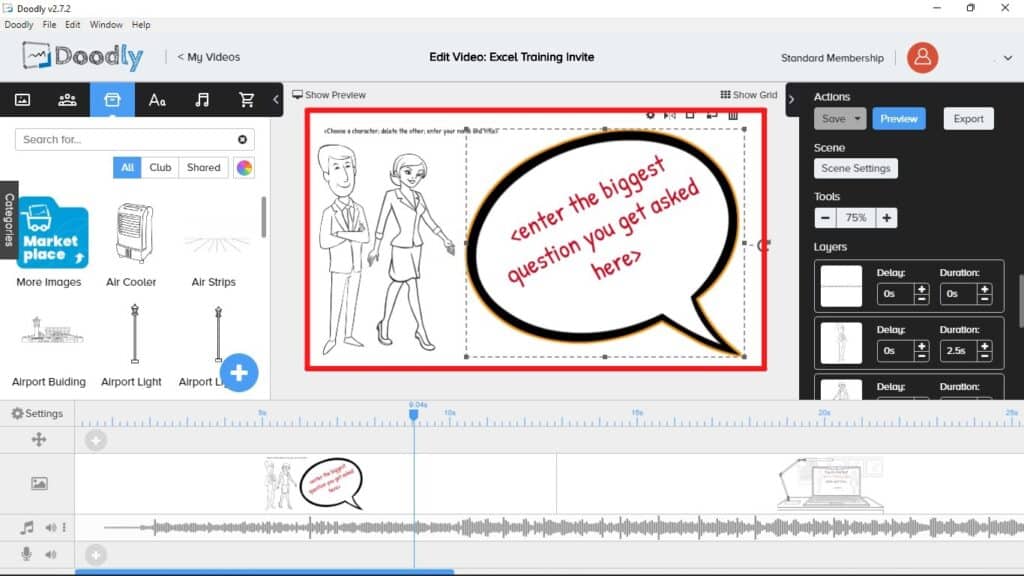
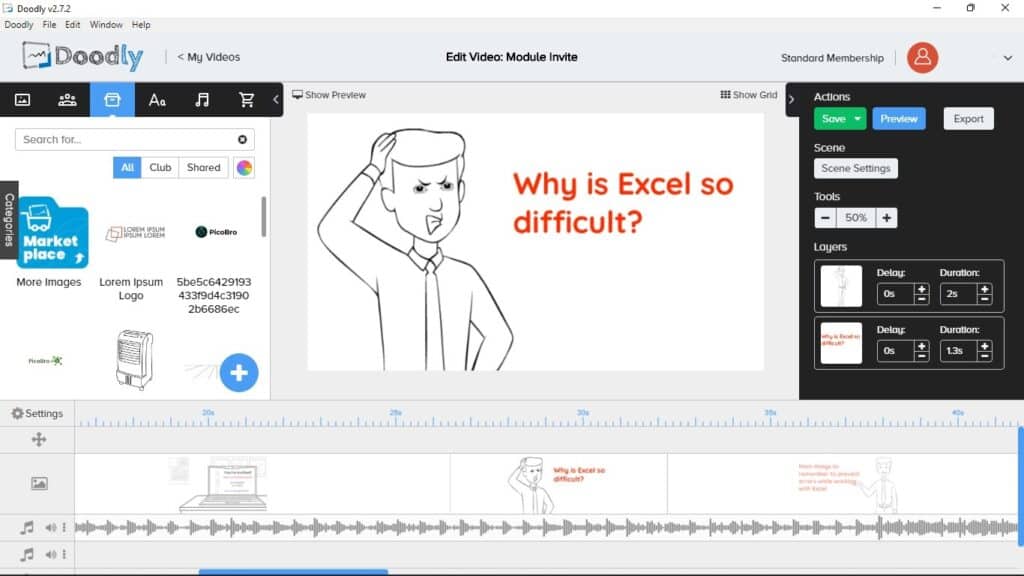
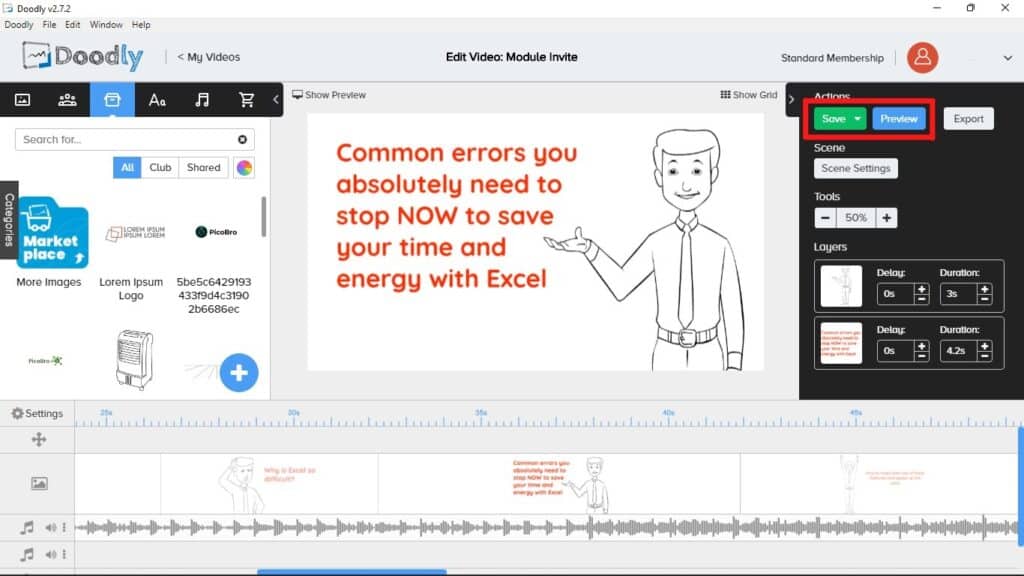
In the third, fourth, and fifth scenes, we removed the female character and made more space for the text. This is so that the text can be clearer while drawing the main focus of viewer’ attention.
In the last scene, we put the same person with the same brand logo at the end with all the details of the invitation for a proper closing. (TIPS: This is to reinforce memory and recall of information. Basically, the image of the real guy tells the viewers to ‘remember to look for him!’)
Lastly, we also changed the original music in the template while tidying up any small minor changes. Want to watch our final video? Surely! But not yet! Move on to Section 5 below for the finalisation steps.
5. Finalizing Our Course Invitation Video
When all the editing and customisation is done, do a full preview of the video. For that, save the project first by clicking the Save button in the Actions box on the right side. Then, click the Preview button next to it to see a full preview of your video.
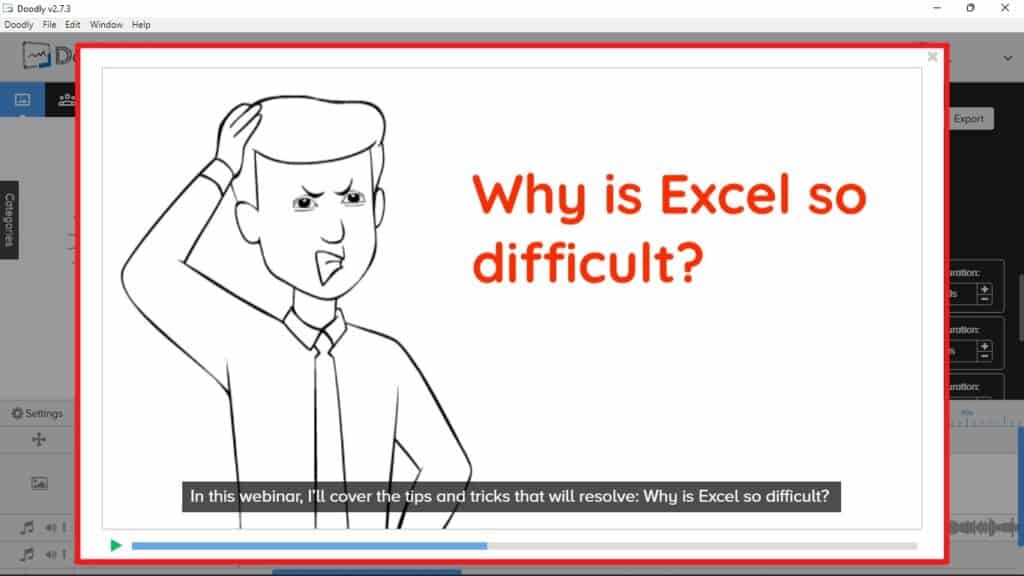
If you are still not satisfied with the video or you want to customise some more, just exit the preview and continue editing. Then, perform the Save and Preview steps above again. Once you are satisfied, you can click the Export button in the Actions box. Then, choose your preferred video settings and export it to your PC.
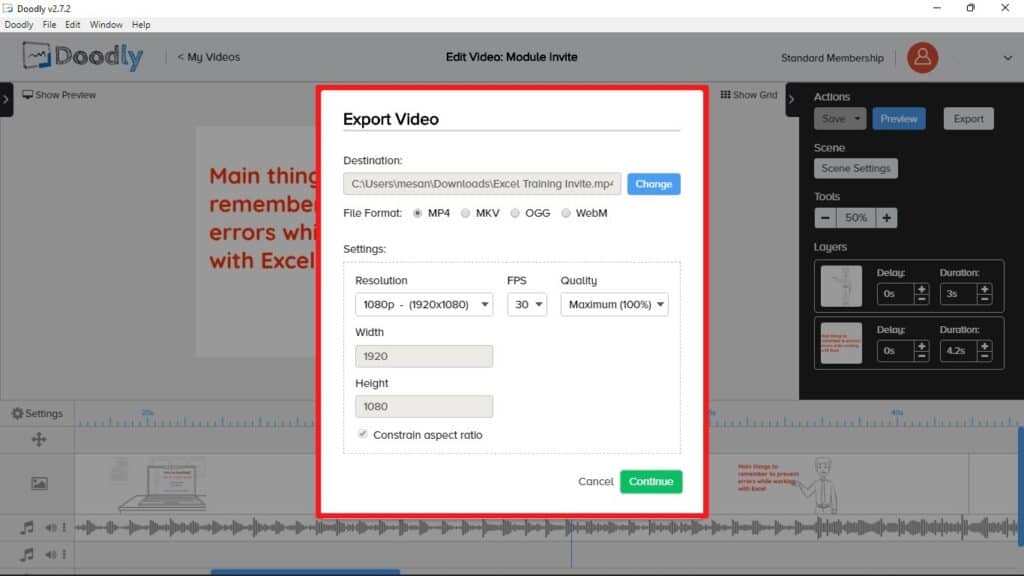
The platform will start processing the video. The whole process may some time depending on the size and settings of the video chosen. Once done, the video will be automatically saved to the destination folder.
Enjoying the experience? Move on to the next section to see our final video. The results are better than you think!
6. Our Course Invitation Video
Original Template Below:
Final Remarks
Our Course Invitation Video can surely be improved. Nonetheless, we hope that we had provided you a huge head start with Doodly. Doodly provides the platform and ability to create animated whiteboard videos. Yet, the final outcome your video brings depend on your design, imagination and creativity. So, go explore, learn and make the best use of these easy-to-use video makers that can be game-changing for your education and training objectives!

Activities
Besides explainers and training-related videos, what other use do you think whiteboard videos can be effective for? Tell us with a COMMENT below.
LIKE & SHARE this article with your fellow peers and anyone into video marketing.
HASHTAG #DonutAtwork
Similar tags you may be keen in: Creative Development | Digital Advertising | Social Media Management