Easily Make Your Influencer YouTube Outro & TikTok Ads with FlexClip

Video making in this age of social media never gets old! In this article, we are going to tell you how anyone can easily make YouTube Outro and TikTok Ads with FlexClip!
What is Outro Video?
Outro videos are short clip or scenes attached to the end of a video to convey its ending. Often, the Outro scene will include elements like; ‘Next video to watch’, ‘Subscribe to our channel’, and even list out the social media channels for your viewers to follow. Outro videos are a nice way to end a show, and really turn your videos into your own personal show series.
Besides Outro, there are also Intro videos too! Just know this, as we are not going to discuss how you can make an Intro video in this article. Although, you can, and actually quite easily with FlexClip following the same steps and using the same tools we outlined.
If you are a business, or someone involved with TikTok for business in your company, then we are sure you would like to know more about FlexClip for making TikTok ads. If your business is not in TikTok, why not read our article on exploring the business case with TikTok ads and marketing? Nonetheless, stay tuned and read on!
The world wide web is huge, and yet you had stumbled on my site looking for something. I hope you find it as we had taken huge efforts to create them. Best of all, its FREE! Hence, some of our content may include affiliate links (i.e. whenever you click on the links and purchase, I earn a small commission at no extra costs to you!). No worries! Some of these links may look like phishing, but I assure you they are not! Lastly, the affiliation does not affect my reviews towards them. Enjoy!
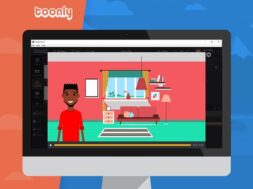
About FlexClip
FlexClip is an online freemium video maker from PearlMountain. The company having founded in 2006 and is headquartered in Hong Kong. It is used by more than 7 million users worldwide, producing videos that had been downloaded over 1 million times. It’s built-in stock library include over 4 million images, videos, and music. Best of all, we mentioned that its free! Not free trial, alright! So, we say you must sign up an account and try it out! A monthly subscription starts from only US$ 5.99 per month, with 10 GB cloud storage. Also, do take the chance to explore the free tools in FlexClip such as video format Converter, GIF Maker, Meme Generator, Screen Recorder, Video Compress and more! Let’s go!

1. Making a TikTok Ad Video
1.1. Select a Template
To get started, go to FlexClip.com and log in to your account. Or, if you don’t have a FlexClip account, you can create one within a minute here: https://www.flexclip.com/
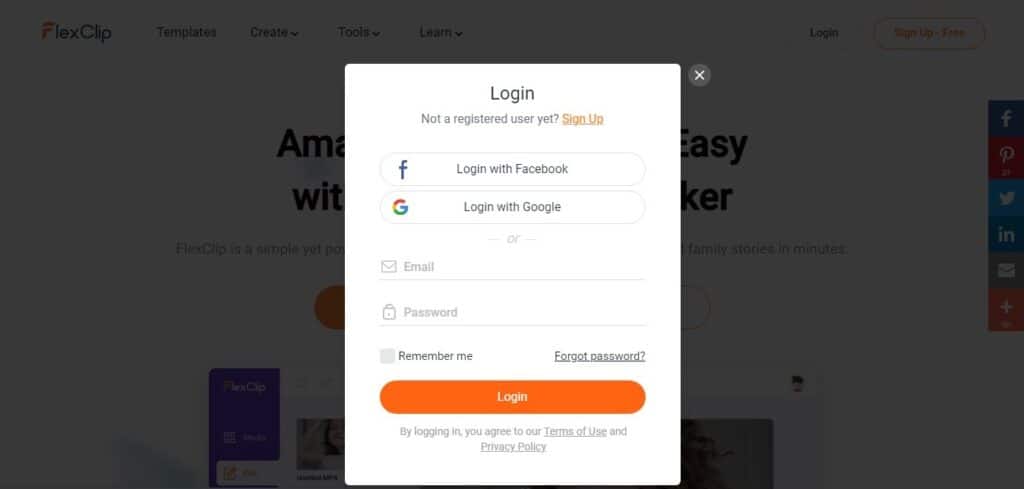
On the FlexClip homepage, you can easily create wonderful designs and masterpieces by either choosing “Create By Templates” or “Start From Scratch”. To make things easy, we will go with the “Create by Templates” option.

FlexClip has a huge library of ready-made templates across categories for selection. So, browse by selecting a category, or simply use the search box to search for a preferred design. After finding one you like, you can preview it first or just customize straight away.
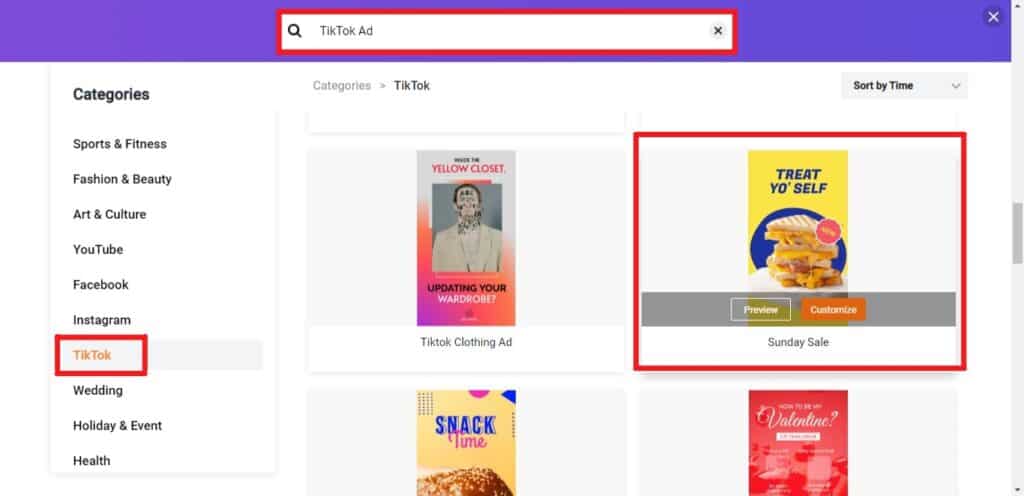
So, click ‘customize’ and you’ll be directed to the FlexClip Editor. Here, is the start to creating the designs you dream of.
1.2. Customise
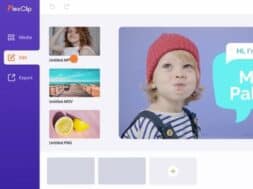
Once in the FlexClip editor, you might get overwhelmed by the interface due to the large number of unfamiliar options. But don’t worry, working in FlexClip is far simpler and easy. Besides, this article will guide you through to your final video.
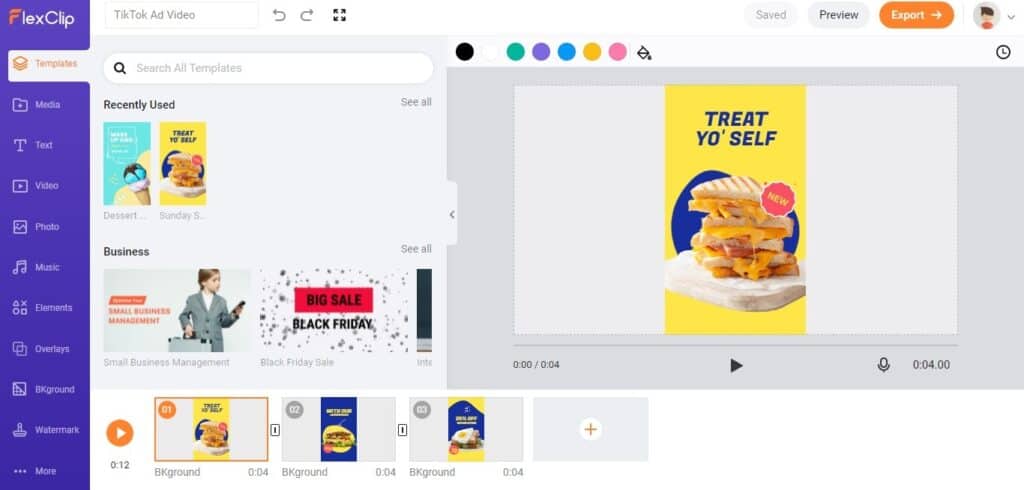
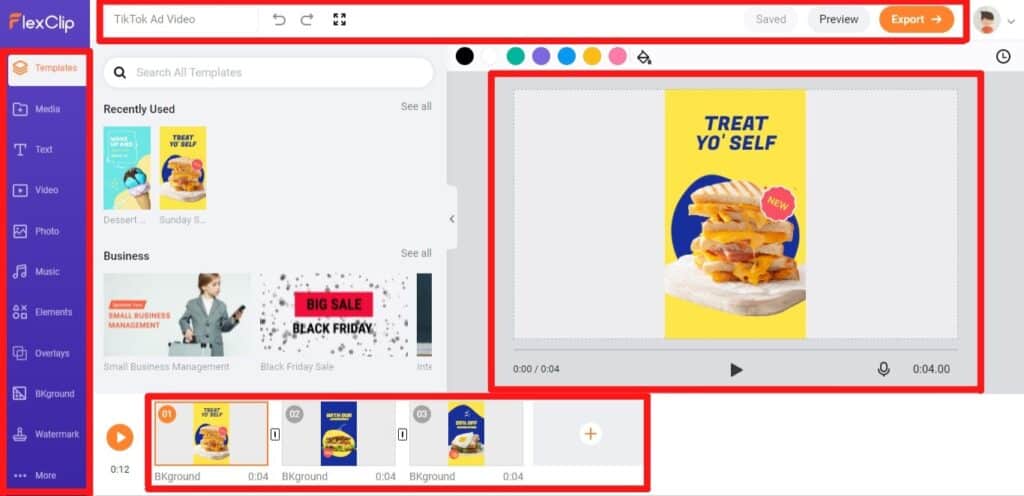
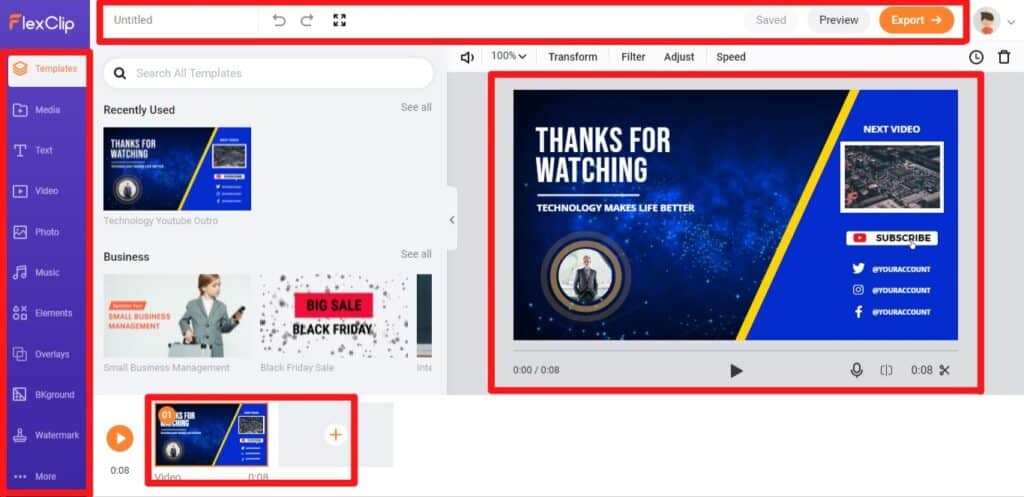
Here, the top bar feature buttons to change your Project Name, Undo or Redo the changes made, and an option to go Fullscreen mode.
The left bar is provided with tools like Templates, Text, Media, Elements, etc. that you can use in your video. The best thing to know here is that all of these are royalty-free stocks which you can use without paying any royalties.
The bottom bar consists of Storyboards which are also called “Slides” or “Scenes”. These allows you to edit and customize your video in workable segments. To switch between scenes, just click on one of them. Here, you can add on more scenes or delete them too!
At the center of the screen, we have the Video Player or ‘Workspace’ where we can preview our video as we edit each element.
P.S. This was just an overview of the FlexClip editor. Don’t get too impressed because there are still tons of features and specialties in FlexClip that we have yet to go in detail. So, let’s dive in a little deeper.
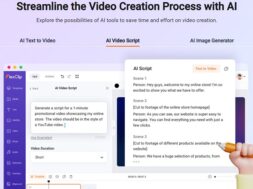
There are plenty of tools to use on the left bar which includes Templates, Media, Text, Video, Photo, Music, Elements, Overlays, Background, Watermark, and more (Resolution). Each tool here is packed with quality materials and features!
Templates option allows you to change the template you’re working on or add a new template at the end of another template. So, if you ever change your mind, changing your template is just a click away!
(Comment) There is no need to create a new project to change your template.
Media option provides the ability to upload your own local files like images, audio, etc. to FlexClip and use them in your video.
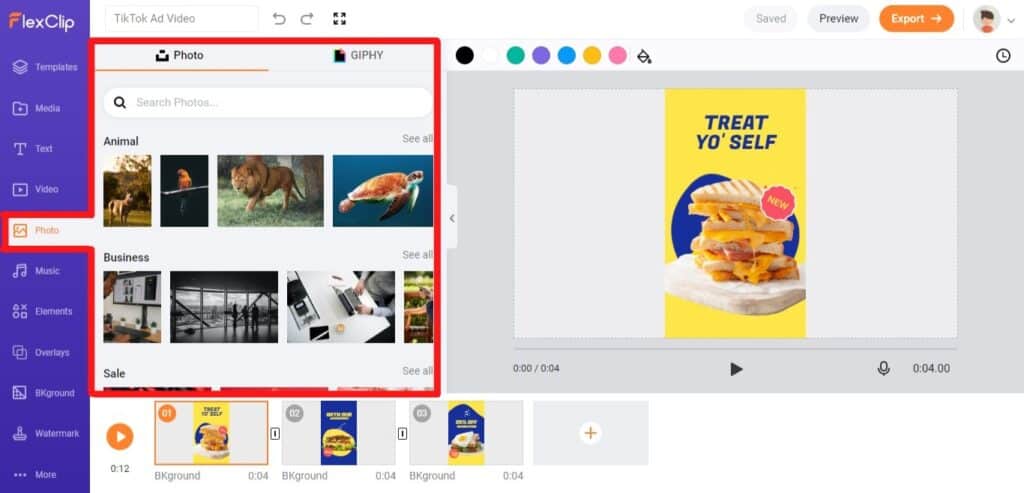
As previously mentioned, you are provided with a huge library of royalty-free Elements, Images, Videos, Music, etc. to add wonders to your designs. So, be sure to go through the whole library to find the best stock for your video. That includes music too!
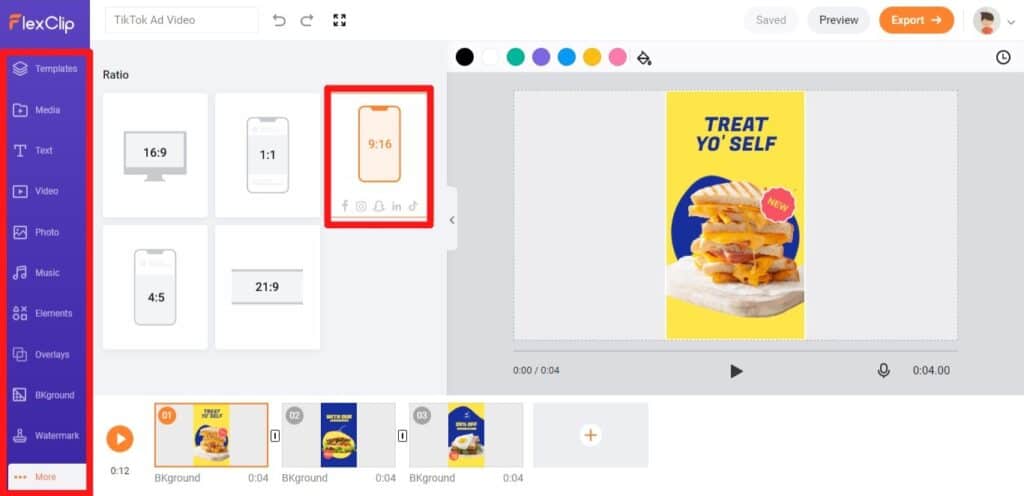
Next, don’t miss out adding Texts (especially), Overlays, and even Watermark to your videos if required. There is also an option to change Resolution of your design to obtain an optimized video for the respective placement channels. That is, Facebook, Instagram, LinkedIn, TikTok etc.
Since we are creating a TikTok Ad, the resolution should ideally be 9:16. To know the best resolution for some of the most popular social media channels check out this Post by Sprout Social.
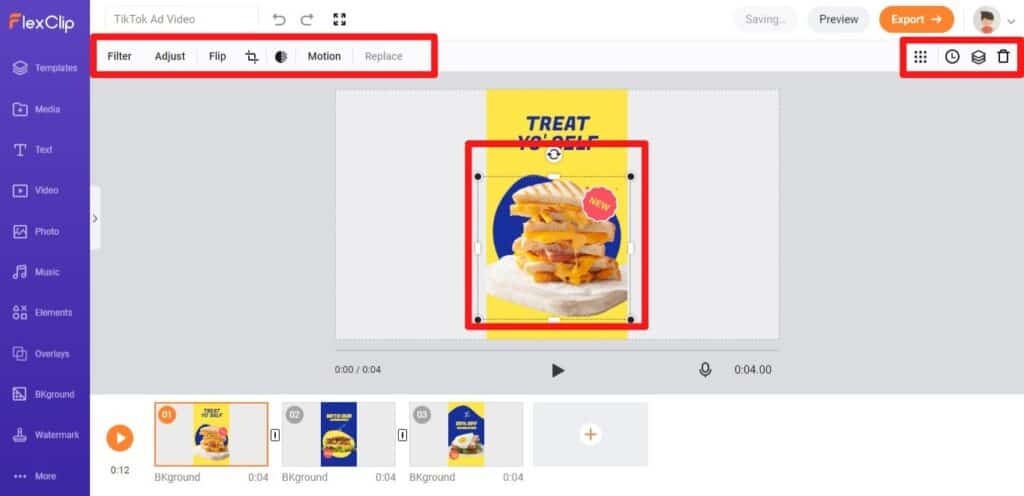
Moving on to the more advanced editing features in FlexClip. Here, click an element in your Workspace and you’ll be provided with the possible edits you could perform with the element. For instance, clicking on our Sandwich vector gave us the Volume, Filter, Adjust (Brightness, Contrast, Saturation, etc.), Flip, Crop, Opacity, and Animation among many other options. So, to customise your video to be unique, be sure to try each option to understand what they do.
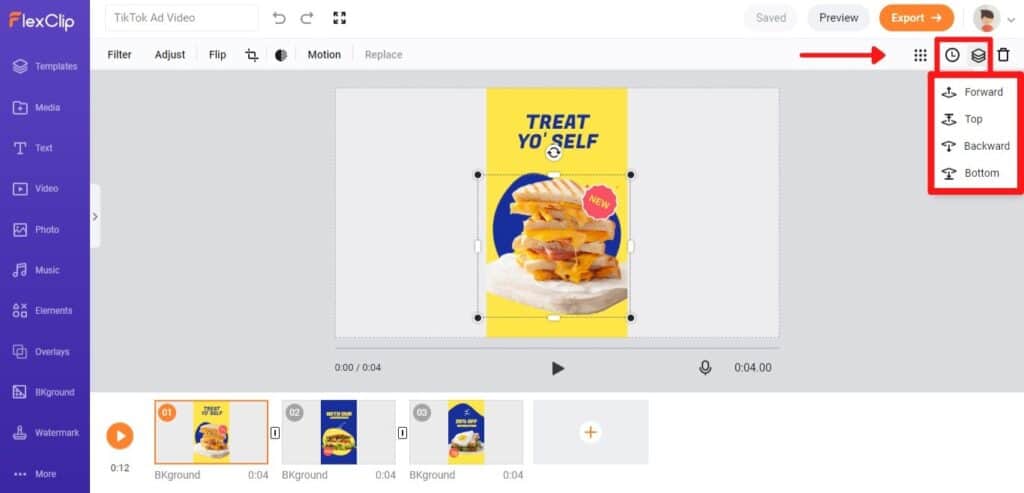
Once you are done with the design edits, move on to your video Timeline and Layer options. These 2 tools will shape the feel you desire for your video.
(Comments) Anytime now, do explore on your own, and we suggest you to! Click on each of these tools to find out what they do!
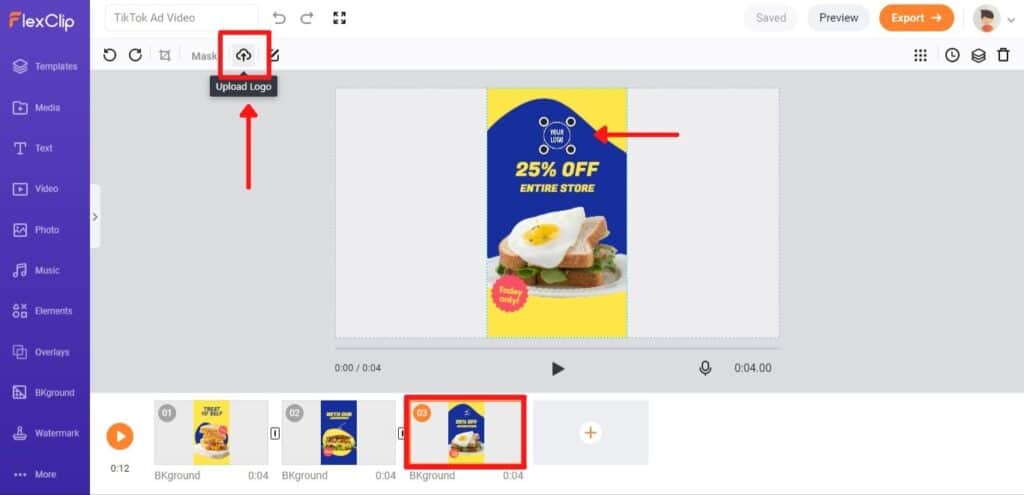
TikTok Ads are one of the best ways of promoting a brand, and no Ad is complete without the brand logo or brand mark. Normally, the pre-made templates have a separate place for the logo and you just need to upload it. In case there is not, you can add the logo manually with Media option on the left side.
Nonetheless, in our chosen template, there is a place to upload a logo in the 3rd Storyboard. So, we uploaded a logo with the Upload button in the top bar.
Done with design? Let’s move on to finalising the video which is equally essential in making any videos.
1.3. Finalising Our TikTok Ad Video
Every now and then after making edits, don’t forget you can always preview each scene or the whole video easily with the preview buttons.

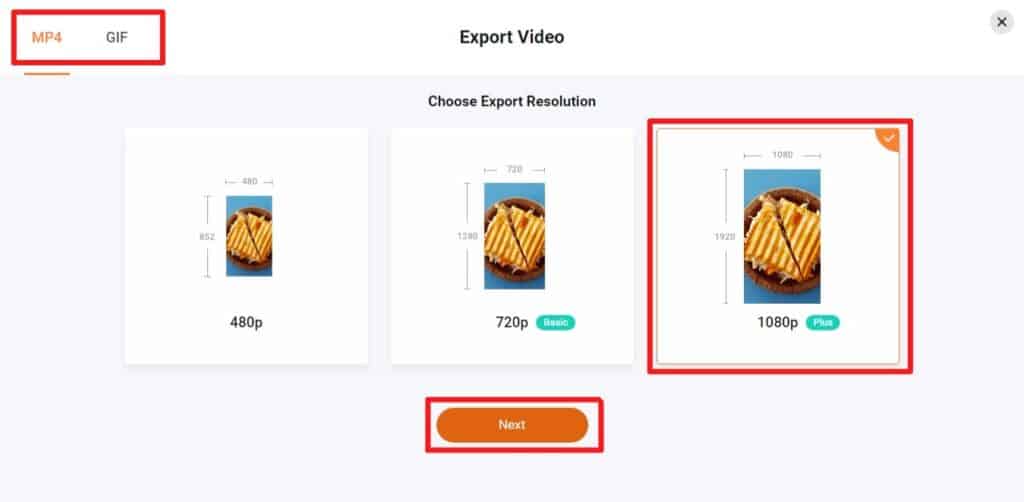
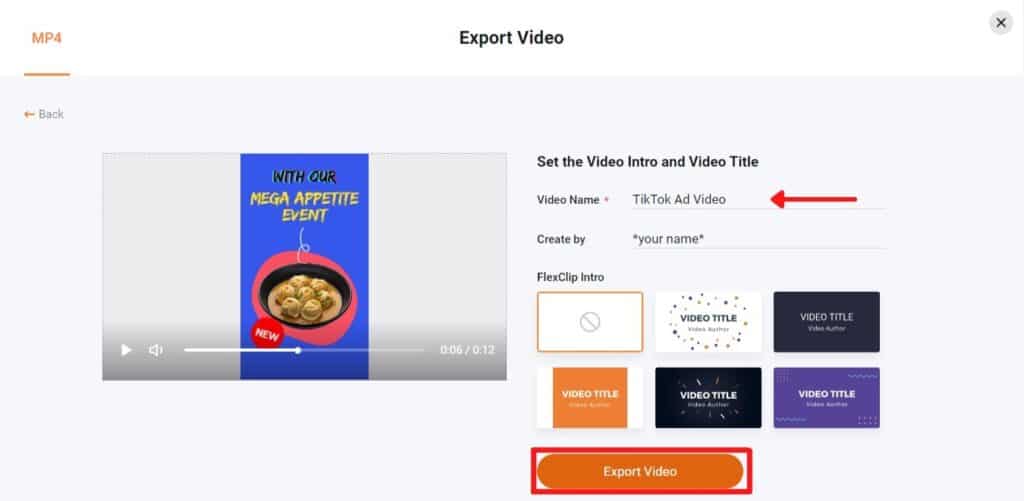
Ready to finalise your video yet? Just find and click the “Export” button which is located near “Preview”. Choose your preferred resolution. Then, give your video a name and state any other details if preferred. Then, click ‘Export Video’.
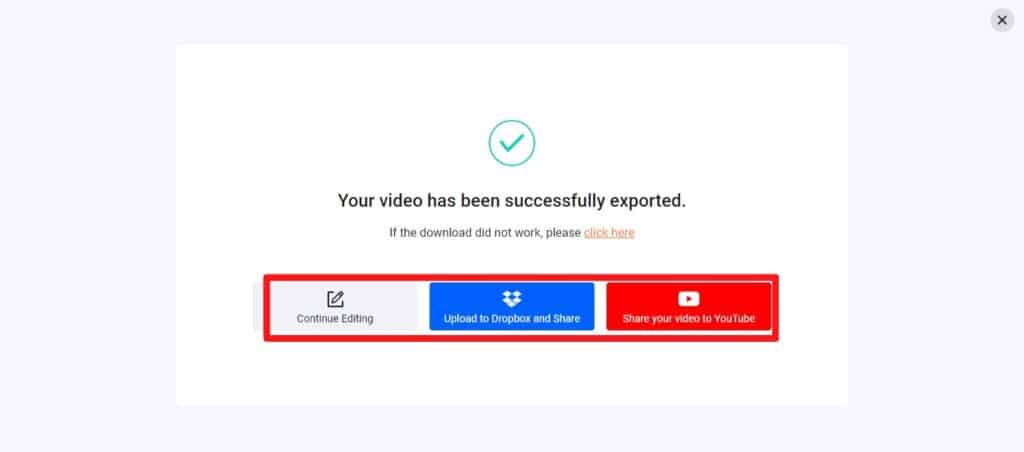
Exporting the video might take a little time depending on your design. After the export is complete, the video will be downloaded to your PC. FlexClip also allows you to directly share your video to DropBox or YouTube directly. Now, this is really thoughtful and convenient!
FlexClip has a large number of features and explaining each one of them in detail is not possible. For the sake of this article, we made some changes regards to the background colour, images, some texts, while also replacing the music.
You can find our video in the next section, 1.4. Ours is not a great design, and we are sure you can do so much better! Try FlexClip and let your creativity and skills flow! You are not too far away from becoming a great designer using FlexClip!
1.4. Our TikTok Ad
Original Template Below:
2. Making a YouTube Outro Video
2.1. Select a Template
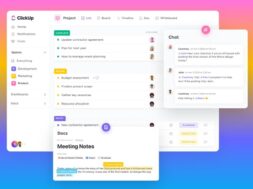
So, go to FlexClip.com and log in to your account if you haven’t already. After logging in, you’ll see the FlexClip dashboard featuring all your previous projects (if you have any).
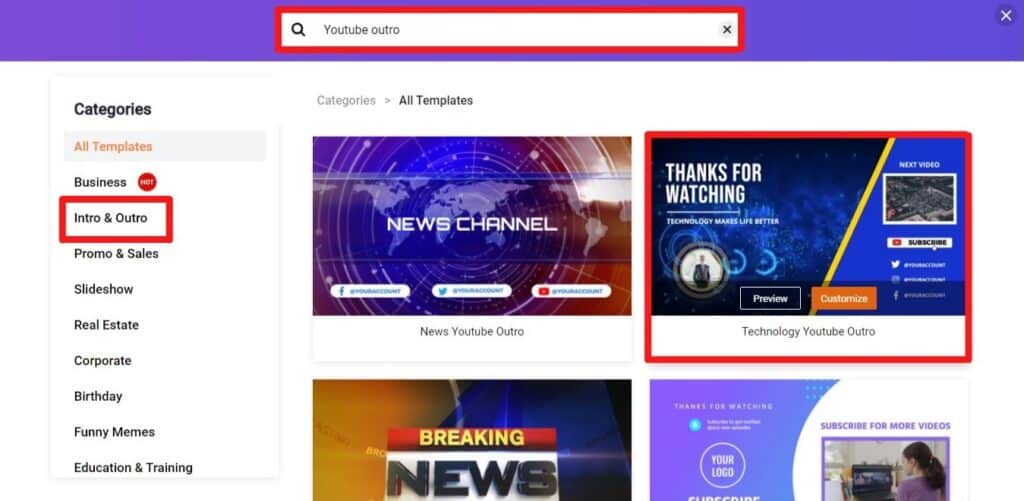
Likewise, to start, choose from two options at the left bar: “Create By Templates” and “Start from Scratch”. For our YouTube Outro Video, we’ll again go with “Create By Templates”. Time to check out FlexClip’s huge collection of YouTube Outro templates!

Here, we will choose the ‘Intro & Outro’ category. So, click on that and then, “Customize”, to edit a chosen template.
Boom! Back to the editor and time for us to personalise this template in the next section.

2.2. Customise
Here on, the steps and explanations are pretty much the same as we went through in section 1.2. So, we will summarise.
(Comment) If you have not taken the chance to browse through FlexClip yet, wait no further! Just create an account and try! Its free! Here, https://www.flexclip.com/
| Interface | Functions |
| Top Bar | Allows you to Change Project Name, Undo or Redo changes, go Fullscreen mode, and has “Preview” and “Export” button |
| Left Bar | Has premium quality and royalty-free resources like Templates, Images, Videos, Music, Text, Background, and many other elements to use in the project |
| Bottom Bar | Consists of “Storyboards” also called “Slides” or “Scenes” which enables you to work individually on different segments of video |
| Center (Workspace) | You can have a preview of your design at this Player, and it is also a Workspace where you can edit the elements and designs directly |
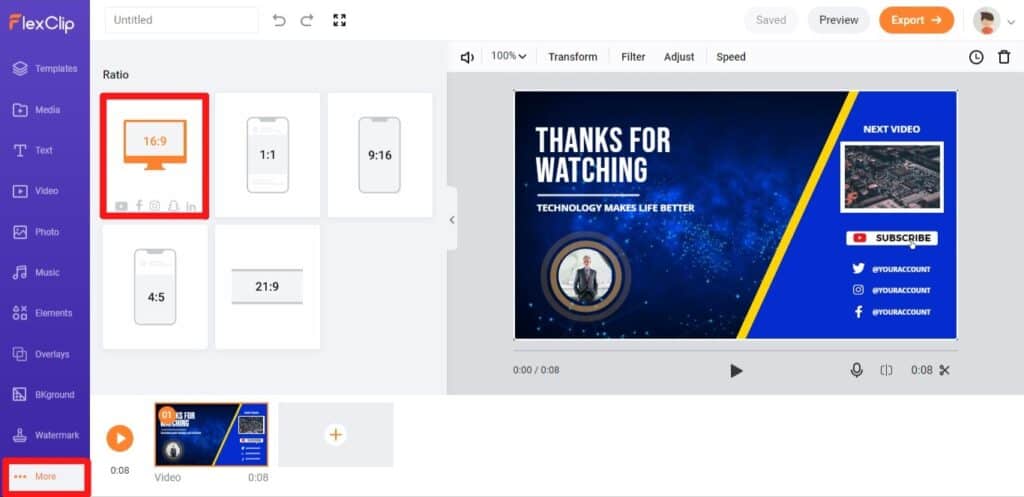
So, what’s the best resolution for a YouTube Outro Video? It’s a horizontal 16:9 (though other resolutions might work, 16:9 is the most supported and preferred resolution for YouTube). So, on the left bar of the editor, click on “More” and select 16:9.
As you may have realized, our template is superbly nice looking for any technology niche. So, we are going to do the usual; upload a logo, change the photo, background, texts etc.
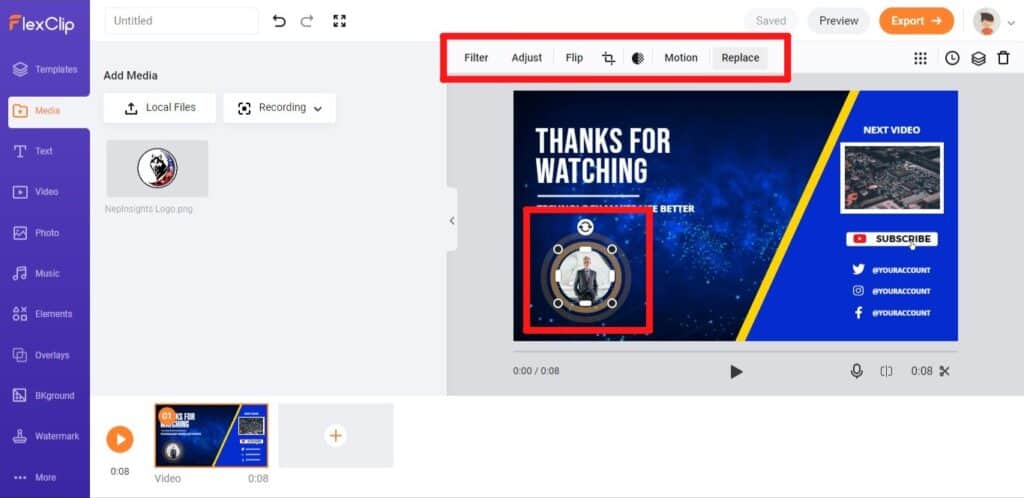
For the logo, we go to the “Media” tab and upload our logo. Then, we select the photo in the template and replace that image with our own logo by clicking the “Replace” button at the top bar.
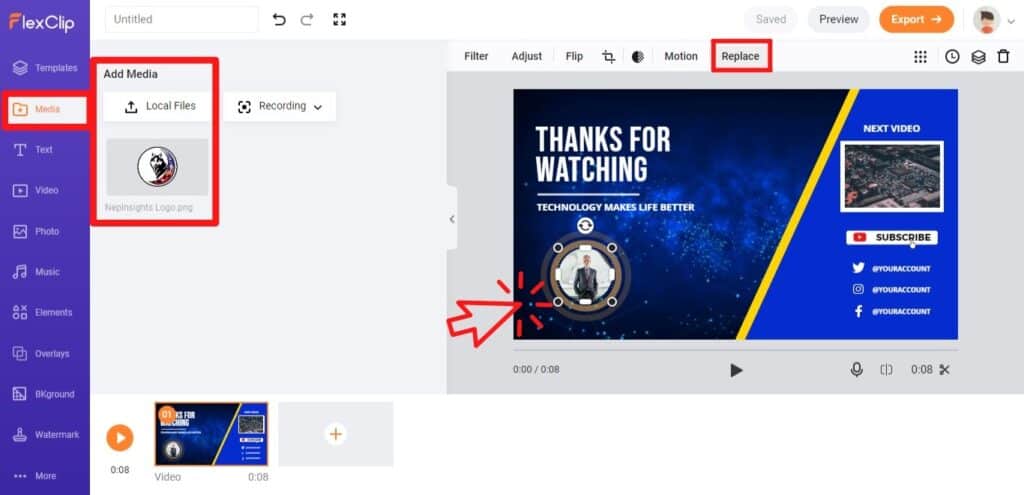
That was easy, wasn’t it? You might have noticed that selecting the picture in the template gave you more options of Filter, Adjust, Flip, Crop, Opacity, Replace, etc. Likewise, every element in the template can be edited and modified according to your preferences.
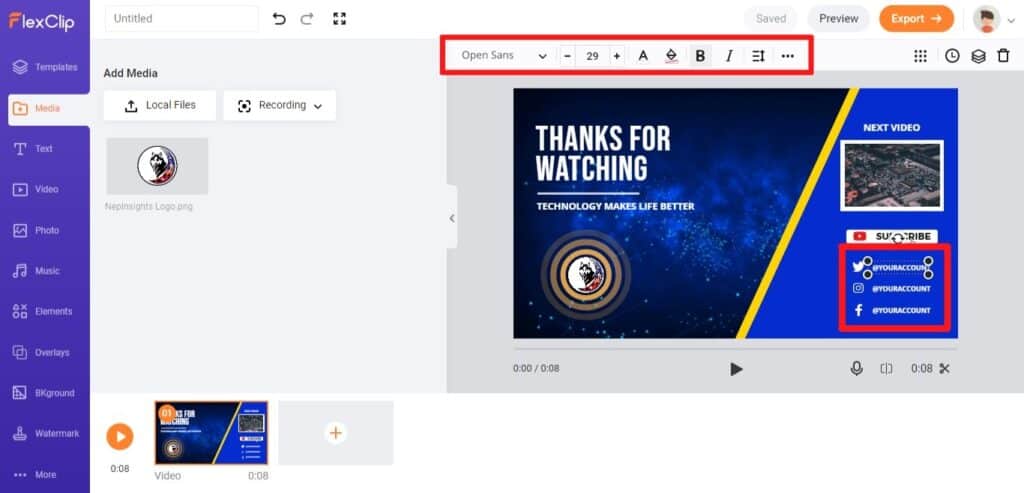
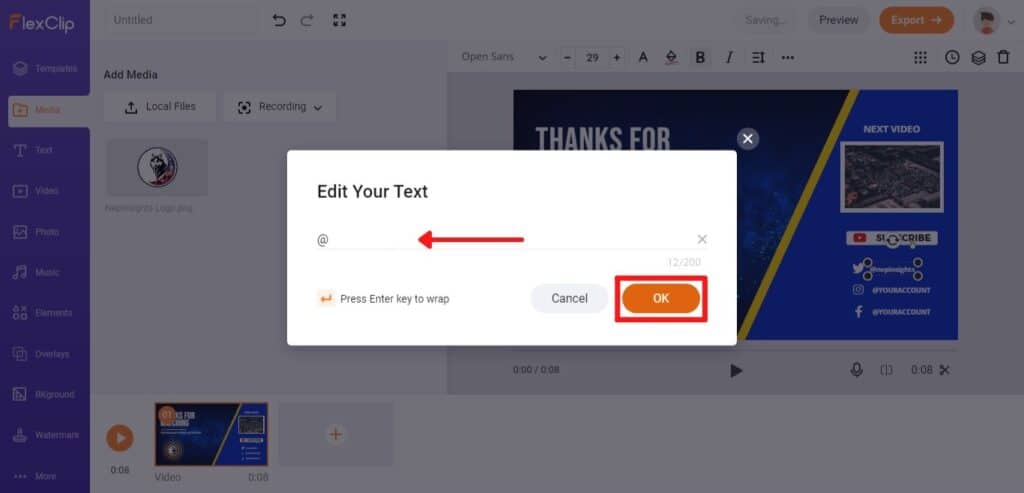
After changing the logo, we will change the Text in the social profiles.
(Comment) It’s not so much different from editing the picture. Just select the text you want to edit, double click to select the inner texts. Then, select the desired fonts and apply effects as you see fit.
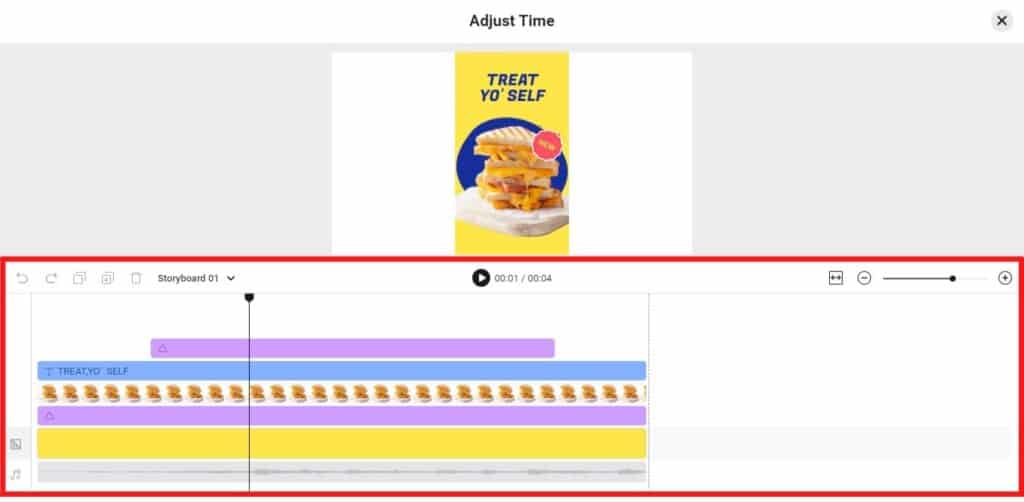
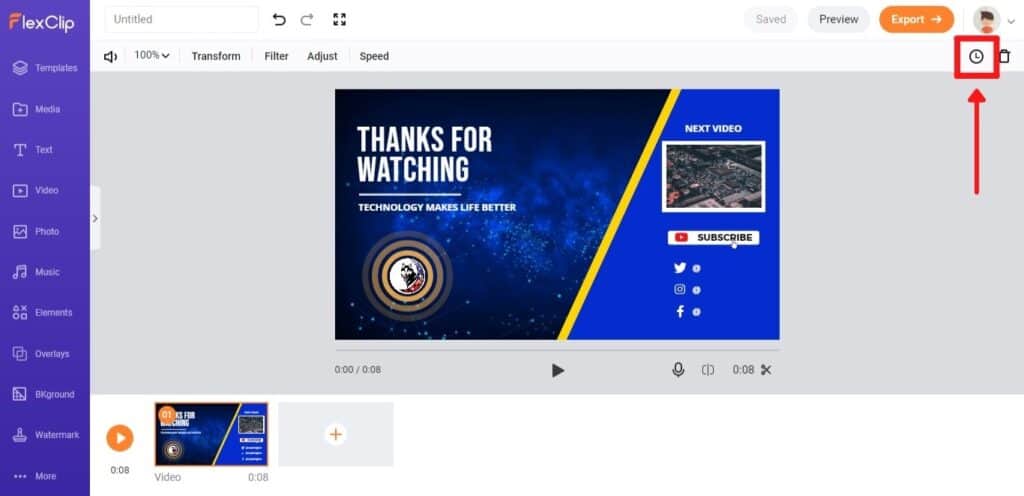
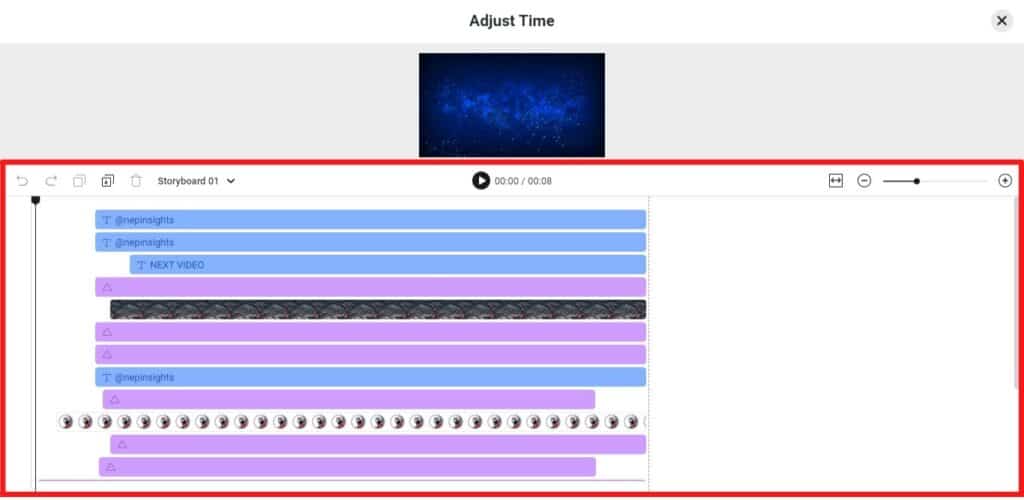
Perhaps here, we will introduce a slightly advance feature called “Adjust Time” (aka “Timeline”). Find this function (clock-like icon) at the top right bar and adjust the timing for each element in the design.
Once done with the design, move on the next section, 2.3 to finalise the YouTube Outro Video.
2.3. Finalising Our YouTube Outro Video
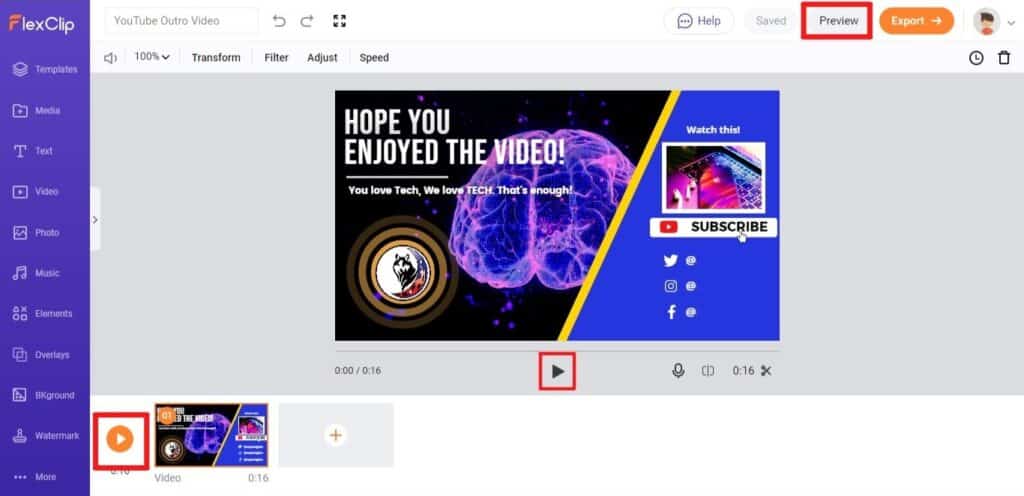
Similarly, “Preview” or “Play” your video to see how it look and feel.
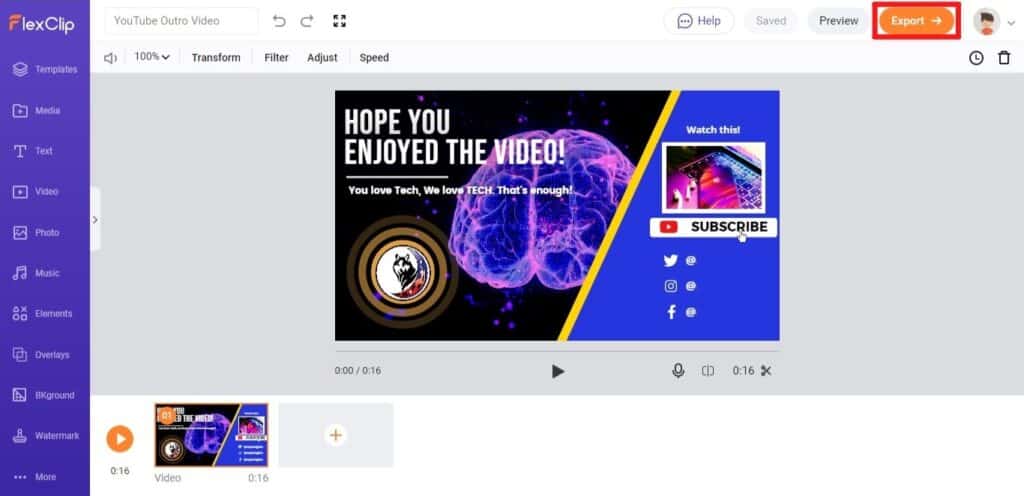
Got what you want? If not, just go back for more edits. If you are ready, just click “Export” near the preview button at the top bar. Then, choose your preferred format and resolution, and give your video a name. Click “Export Video”.
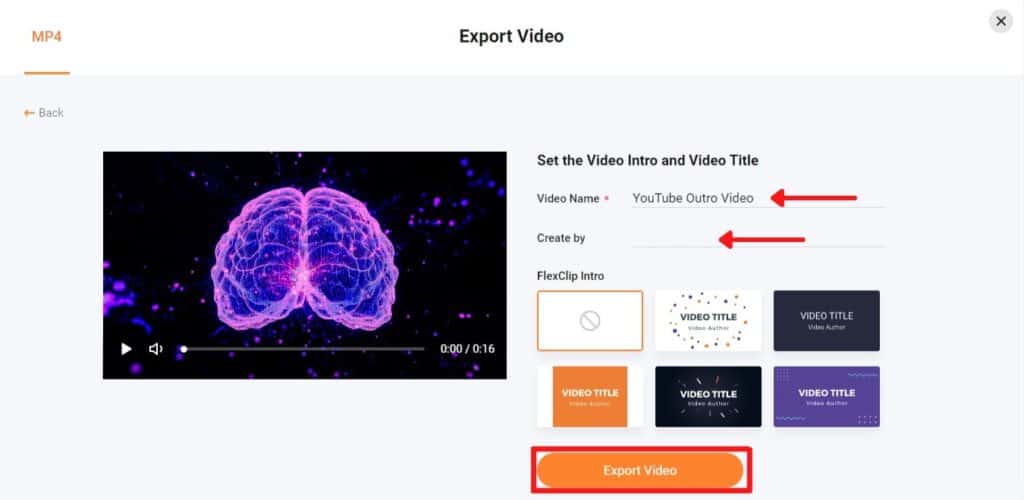
The processing will take some minutes depending on the file size. After processing, the video will be downloaded to your PC automatically. Again, you may choose to share your YouTube Outro video directly via YouTube and Dropbox.
Designs created with FlexClip are of top-notch quality and supported everywhere, so have fun using FlexClip! See our final YouTube Outro in the next section, 2.4.
2.4. Our YouTube Outro Video
Original Template Below:
3. Final Comments
Here we are! Like our Outro and TikTok Ad? With FlexClip’s template, there are lots of personalisation a designer can do to truly make it into his own. Besides, users can use FlexClip to make tutorials, birthday slideshows, promo, news and many others. Yes, all with ready-made templates from FlexClip! Now, Visit and find out more on your own!
Activities
Visited FlexClip’s website yet? What videos do you think you wish to make with FlexClip. Tell us with a COMMENT below.
LIKE & SHARE this article all across social media content creators!
HASHTAG #DonutAtwork
Hey hey! Check out these Tags next: Creative Development | Personal Productivity | Social Media Management