Dummies’ Guide to Creating Canva Presentation for Work & School!

Canva provides a free and easy-to-use template-based online design tool. For creating presentation slides, you may be using Microsoft PowerPoint or even the now popular cloud application, Google Slides. Both are good and powerful, but you know how big of a headache it can be to create slideshows from scratch! Hence, would you want a simpler way to creating amazing presentation slideshows for professional work and school use? Presenting our dummies’ guide to creating presentation slideshows with Canva, world’s most popular online design tool!
Want to use Canva for creating Resume too? Try our guide Here.
The world wide web is huge, and yet you had stumbled on my site looking for something. I hope you find it as we had taken huge efforts to create them. Best of all, its FREE! Hence, some of our content may include affiliate links (i.e. whenever you click on the links and purchase, I earn a small commission at no extra costs to you!). No worries! Some of these links may look like phishing, but I assure you they are not! Lastly, the affiliation does not affect my reviews towards them. Enjoy!
- Getting Started with Canva
- Select a Template
- Customise
- Finalise Presentation Slides
- Our Final Presentation Slideshows
1. Getting Started with Canva
To get started, go to Canva.com and log into your account. If you haven’t created a Canva account yet, then you can easily signup with your Google, Facebook, or email account.

Canva has various pricing plans like Pro, Enterprise, etc. however, it also has a free plan that is generally sufficient for basic to mid-level usage. In addition, Canva also offers free Pro plans for educational institutes and non-profits which is sure to support the many students, teachers, and non-profit organizations out there.
2. Select a Template
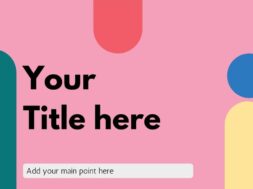
There are two ways by which you can create presentations in Canva: one by designing everything from scratch and another by using templates. Creating any design from scratch can be a bit tedious and time-consuming, so templates are ideal. For templates, there is really no beating Canva. Canva offers thousands of ready-to-use templates designed by professional designers for non-designers like us. That is, all the templates are well-designed, professional-looking, and easy to edit. Moreover, there are ready-made templates for almost every type of usage; such as for business, marketing, education, etc.
To browse templates, go to the Templates page and select Presentation under the category on the left side. That will open up a separate page.
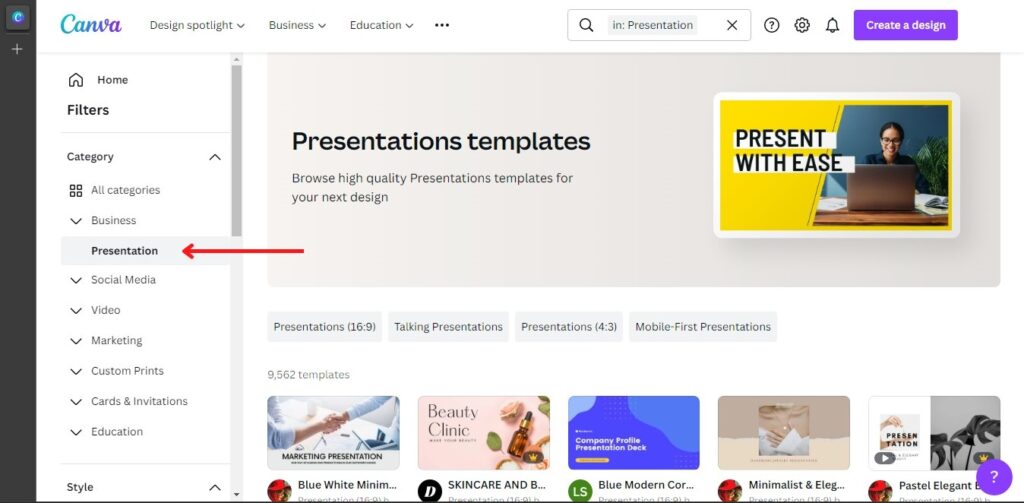
Here, you can scroll one by one to find the template you like or you can narrow down the many options using the filter tool on the left. So, go ahead and filter accordingly with what you want by checking the category, style, theme, color, etc. Alternatively, you can just use the search bar at the top to search directly.

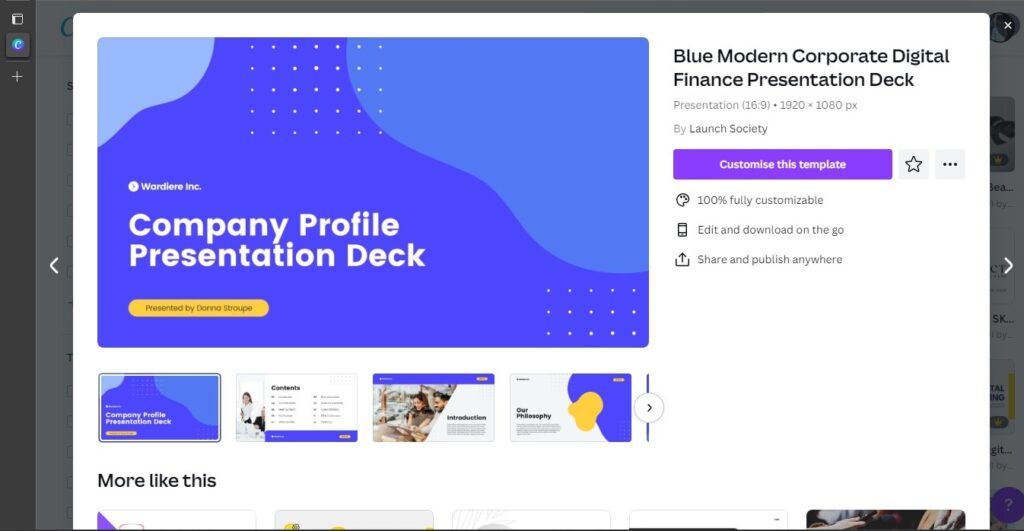
Once you find one that may be what you need, click on it to preview the template deeper for its layout, designs, animations and so forth. If you wish to select the template for editing, click on the huge ‘Customize this template’ buttonto be directed to the Canva editor.
(Comment) Some templates are only available for Canva Pro. Spot these templates by their golden crown icon on them. If you aren’t in the mood for browsing, just filter these paid templates out with the filter.
3. Customise
With readily available templates, Canva is a much friendlier option to Microsoft PowerPoint and Google Slides.
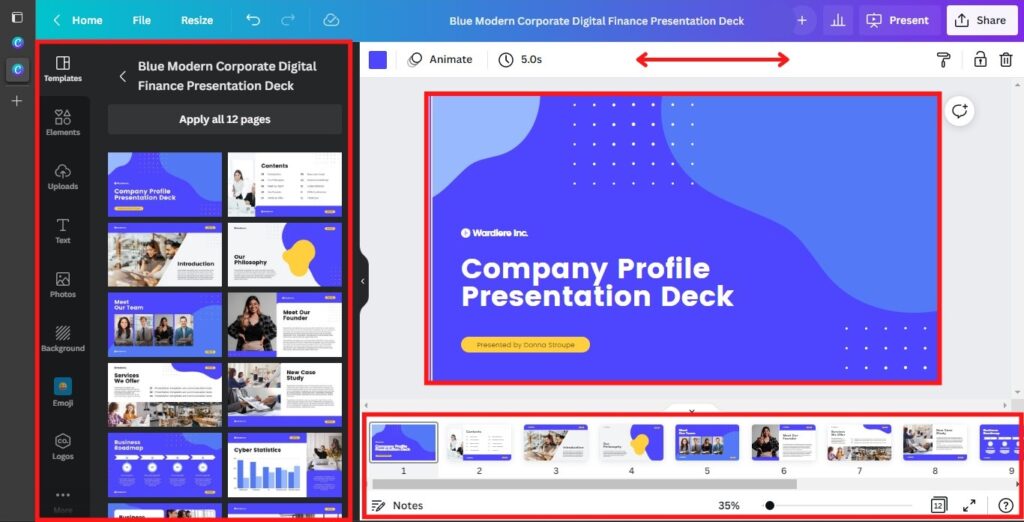
To start off, you can divide the Canva editor into four sections; Center, Left, Top and Bottom. The Center section is the main working space where we can view and manage all the elements in the design. This is where we see the result of our work in real-time as we design.
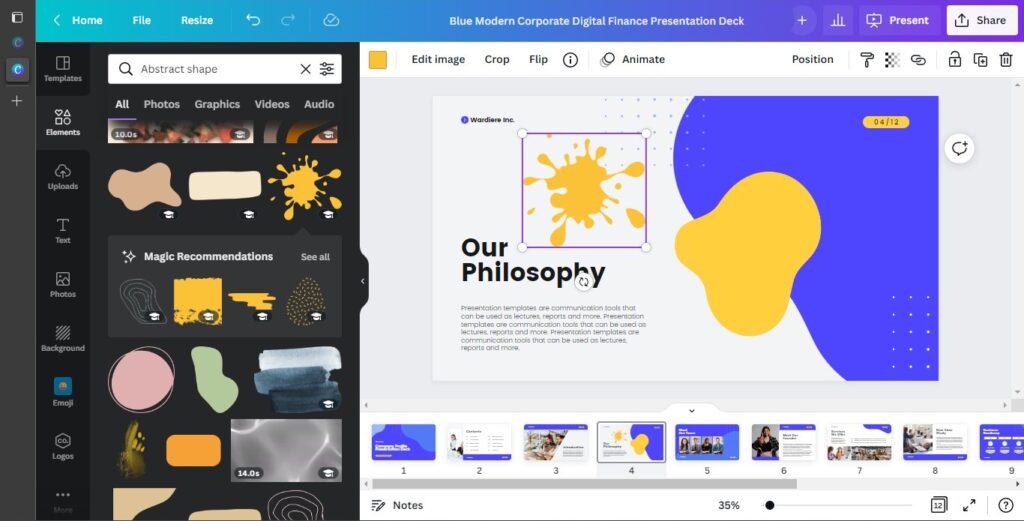
The Left section is the main design toolbar where nearly all design actions are initiated from there. Unlike MS PowerPoint and Google Slides, which have their main toolbar at the top. In Canva’s Left toolbar, you can find the media library for all sorts of media to use. They can be simple elements like shapes, images, audio, footage, texts, emojis, etc. Alternatively, if you wish to add your own images, logos, voiceovers, etc., then you can too, with the upload function. Above all, Canva allows connecting with different third-party applications for extra functionalities which are pretty amazing!
(Comment) For free, Canva already offers an extremely large library of royalty-free elements (1 million+) to use to make any design unique and personalised.

The Top section contains all the tools for editing any designs in the element. Each element has its own set of editing options like changing font, color, animation, effects, transparency, etc. which can be accessed from this Top toolbar. Moreover, there are also essential functions such as Undo, Redo, Share, and Resize to use from.
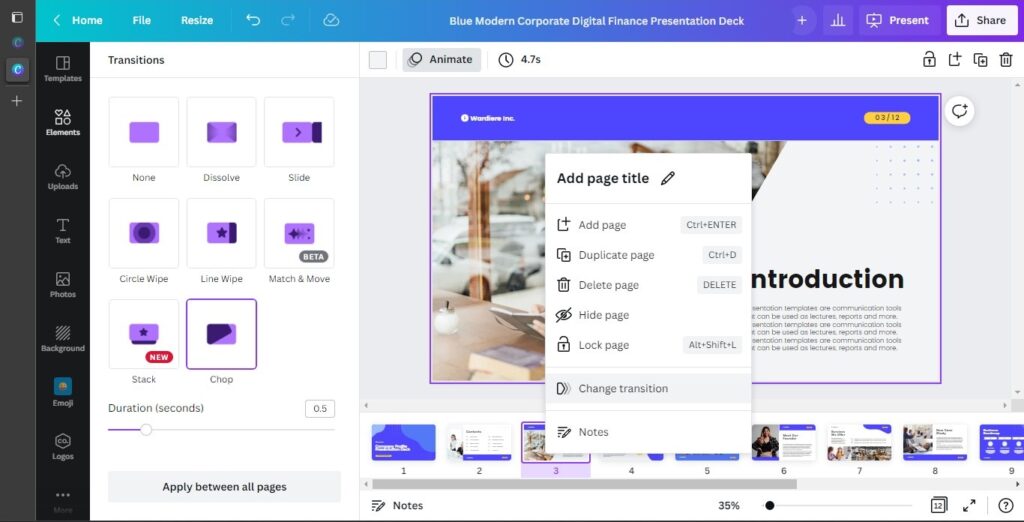
Lastly, you can find the ‘Timeline’ at the Bottom section. This visualizable tool makes it easy to add or delete slides, add transitions between slides, hide slides or add presentation notes to the slideshow.
Now that we know Canva’s interface, we can already start using it. However, why start before reading the most common steps? Read on!
3.1 Common How-Tos
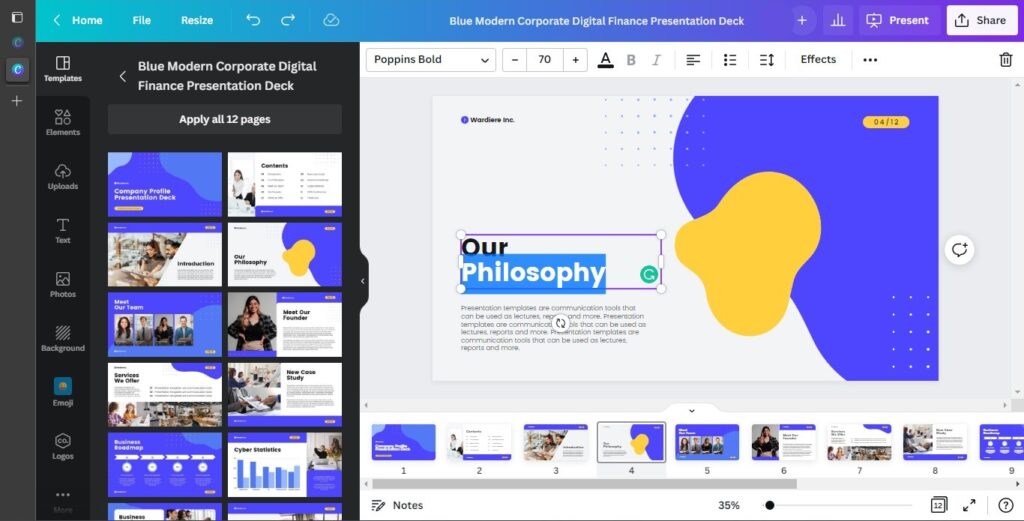
1. How to Edit Texts in the Template?
Put your mouse cursor to the text you want to edit and double-click it. Then, type the text you want to put in and adjust additional settings like fonts, colors, styles, etc. from the Top toolbar.
2. How to Add More Elements to the Presentation?
Adding extra elements like text, images, and graphics is easy. Just go to the respective tab on the Left section and search for the media you want to add. Click on it and it’ll be added to the page of the slide. Then, resize and position it via click-drag according to your preferences.
3. How to Add or Replace with Your Own Image?
Pretty similar to adding more elements above, except that this time, click on ‘Upload’ at the Left, and navigate to the location of the image; local device or cloud. Then, delete any undesired images in the slide.
(Tips) If you want your image cropped in a particular shape, you can use the frames available in the Elements tab and then add an image into it.
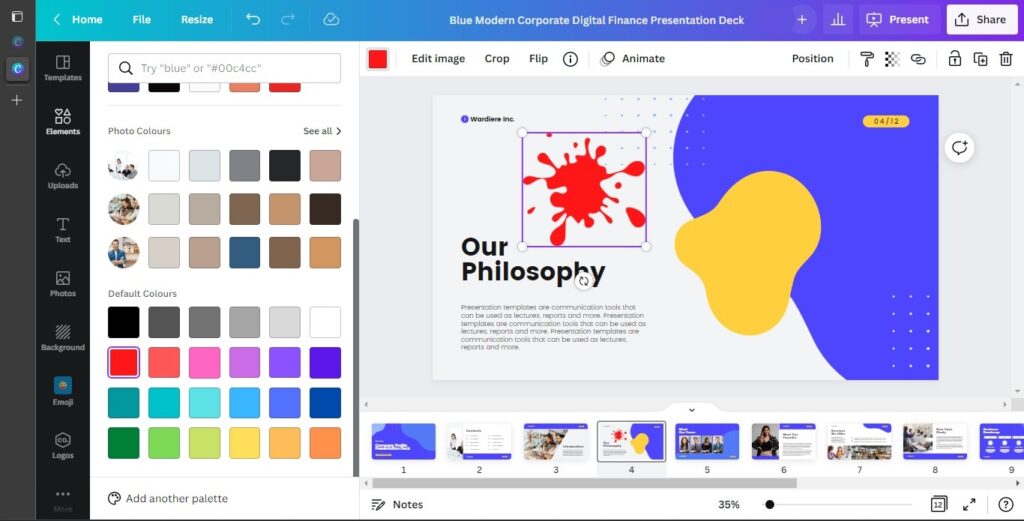
4. How to Change the Color of Elements and Background?
Click-Select the element or background you wish to edit. Then, in the Top editing toolbar, click on the color box and simply choose the color you want to use. Likewise, the color of the text can be changed in this way.
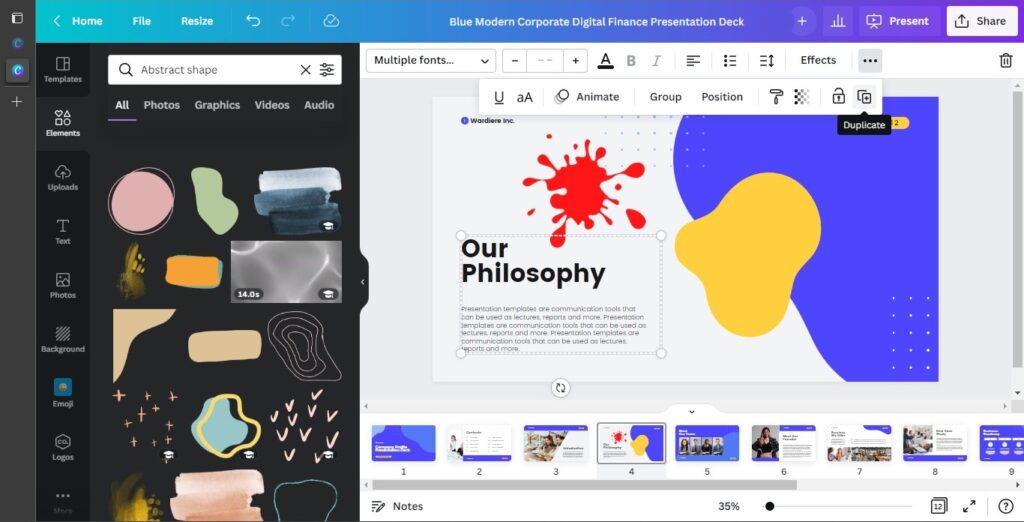
5. How to Move or Duplicate Blocks & Groups?
Click-Drag the mouse from an empty spot to hover over the elements or blocks you wish to move or duplicate. You can also select or unselect different elements by holding the Shift key on your keyboard. Then, use the Group button at the Top toolbar to group those elements. Then, click-drag them to your preferred location within the slide. Alternatively, if you just wish to duplicate the block or group, just hit the Duplicate icon instead of Group button at the Top toolbar.
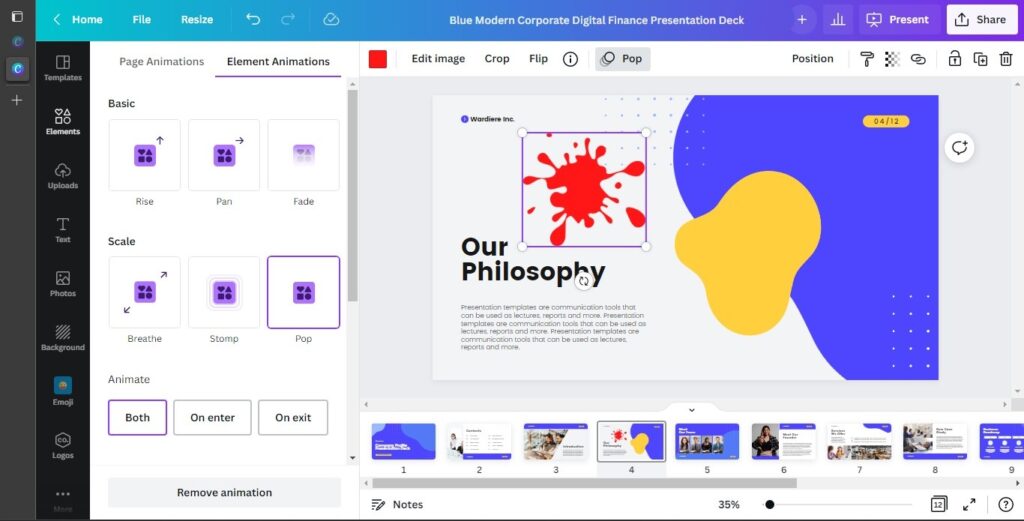
6. How to Add Animations and Transitions?
Click on the particular element and apply desired animations to it through the Animate button in the toolbar. Similarly, you can remove animations this way.
To apply transitions between slides, right-click on the specific slide at the Bottom section and click on Add transition or Change transition. Then, choose the transition effect you like, and adjust its duration accordingly. Apply the same transitions for all pages if you like.
Though Canva isn’t limited to just this much, these should be enough to get started for now. Just try on your own with the help of the information above and you’ll get a good hang of Canva in no time. To demonstrate how to create presentation slideshows in Canva, we’ll illustrate for Work and School use cases below:
(Comment) Our below examples are mere demonstrations. Hence, there is no need to follow the steps too closely. Explore Canva on your own and we’re sure you’ll be creating way more beautiful and professional presentations in no time!
3.2 Making a Presentation for Work
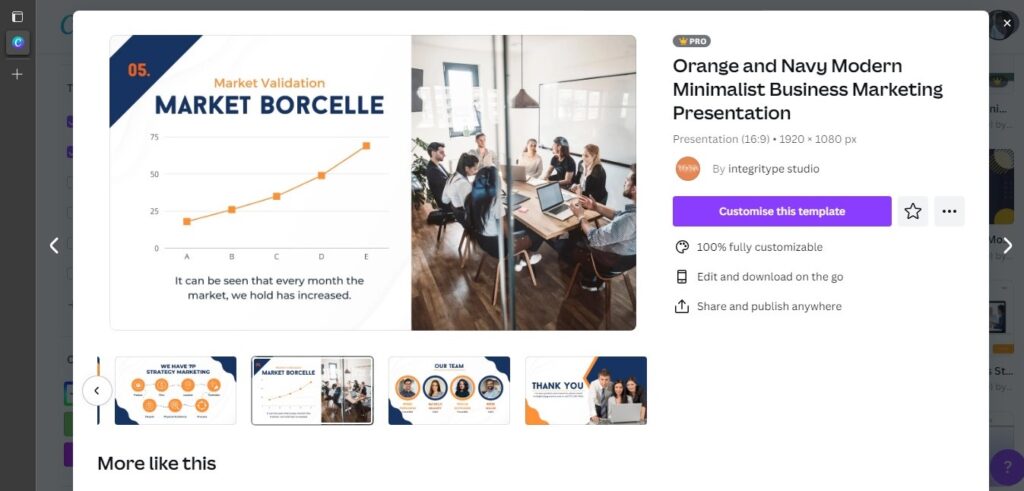
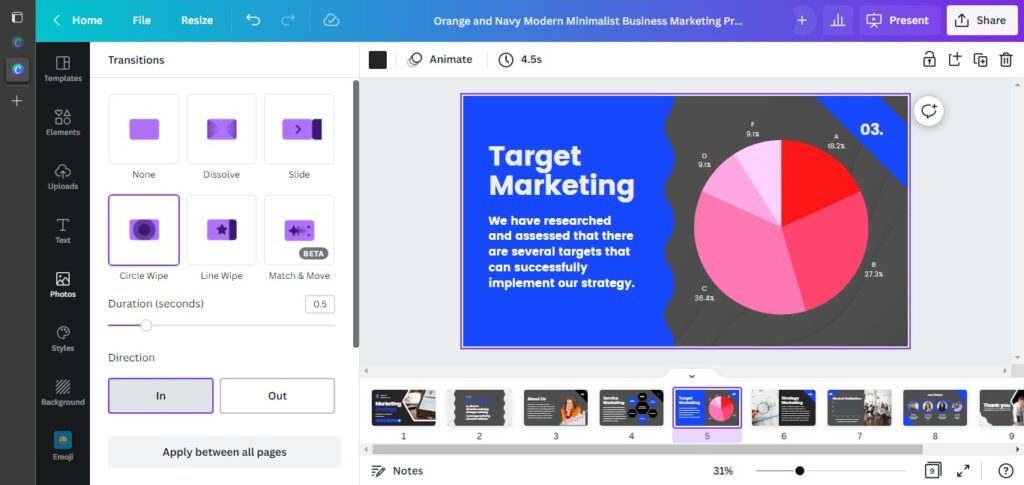
Let’s say we want to make a presentation for business and marketing. So, how would we search for the particular template? For that, we’d filter the templates according to the preferred style and content theme. Then, we’d also want a template that contain graphs, or charts for our illustration purposes. So, in reviewing the available templates, we decided to use ‘Orange and Navy Modern Minimalist Business Marketing Presentation’.
(Comment) All data and information in our sample presentations are NOT real! It’s just to show how easy it is and the ease of using the various presentation tools in Canva!
When you first open the template, you may have only one slide (page) in your presentation. You can manually add the slides you like from the left or you can apply all the slides of the template to your design at once.
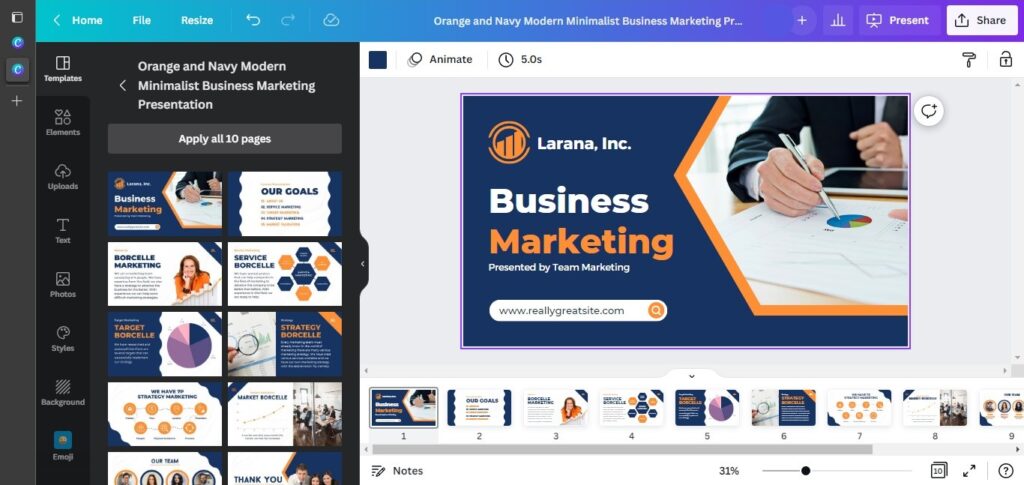
After all the slides were added, we looked through all of them and deleted the unnecessary ones. You can also add a new slide manually or duplicate the existing slides to reuse them. Then, we changed the color palette and font styles from the Styles menu in the Left section.
(Tips) What’s your brand colour’? Use it in the slides!

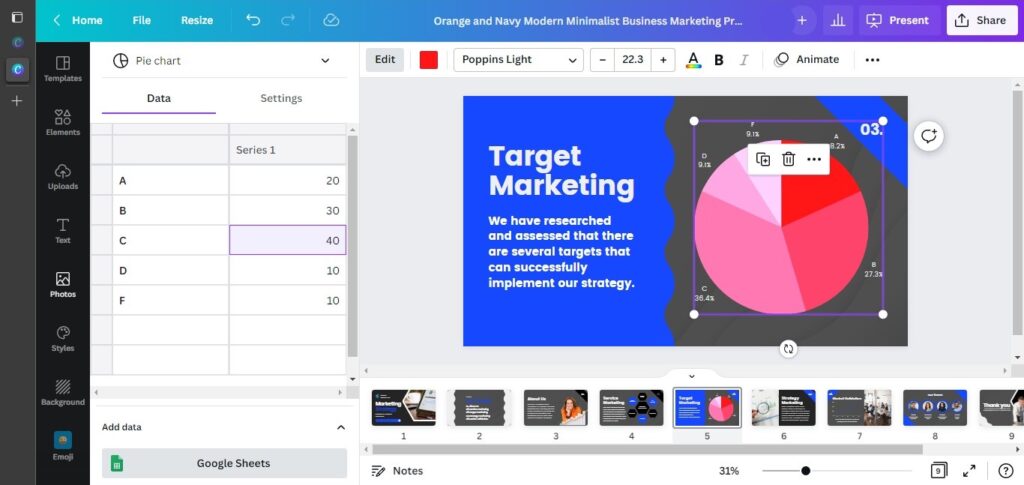
After that, we changed the data in the template with our own mock ones and also replaced images to match the type of our presentation. This template consists of graphs and charts, and they’re not that difficult to edit. Just click on the chart, and adjust its values and settings. You can also automatically populate the chart data from Google Sheets directly and the chart will change its form accordingly.
Then, for the final steps, we added some animations and transitions between slides. Here, our business marketing presentation is ready!
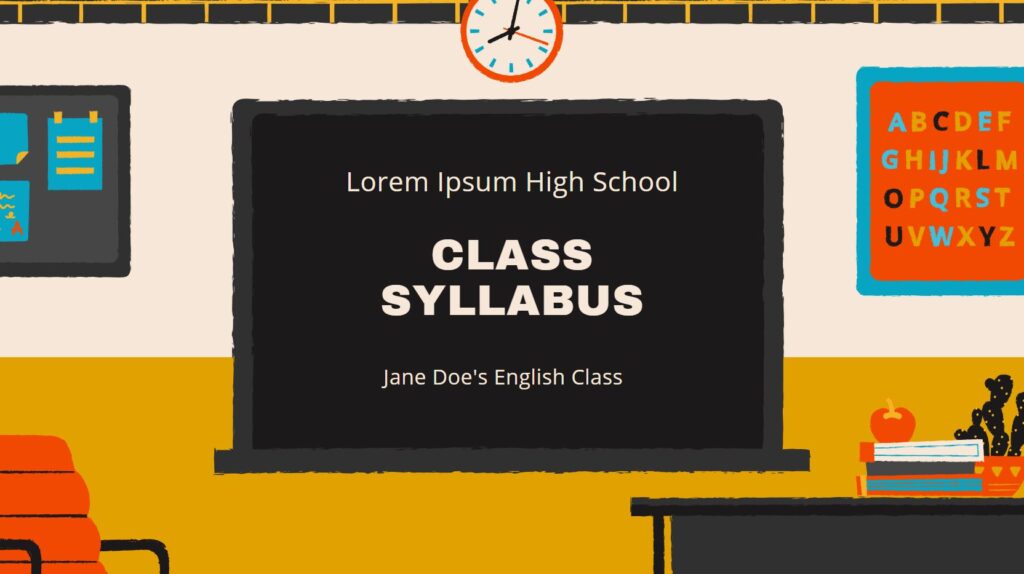
3.3 Making a Presentation for School
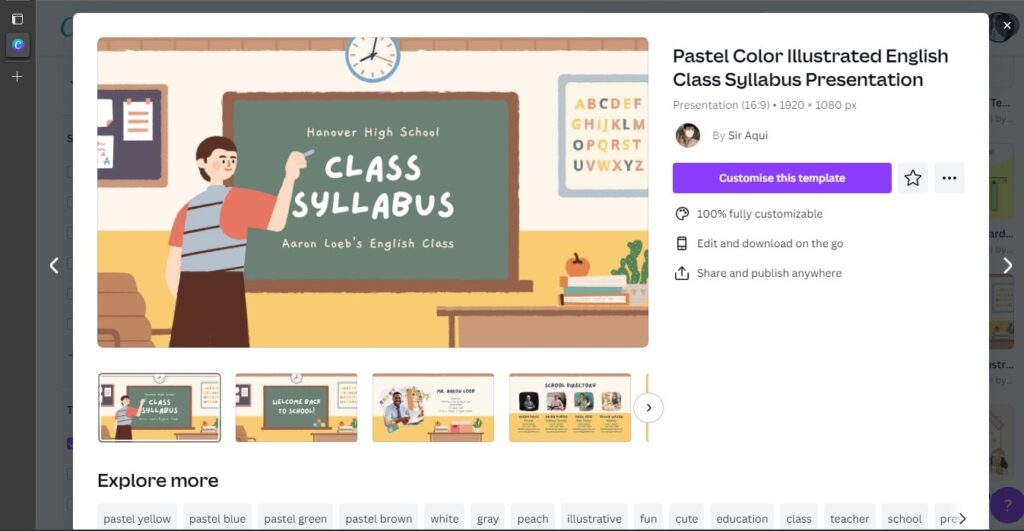
Do you know what’s different in creating different types of templates with Canva? It’s the template. The whole process and concept of creating presentations with Canva are the same, all you need to do is choose the matching template for your presentation. So, for our school presentation, we will use the ‘Pastel Color Illustrated English Class Syllabus Presentation’ template.
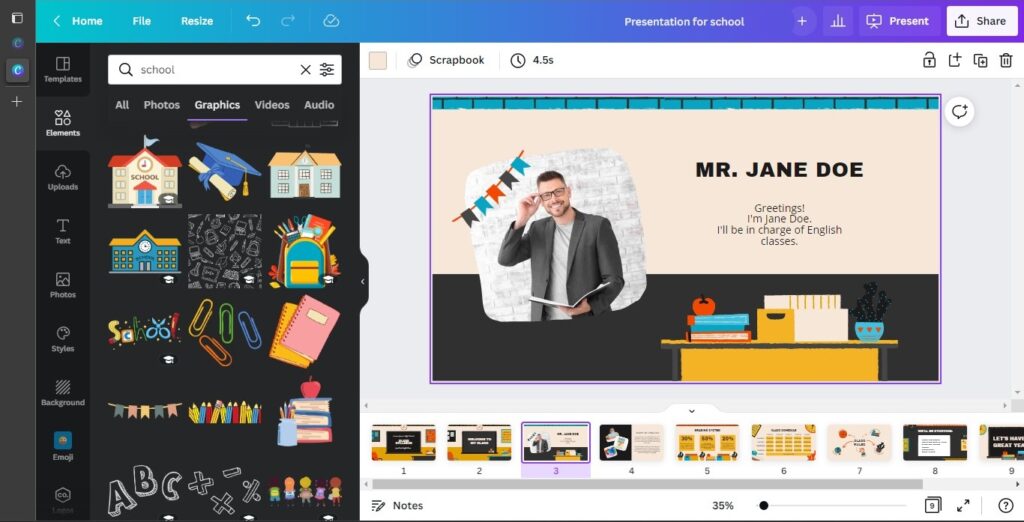
Now, we aren’t going to explain the same thing twice which will be boring. The key things to note about school presentations are the presentation of data and data technicalities. That is, not too many data in one slide. Make use of proper colours; not too colourful unless it’s for pre-schoolers, and we got to match the technicalities with the academic level. So, with this in mind, we’ll just quickly change the colors, fonts, texts, and images along with animations and transitions just like before and create our very own presentation for school.
(Tips) For colour guide, hop over to this Link by Visme.
4. Finalise Presentation Slides
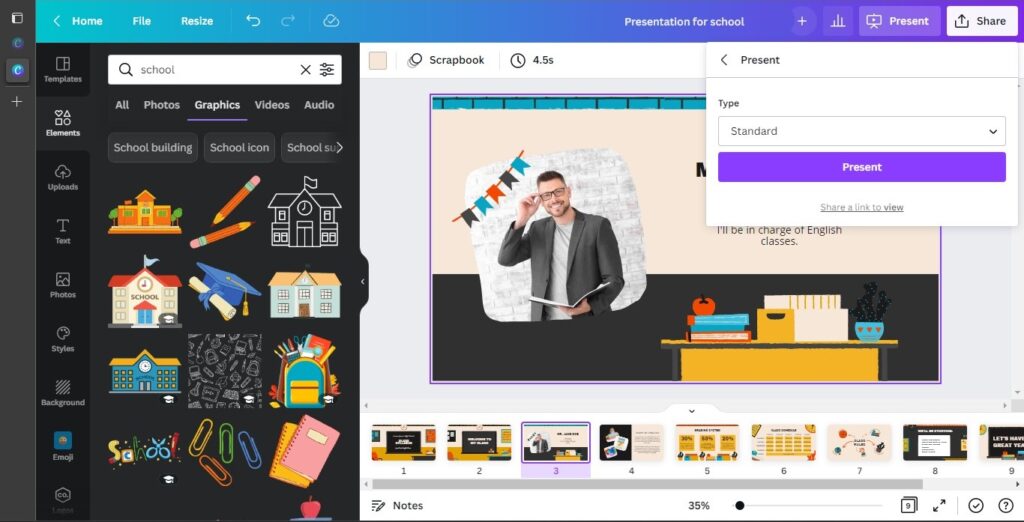
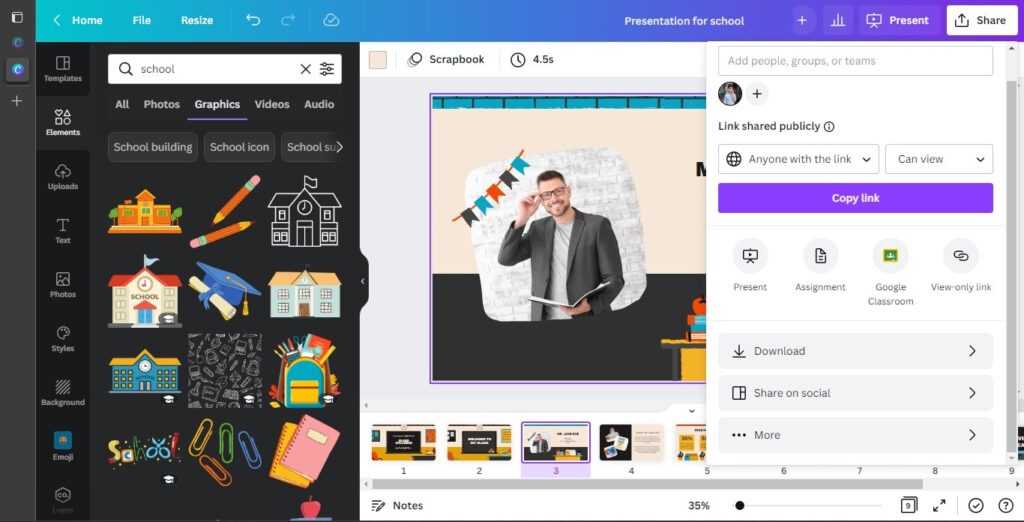
You will undoubtedly create outstanding Canva presentation slides that will impress your audiences. So, what after you have created the presentations? Of course, it’s time to share your presentation with others. But before that, you might want to have a preview to see how it turned out. For that, click on the Present button at the top right and select the way you prefer to view your presentation.
Finally, you can either manually download it as a video file or share the public viewing link of the presentation with others. If the latter’s the case, just hit the Share button at the top right. Either way, we congratulate you on successfully creating your presentation with Canva! Ours on the next section!
5. Our Final Presentation Slideshows
Click to be directed and view the full slideshow

Final Comments
Keen to try Canva for creating presentation slides or not? Whatever the case, know that presentations created in Canva can indeed be exported as a PPTX format for editing in MS PowerPoint or even Google Slides. Albeit, certain functionalities may not work, but it’s still a great choice to use Canva for the purpose. Well, there are indeed templates made by end users for both PowerPoint and Slides, but they are not readily available within the platform unlike Canva. With the vast number of templates and design tools in Canva, makes Canva a superb presentation creation tool for both working professionals and students! Its free and easy, so go try it!
Activities
How will you be using Canva’s superb presentation-making tools? Start a conversation with others with a COMMENT below.
LIKE & SHARE this tutorial with the professionals and students!
HASHTAG #DonutAtwork
Tags you may be keen in: Creative Development | HR Tech | Tips