
Photoshop Tutorials
Whether you’re advertising an open house event or selling puppies, adding an image to a flyer or an ad helps drive your message to the home. With Adobe Photoshop, you had just taken the first step to increasing your sales conversion!
Photoshop is an excellent tool for graphic design, especially for digital graphics. These graphics are displayed only on screen, in addition to its tasks of tweaking photographs. But it’s not limited to all this. With creativity, skills and a hint of experience, you can use Photoshop to create stunning and attractive print designs worthy for the Hollywood screen!
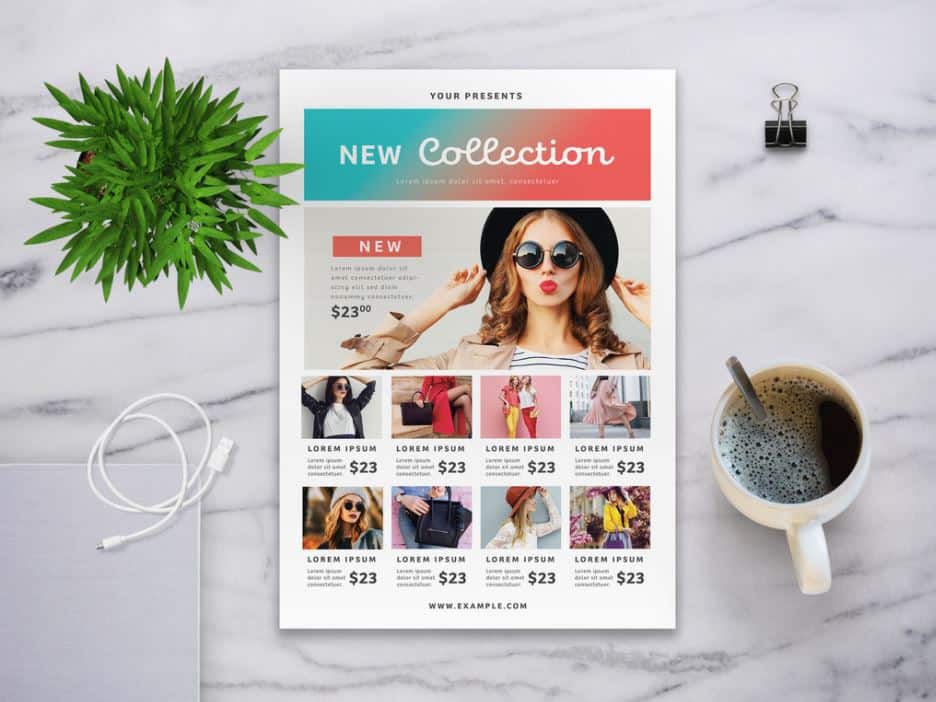
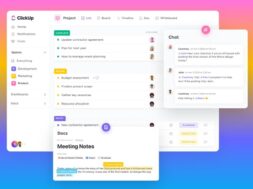
This tutorial will guide you with the necessary steps to creating a marketing flyer seen above, which can be printed in print-shop-ready CMYK colours directly from the Photoshop software. You can surely follow this tutorial to make this exact flyer or tweak the steps with the colours and content to get the flyer style you’d like using the below methods.
How to Design a Marketing Flyer in Photoshop in 10-Steps
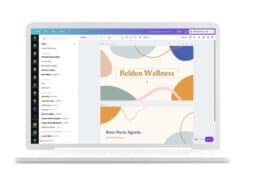
Don’t have access to use Photoshop? Or perhaps you are short of time? If so, I have an ideal option for you as well! Placeit offers thousands of professionally made flyer templates that you can customize or personalize to fit your exact needs! No design skills are required for this procedure! Placeit is easy, quick, and requires no extra software or tool. Create logos, mock-ups, videos, and designs in seconds!
Alternatively, you may also try the free Photopea which has many essential features of Photoshop and works very similar to it.
Here are the detailed 10 steps to a quick flyer design in Photoshop
Step 1
In Full Photo Edit mode, choose File > New > Blank File.
Step 2
Under the New dialog box, enter your required dimensions and then click ‘ok’.
Enter the final resolution and dimensions for your desired output. If you want to print your flyer or ad at a service bureau or on your desktop printer, we recommend you to choose the flyer resolution to be 300 PPI (pixels per inch).
Leave the Background Content as White and colour mode as RGB.
To fill your background with a suitable colour, click on Edit > Fill Layer and choose Colour from the Content pop-up menu. Choose the desired colour for the flyer from the Colour Picker and then click ‘ok’.
Step 3
Open your photographs and, using the drag and drop method, move them onto your new canvas with the Move tool. Each picture is on a separate layer. Wondering where you could find free stock images? We recommend Canva! Read our Review on Canva HERE.
Step 4
Choose Window > Images > Cascade to view all your pictures at the same time.
Step 5
By selecting the Type tool, click on the canvas, add your text, and then place your type with the Move tool.
Step 6
When you’re done with the Move Tool, click File> Save.
Step 7
Name your File, choose .PSD (Photoshop) from the Format drop-down menu, and ensure that the Colour and Layers checkboxes are selected.
Step 8
Now, if you’re taking your Photoshop document to a printing shop, then remember to save your copy as a .pdf file.
Step 9
For saving a copy of your marketing flyer or ad in the Organizer, select the Include in an Organizer box. You can also choose Layers, ICC Profile, and Use Lower Case Extension options.
Step 10
Finally, click ‘Save’.
Congratulations! If you’ve completed the above tutorial correctly, you will have a complete marketing or promotional flyer design made with Photoshop.
Final Comments
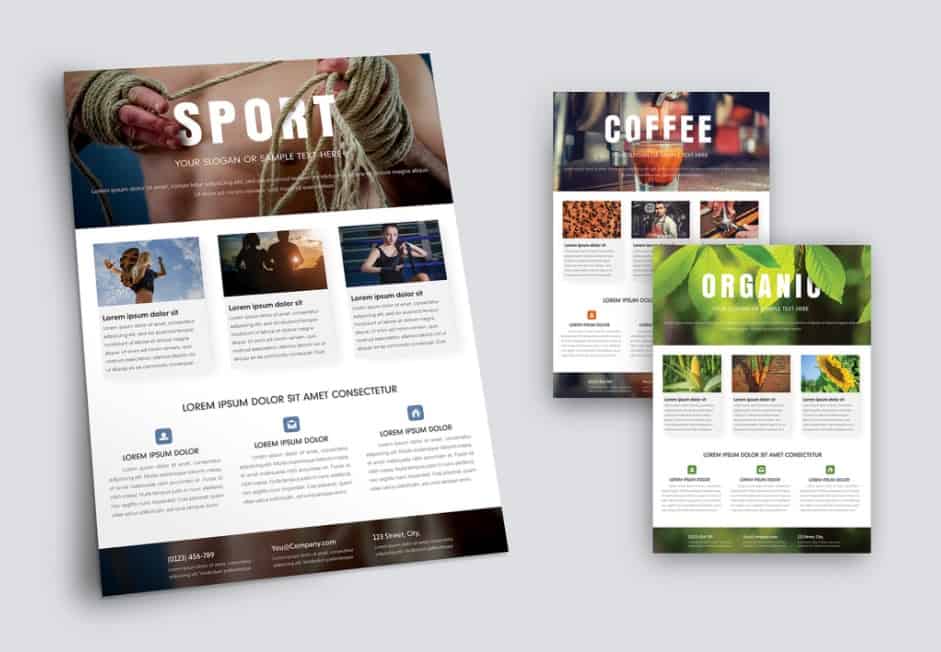
Ultimately, there are different types of marketing materials available to invest your time in, and you have to work hard to make each effort count. One such widespread marketing effort to grow your business is a flyer, one of the most effective ways for new potential customers to know more about your business, products, or services. Small and punchy, but enough idea to wow your customers with your design.
Photoshop is a very good creative design tool suitable for users of all levels. It could not only create, but have potent capabilities on photo editing as well. As a new designer starting out, Photoshop could seem overwhelming. However, Photoshop is the “must go-to” software for every serious designer for their many functions that could create simple to extremely detailed and complex graphics. We hope this article serves as a good stepping stone!
Activities
Have you tried out this tutorial? COMMENT your learning experiences.
LIKE & SHARE this to encourage the next designer wannabe you know!
HASHTAG #DonutAtwork